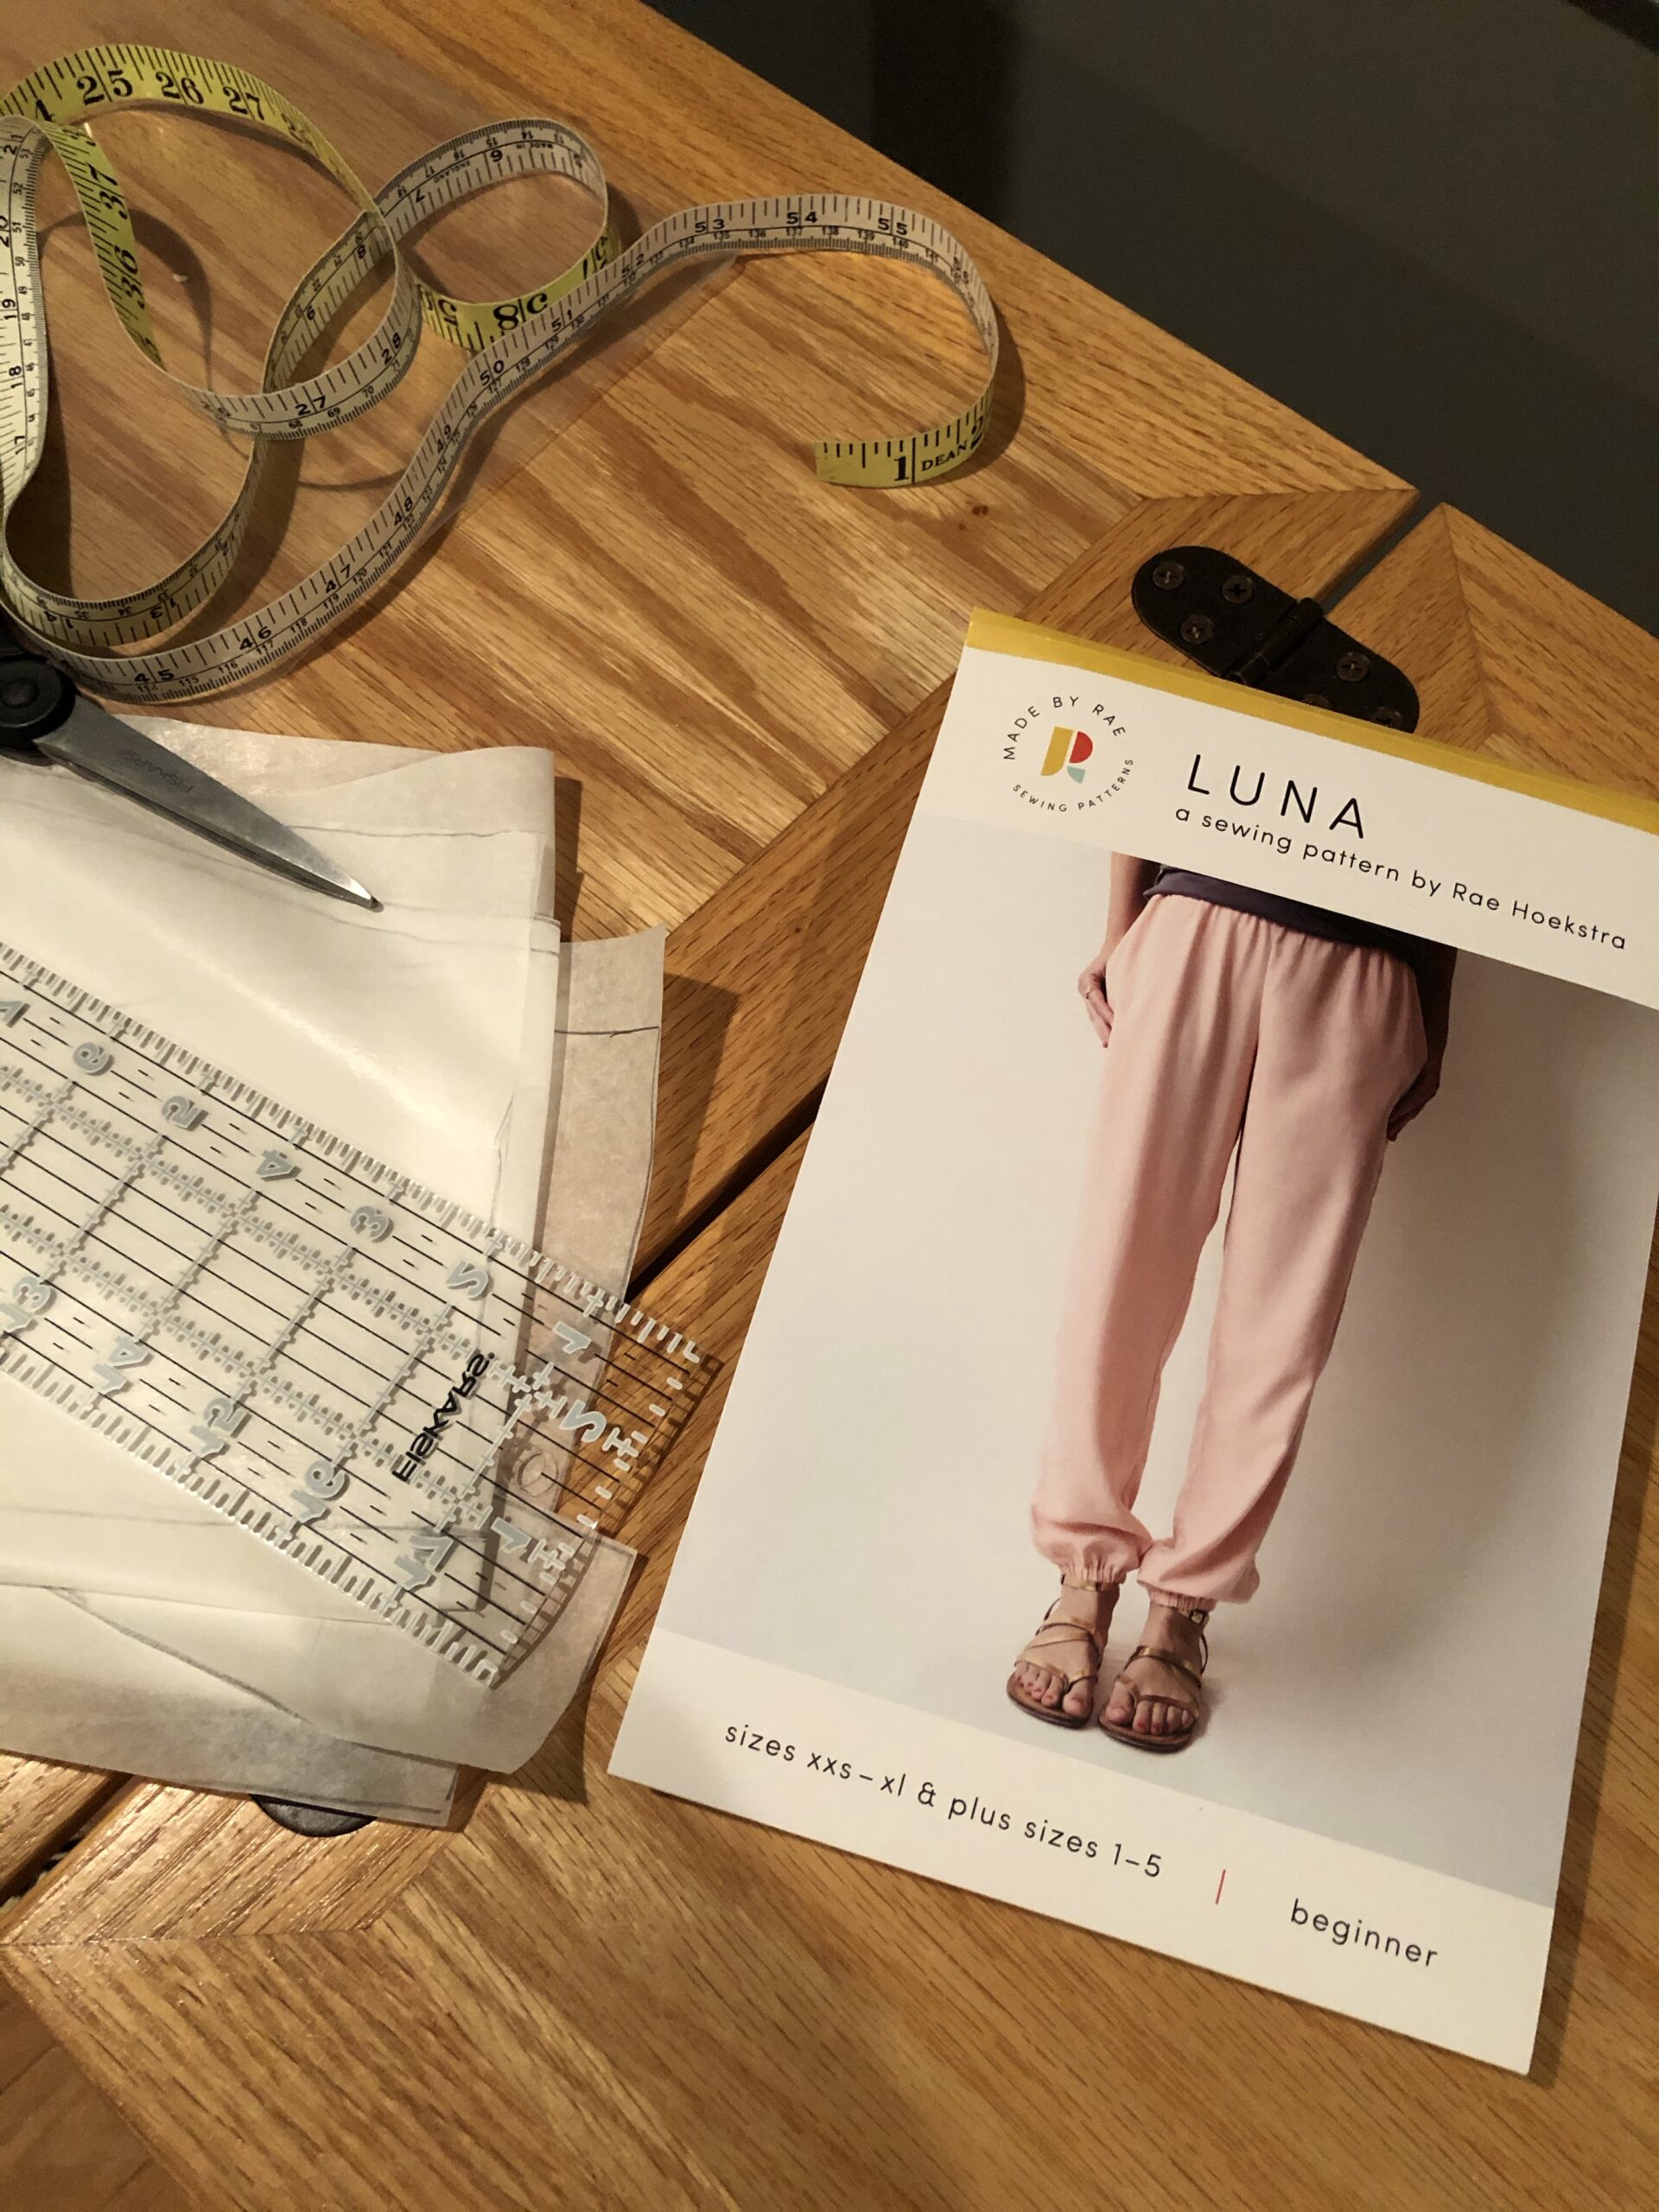
Luna woven jogger pants sewing pattern by Made by Rae Sew Along by Ann Siegle
I’ll be sewing the Luna pants pattern by Made by Rae (no affilliation, yada, yada) this month. It’s the Pattern of the Month (March 2021) for my Local Fabric Shop (LFS) Seams Fabric in East Lansing. NAYY there too, except proprietor Jessy is a friend of mine.
This first video I will share the Sew Along, fabric choices, elastic choices, some basic pattern modifications, why I trace patterns on tissue paper (if they are print patterns), why I sew a pattern a minimum of 3 times, the other fabrics I have to build a “capsule” wardrobe to go with these and more!
In this next video, I cut out the pattern and tell you why grainline is SO crucial so your pantlegs don’t end up twisting around on your ankle.
Stay tuned for additional videos on construction steps, and the final reveal videos!
Make a muslin!
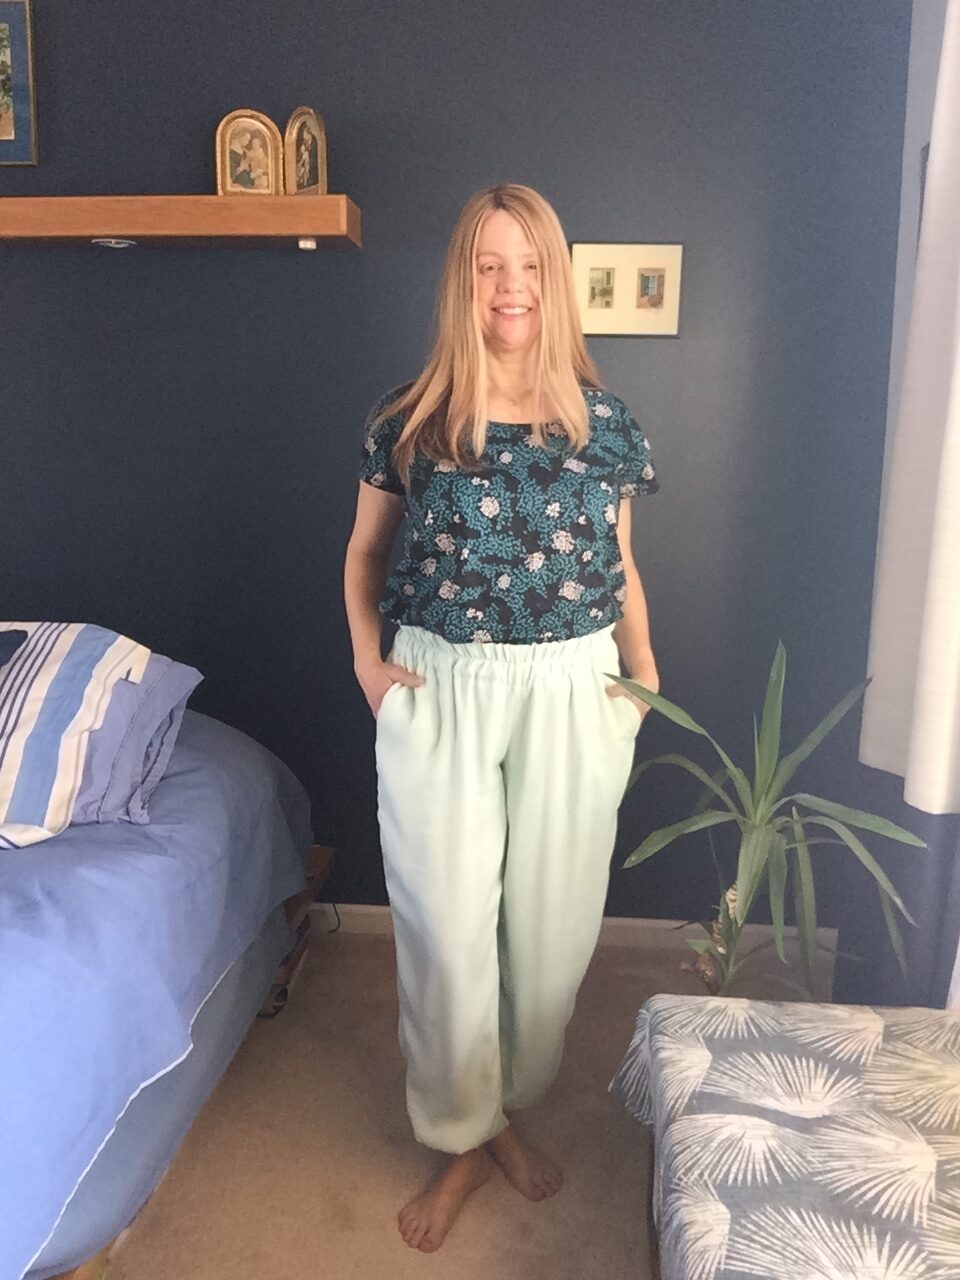
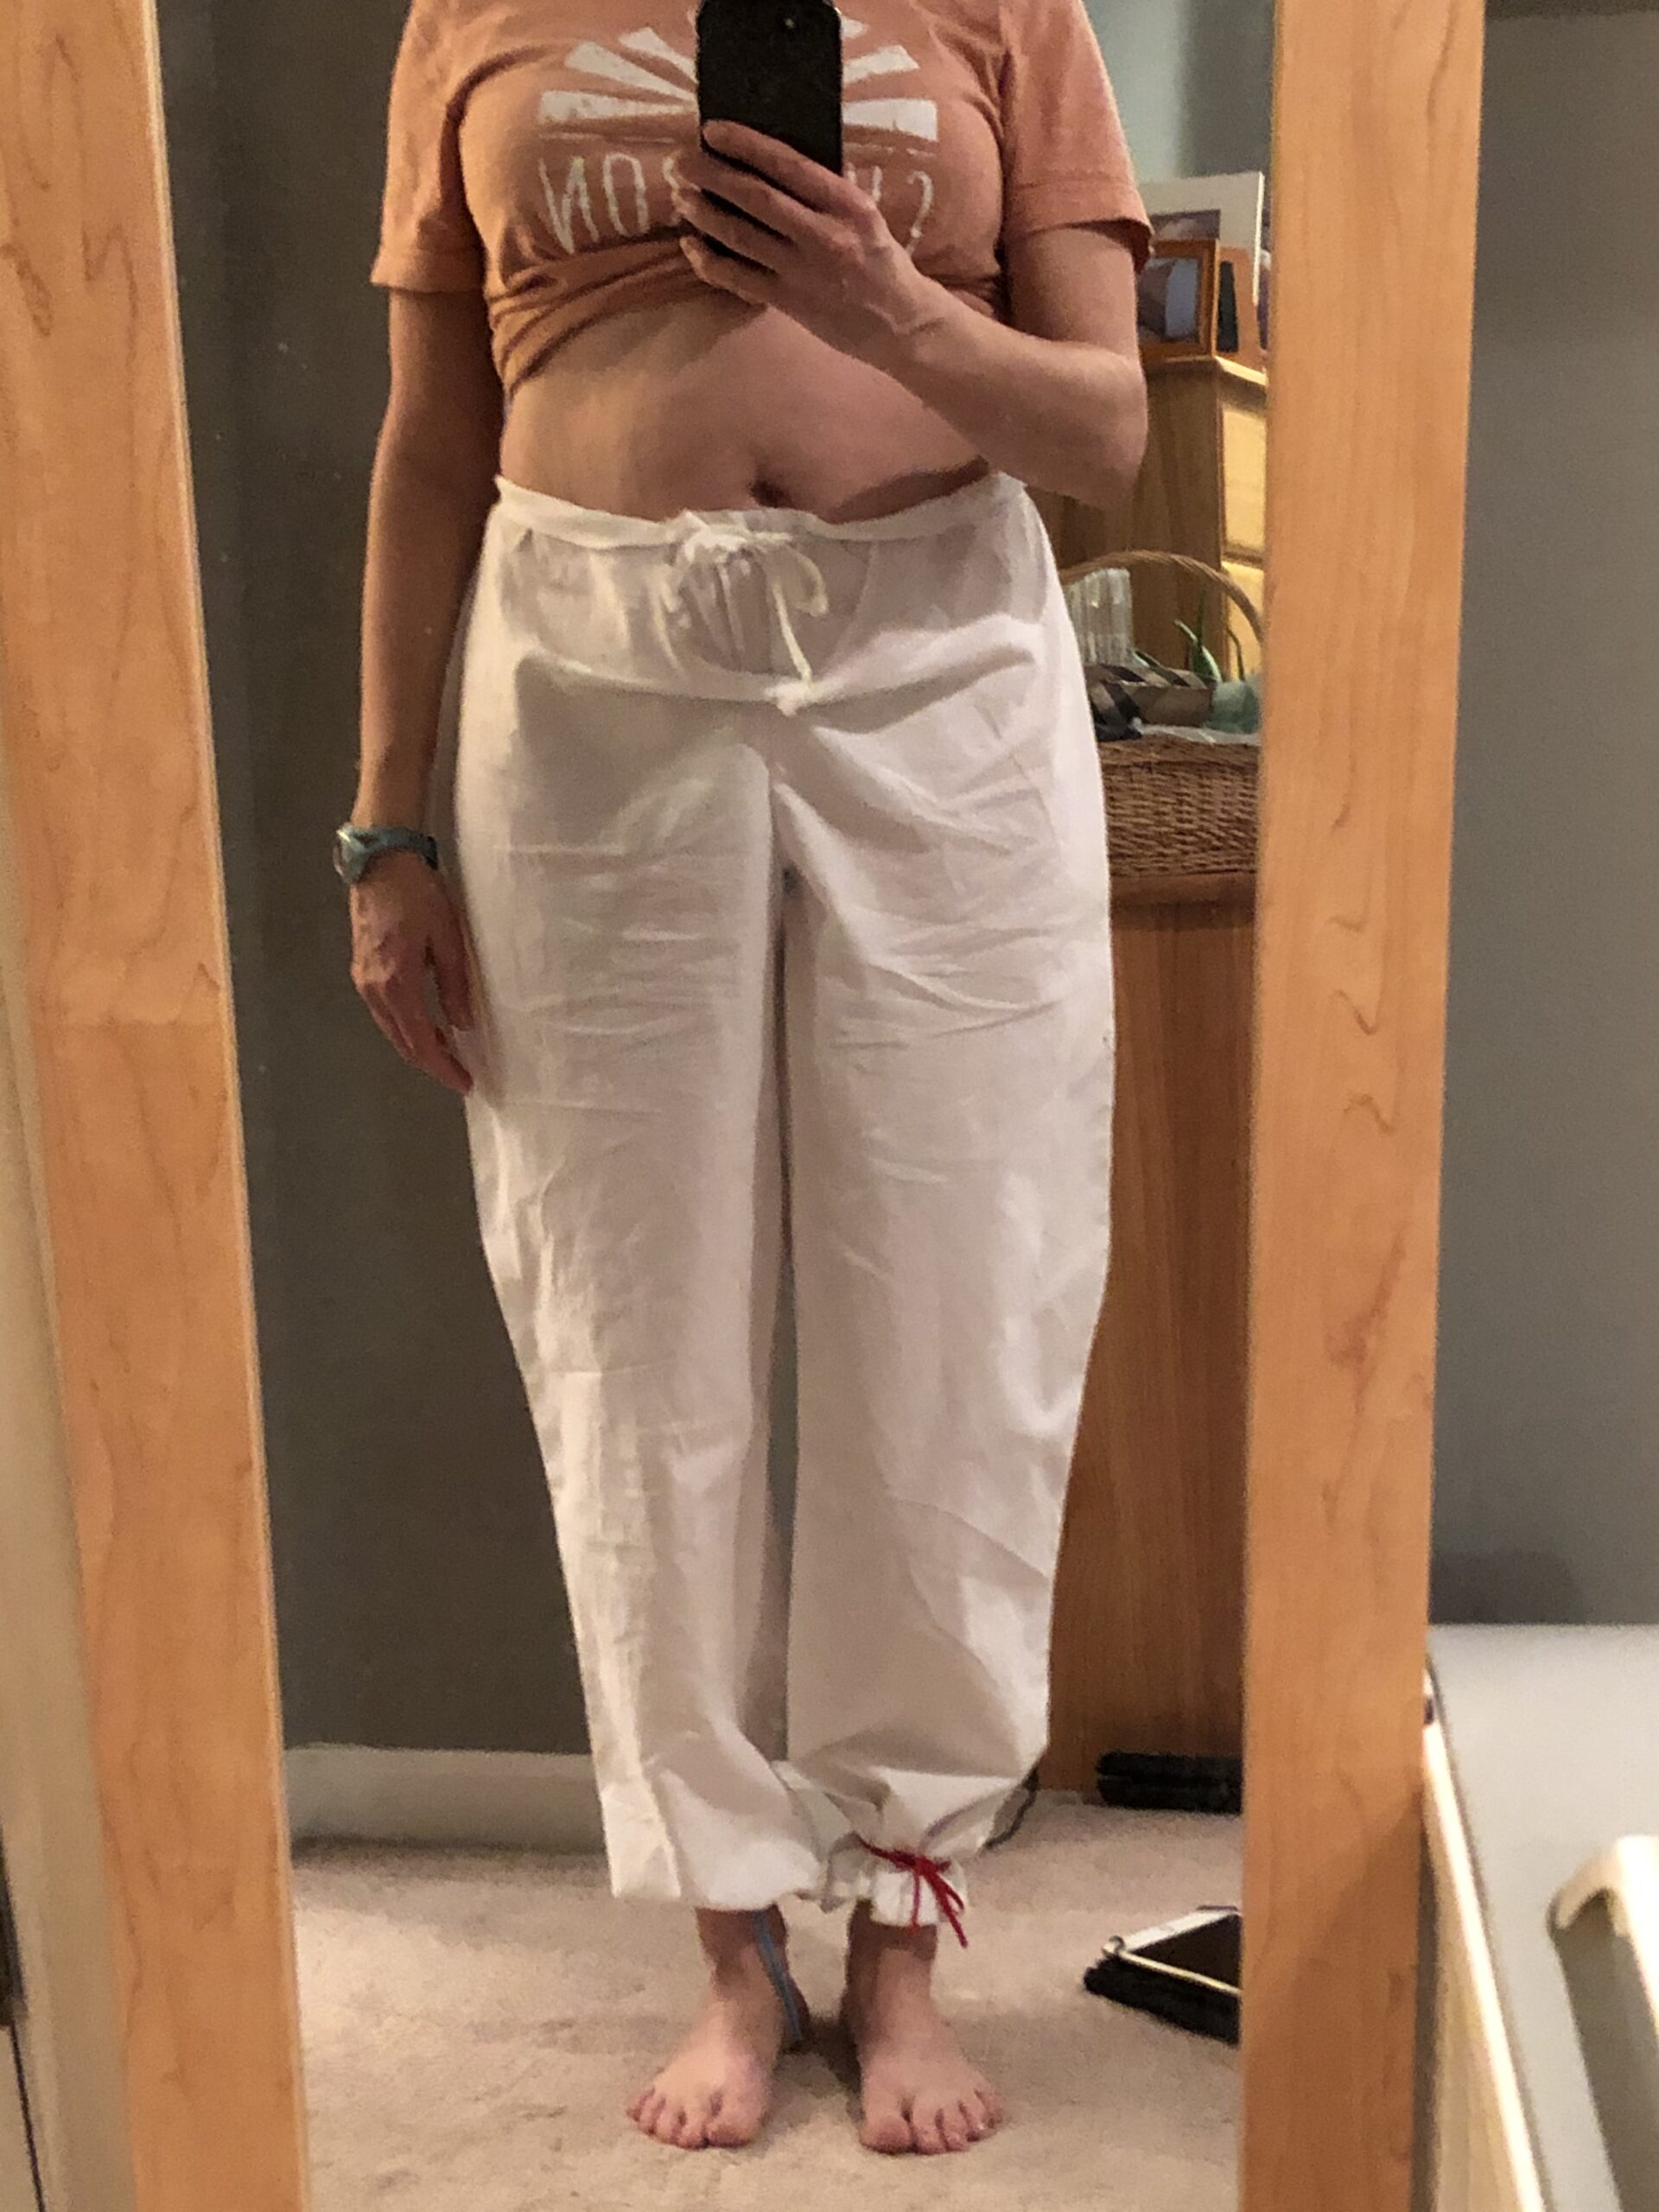
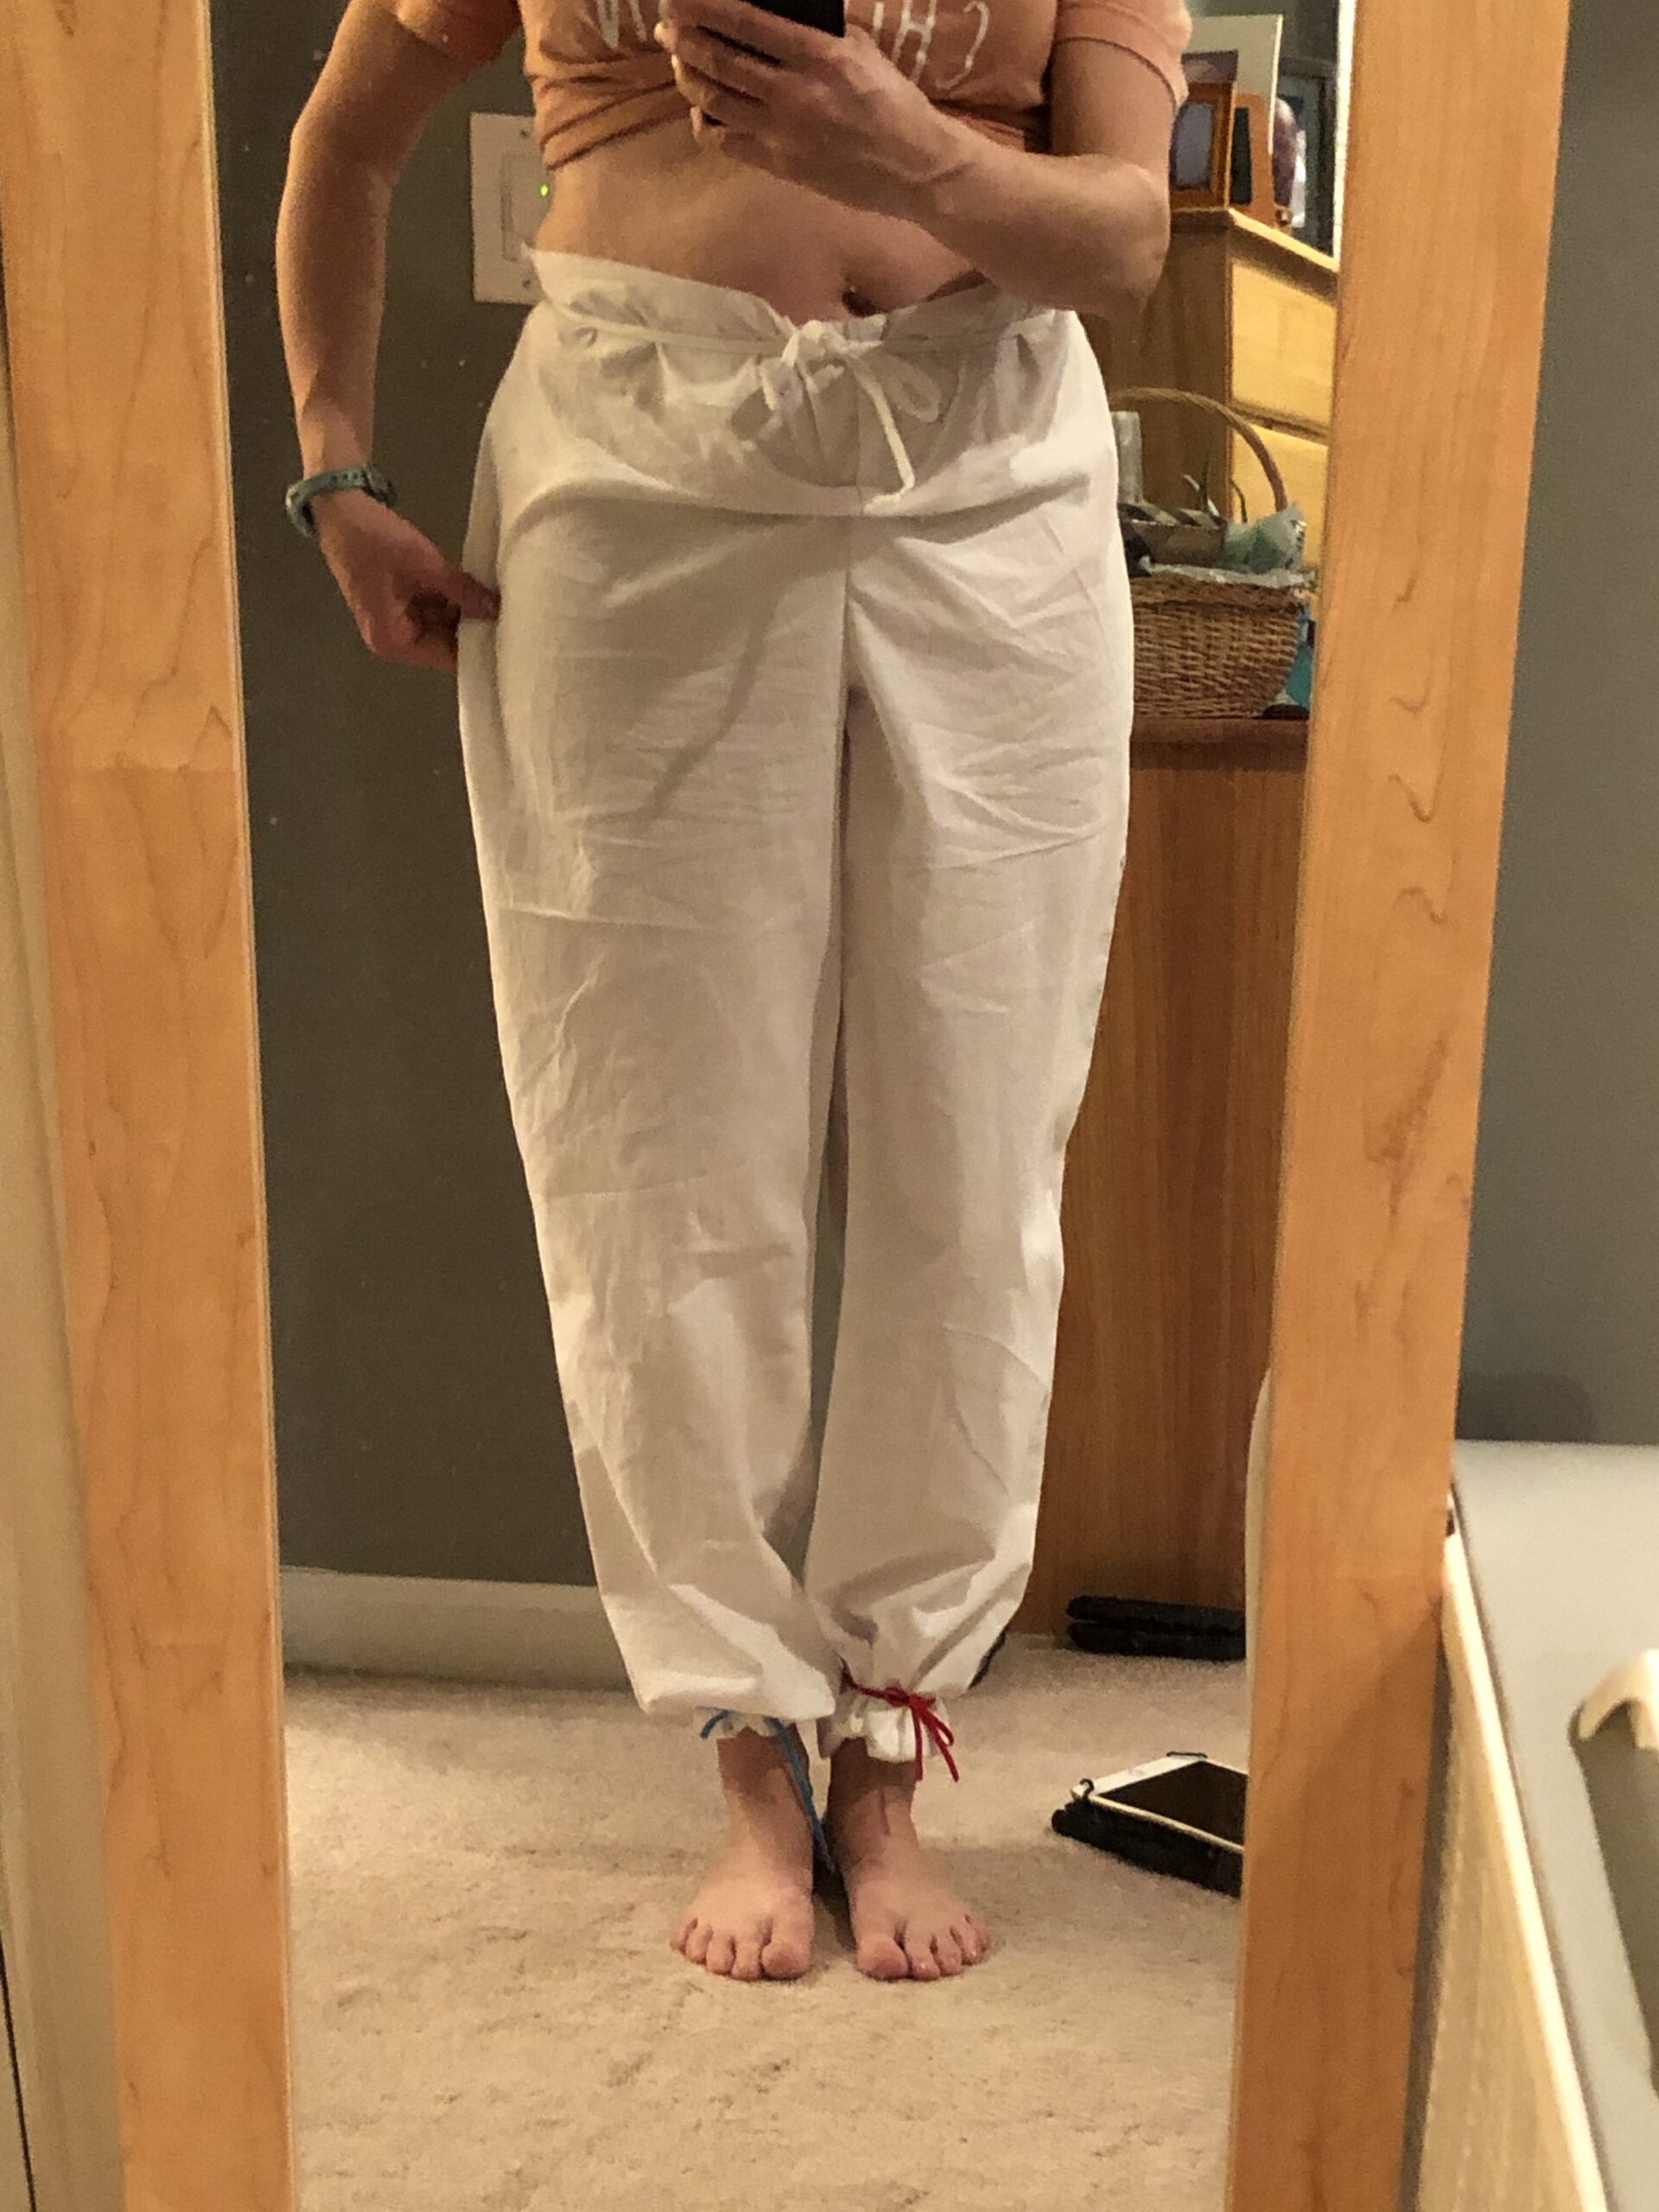
Seriously. Just do it. Make it from old thrifted sheets, from actual muslin, from ugly fabric people have given you. I always take that box of random fabric friends have – it’s made many a muslin for me, for free, in the future! I cut out a size L in these, but between cutting it out in a slippery poly (not the best choice!), and re-reading the measurements, I need a little more room in the mid hip, so I ended up cutting an XL. I may have to taper to a L below the hip – there’s a lot of volume in these pants – but coupled with a slightly-too-snug-to-be-joggers fit on the L and the fact that I need a front rise adjustment, the muslin, or test garment, is the way to go before cutting into the special fabric.
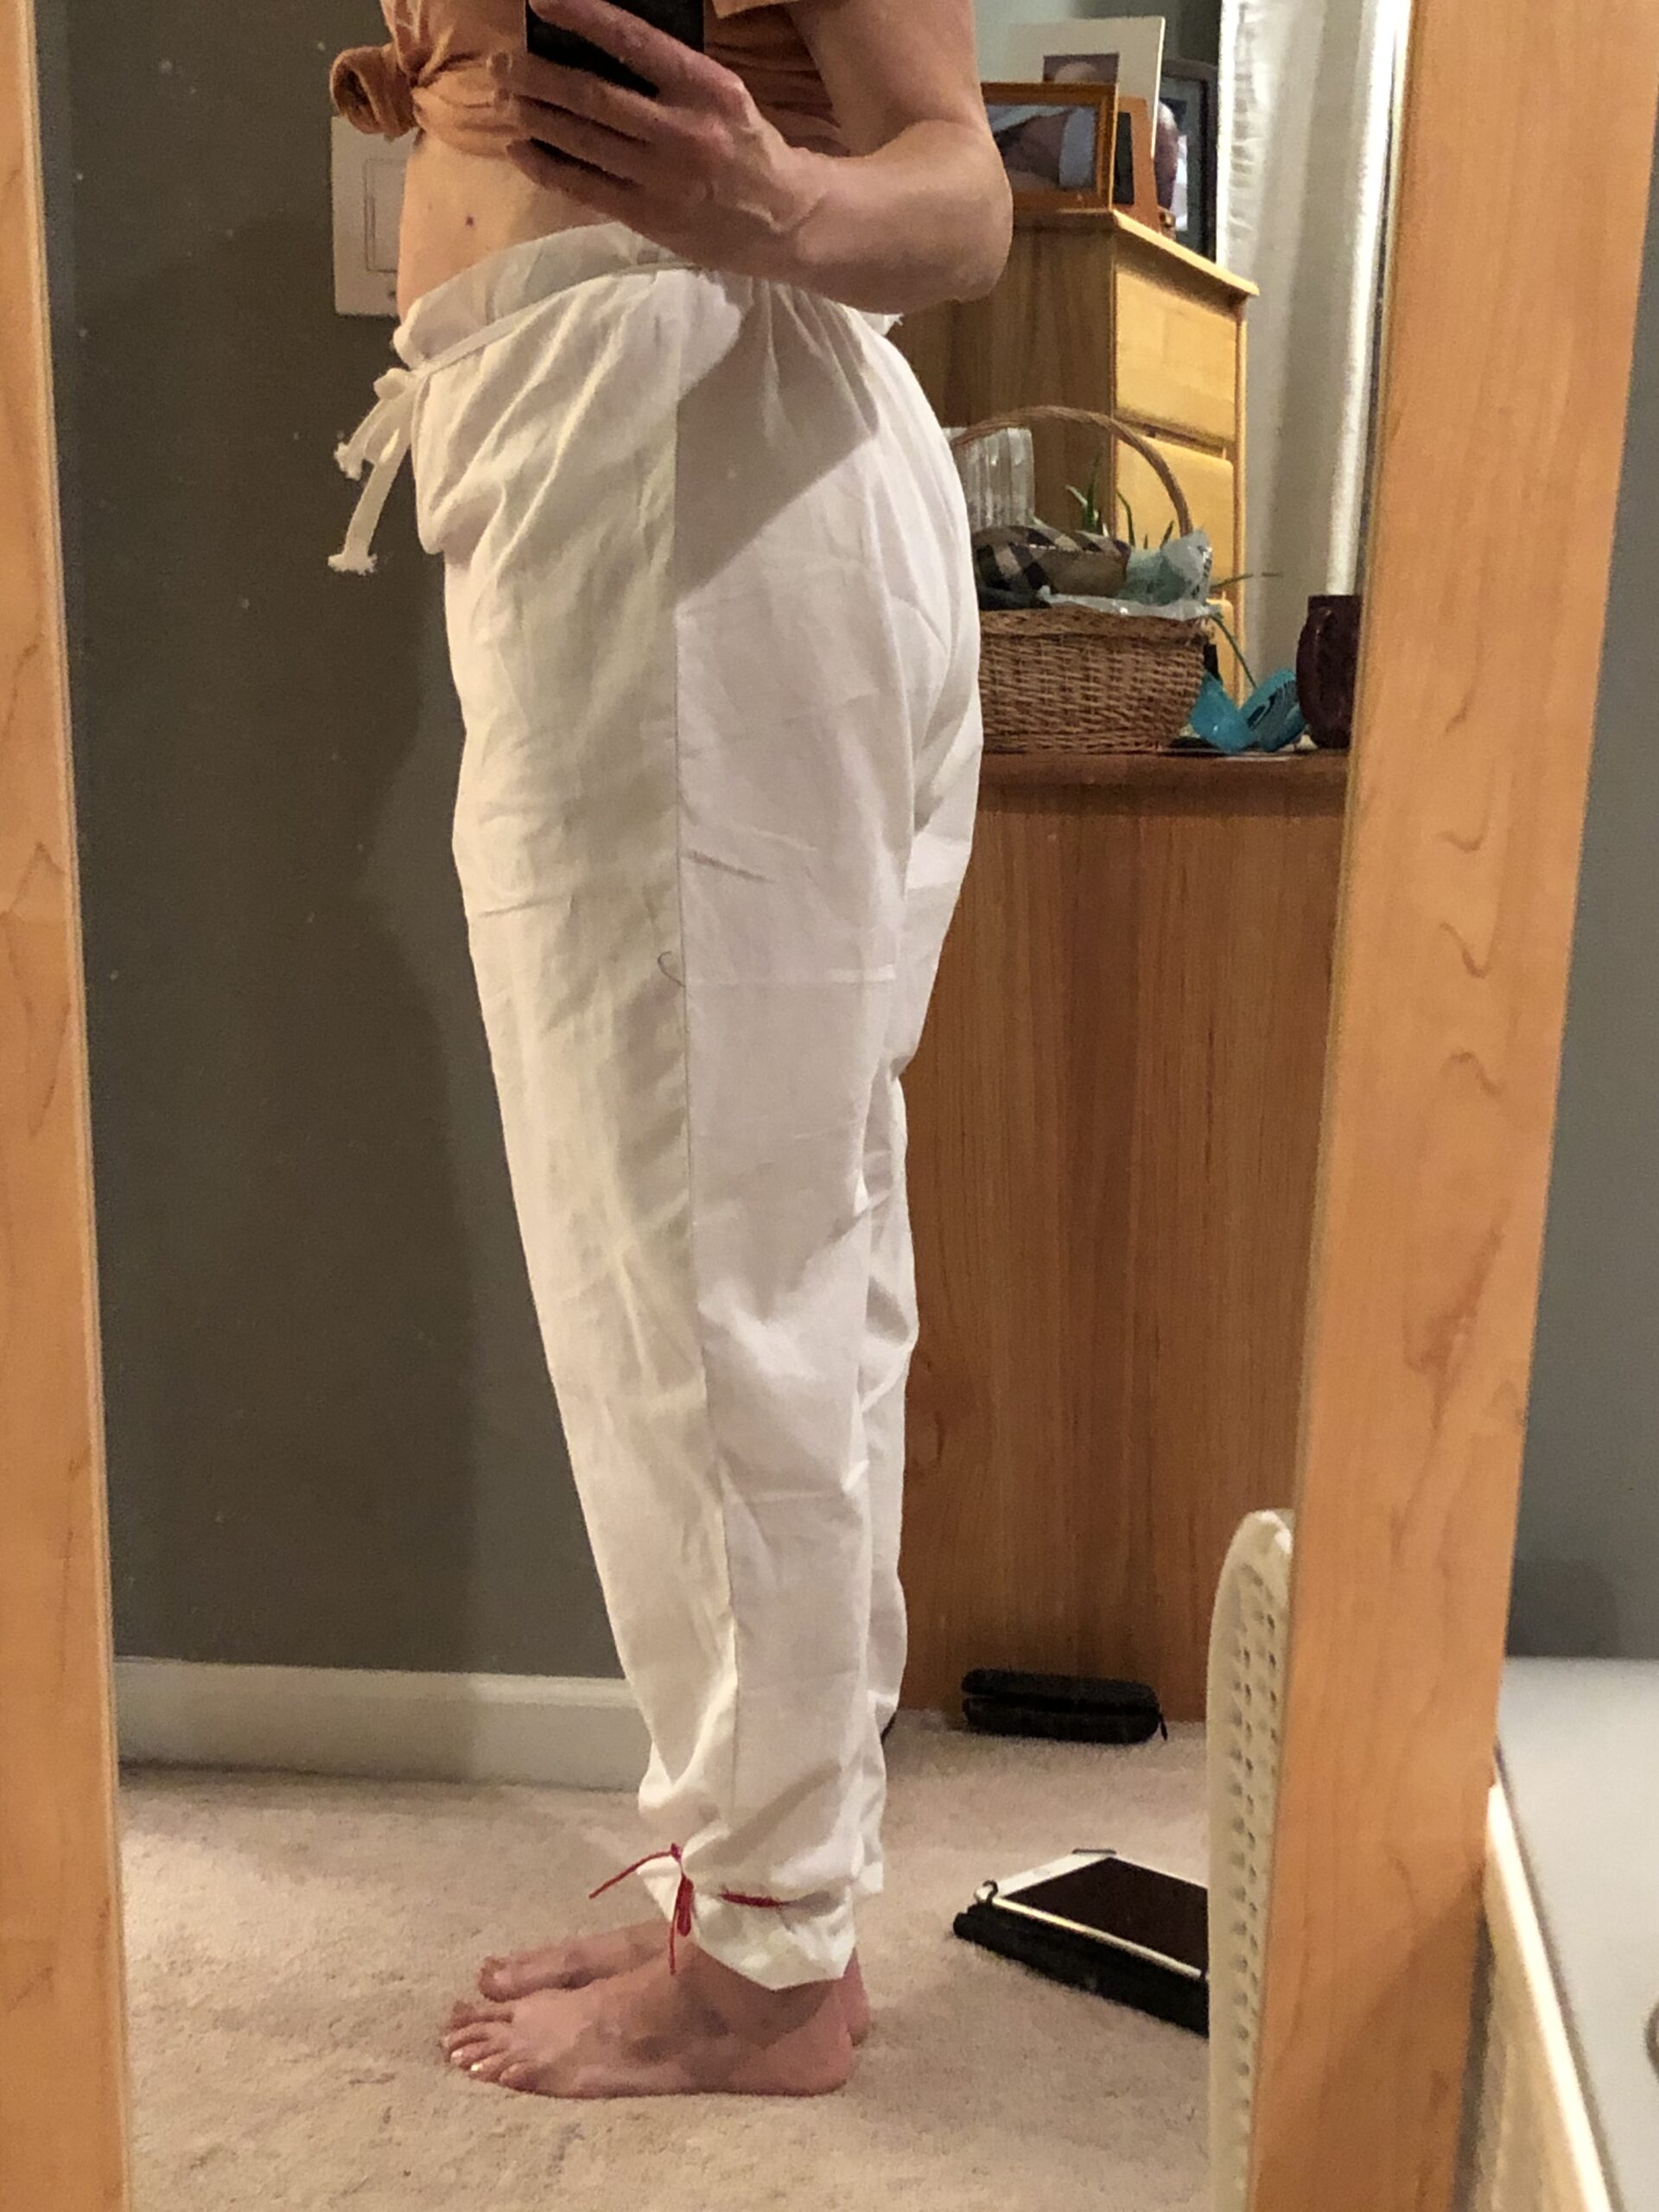
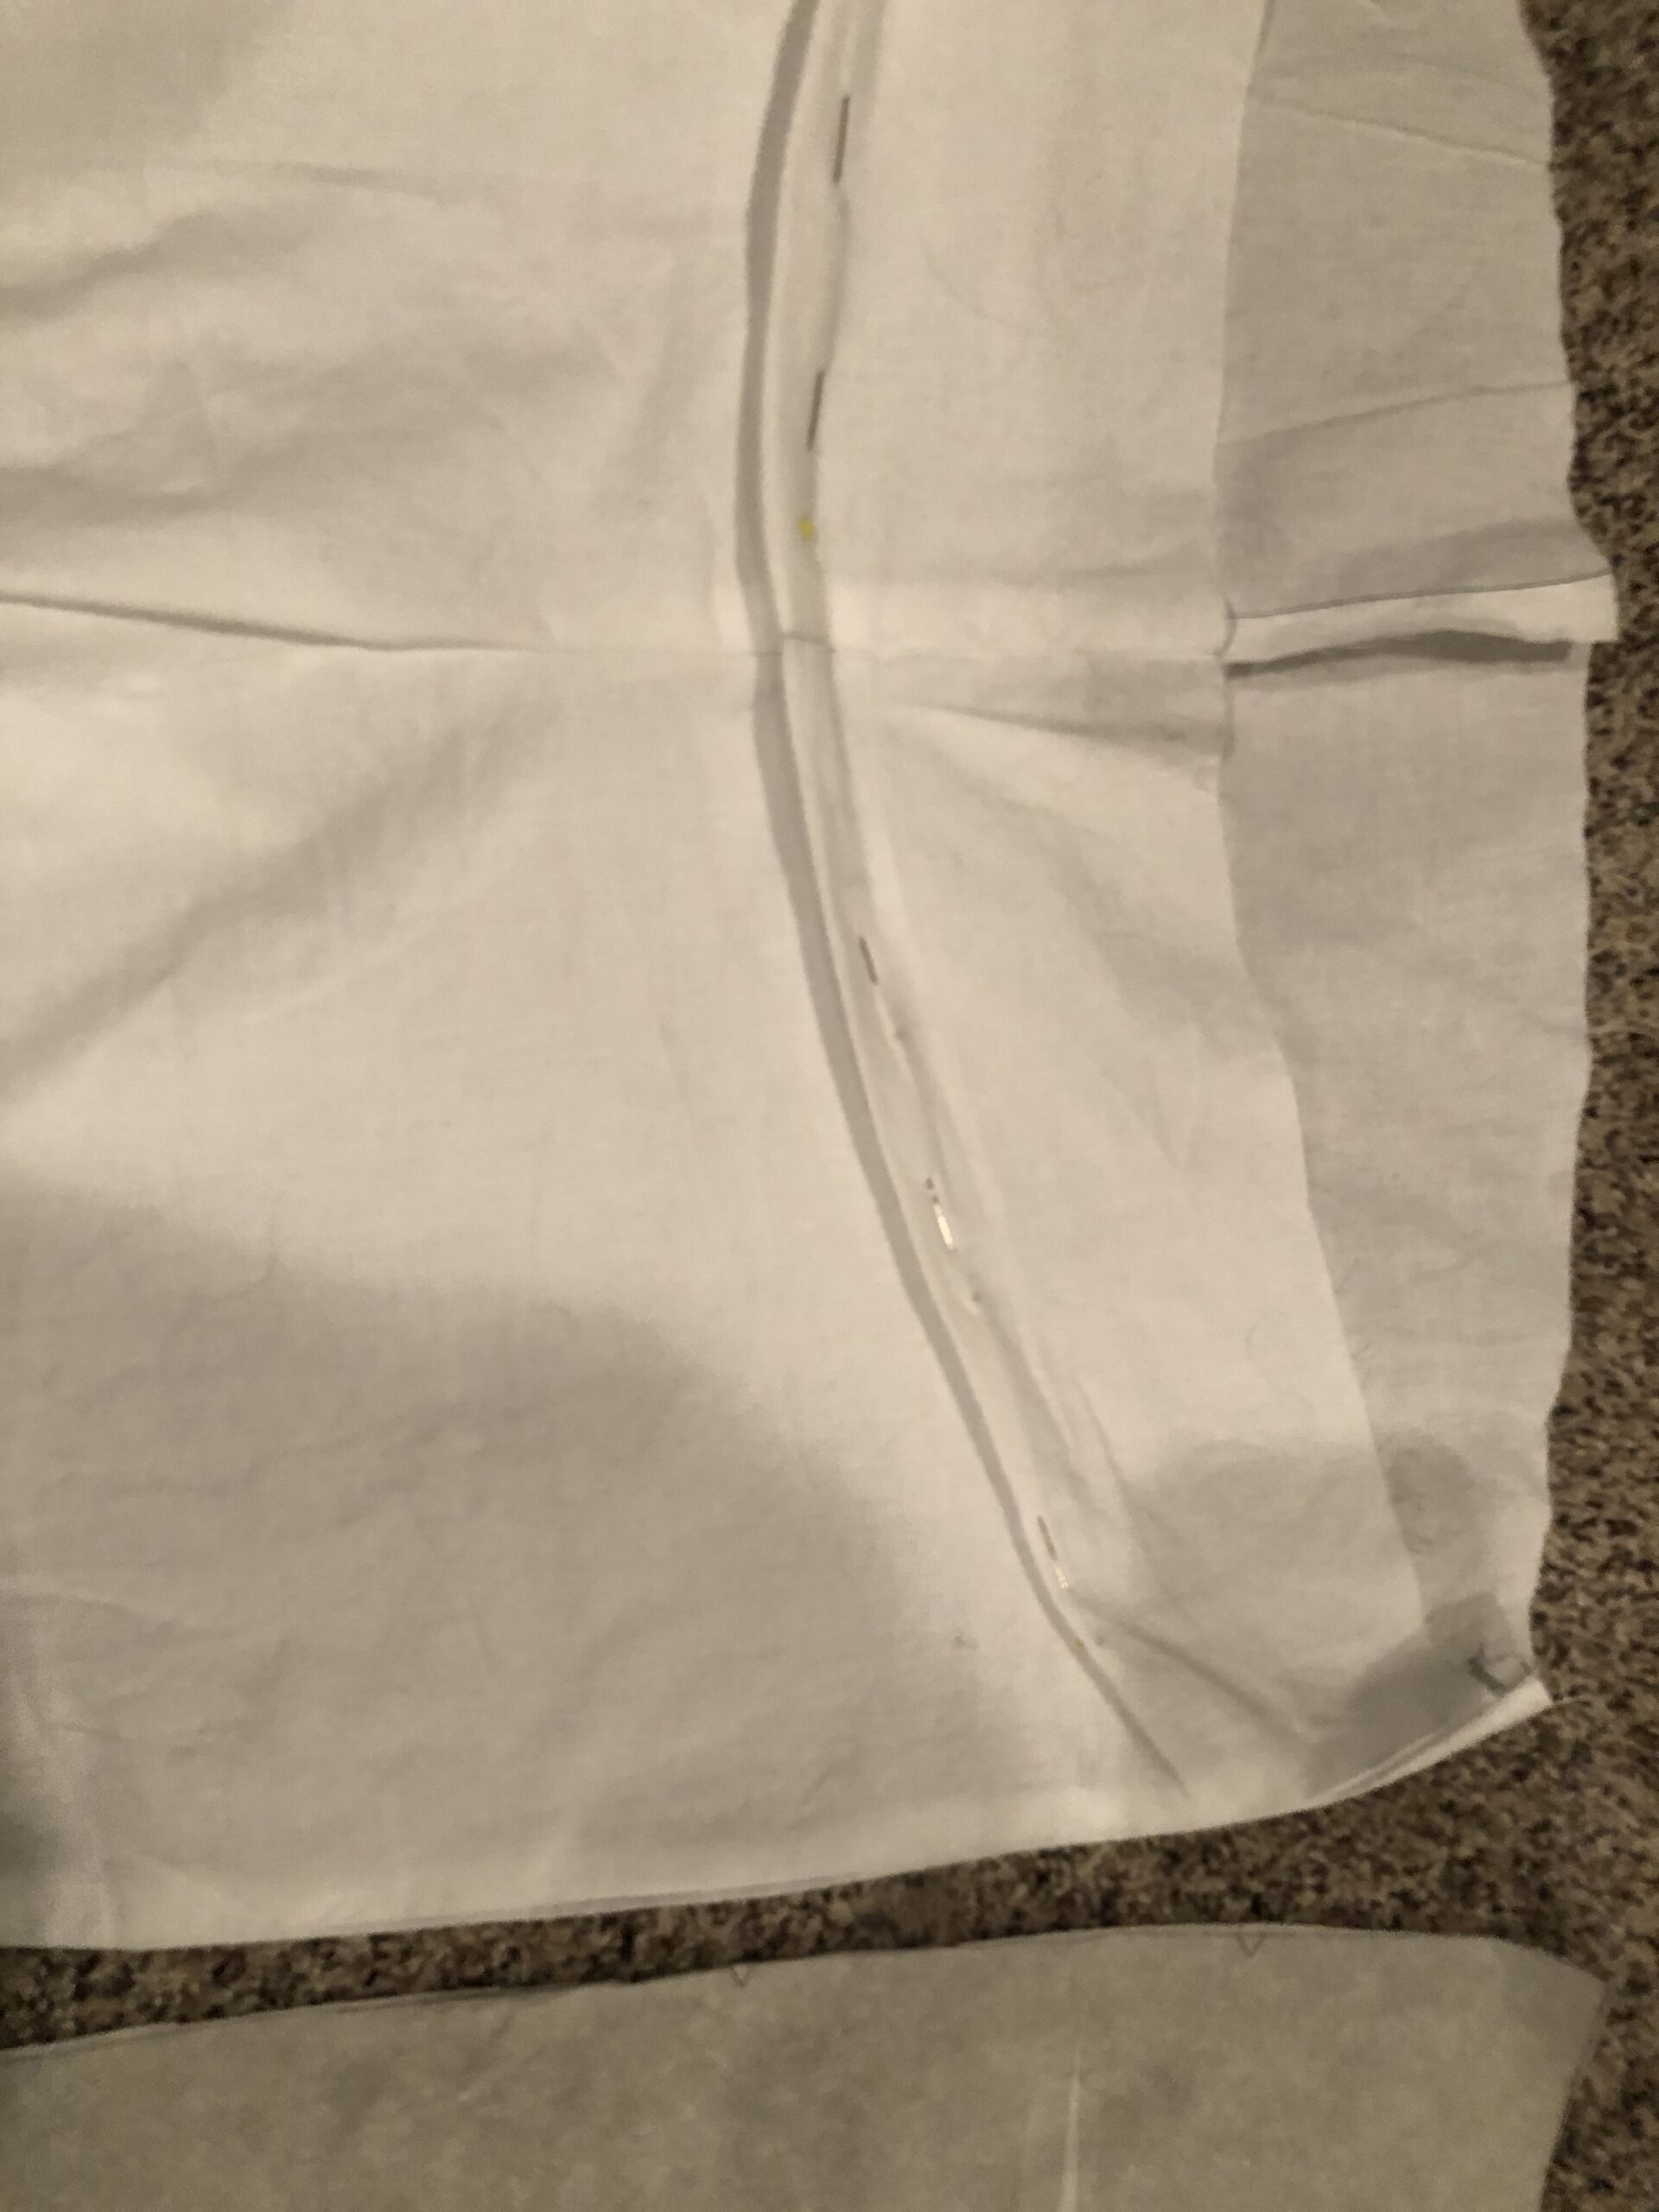
I’m sharing my process for muslins and adjustments. I have a short front rise but I have booty, so I usually need to trim out the rise a little bit and sometimes add to the center back seam. I never adjust sideseams, so both of these are tapered to 0″ adjustments at the sideseams.
When I first tried this pant on, the waist was pretty high up in front. Even with a 5/8″ Seam Allowance (SA) for the facing for the elastic channel, this would be too high for me. So I pinched out an inch in the center front rise for this. I will also add a center back rise adjustment OUT (I have barely enough at the center back small of my back, although along my back hip there is plenty). This is a slash and spread adjustment to the tissue, tapering to 0″ at the sideseam.
I also looked at the hem, folding up the recommended hem allowance for the elastic and a larger, deeper one. I tied these with elastic pieces to test out. Depending on the way the actual pants fit, I will either go with the existing length, or a shorter one. Note, I am 5’3″ and these pants are the same length for all sizes – so if you are tall, add length to your tracing, you’ll need it.
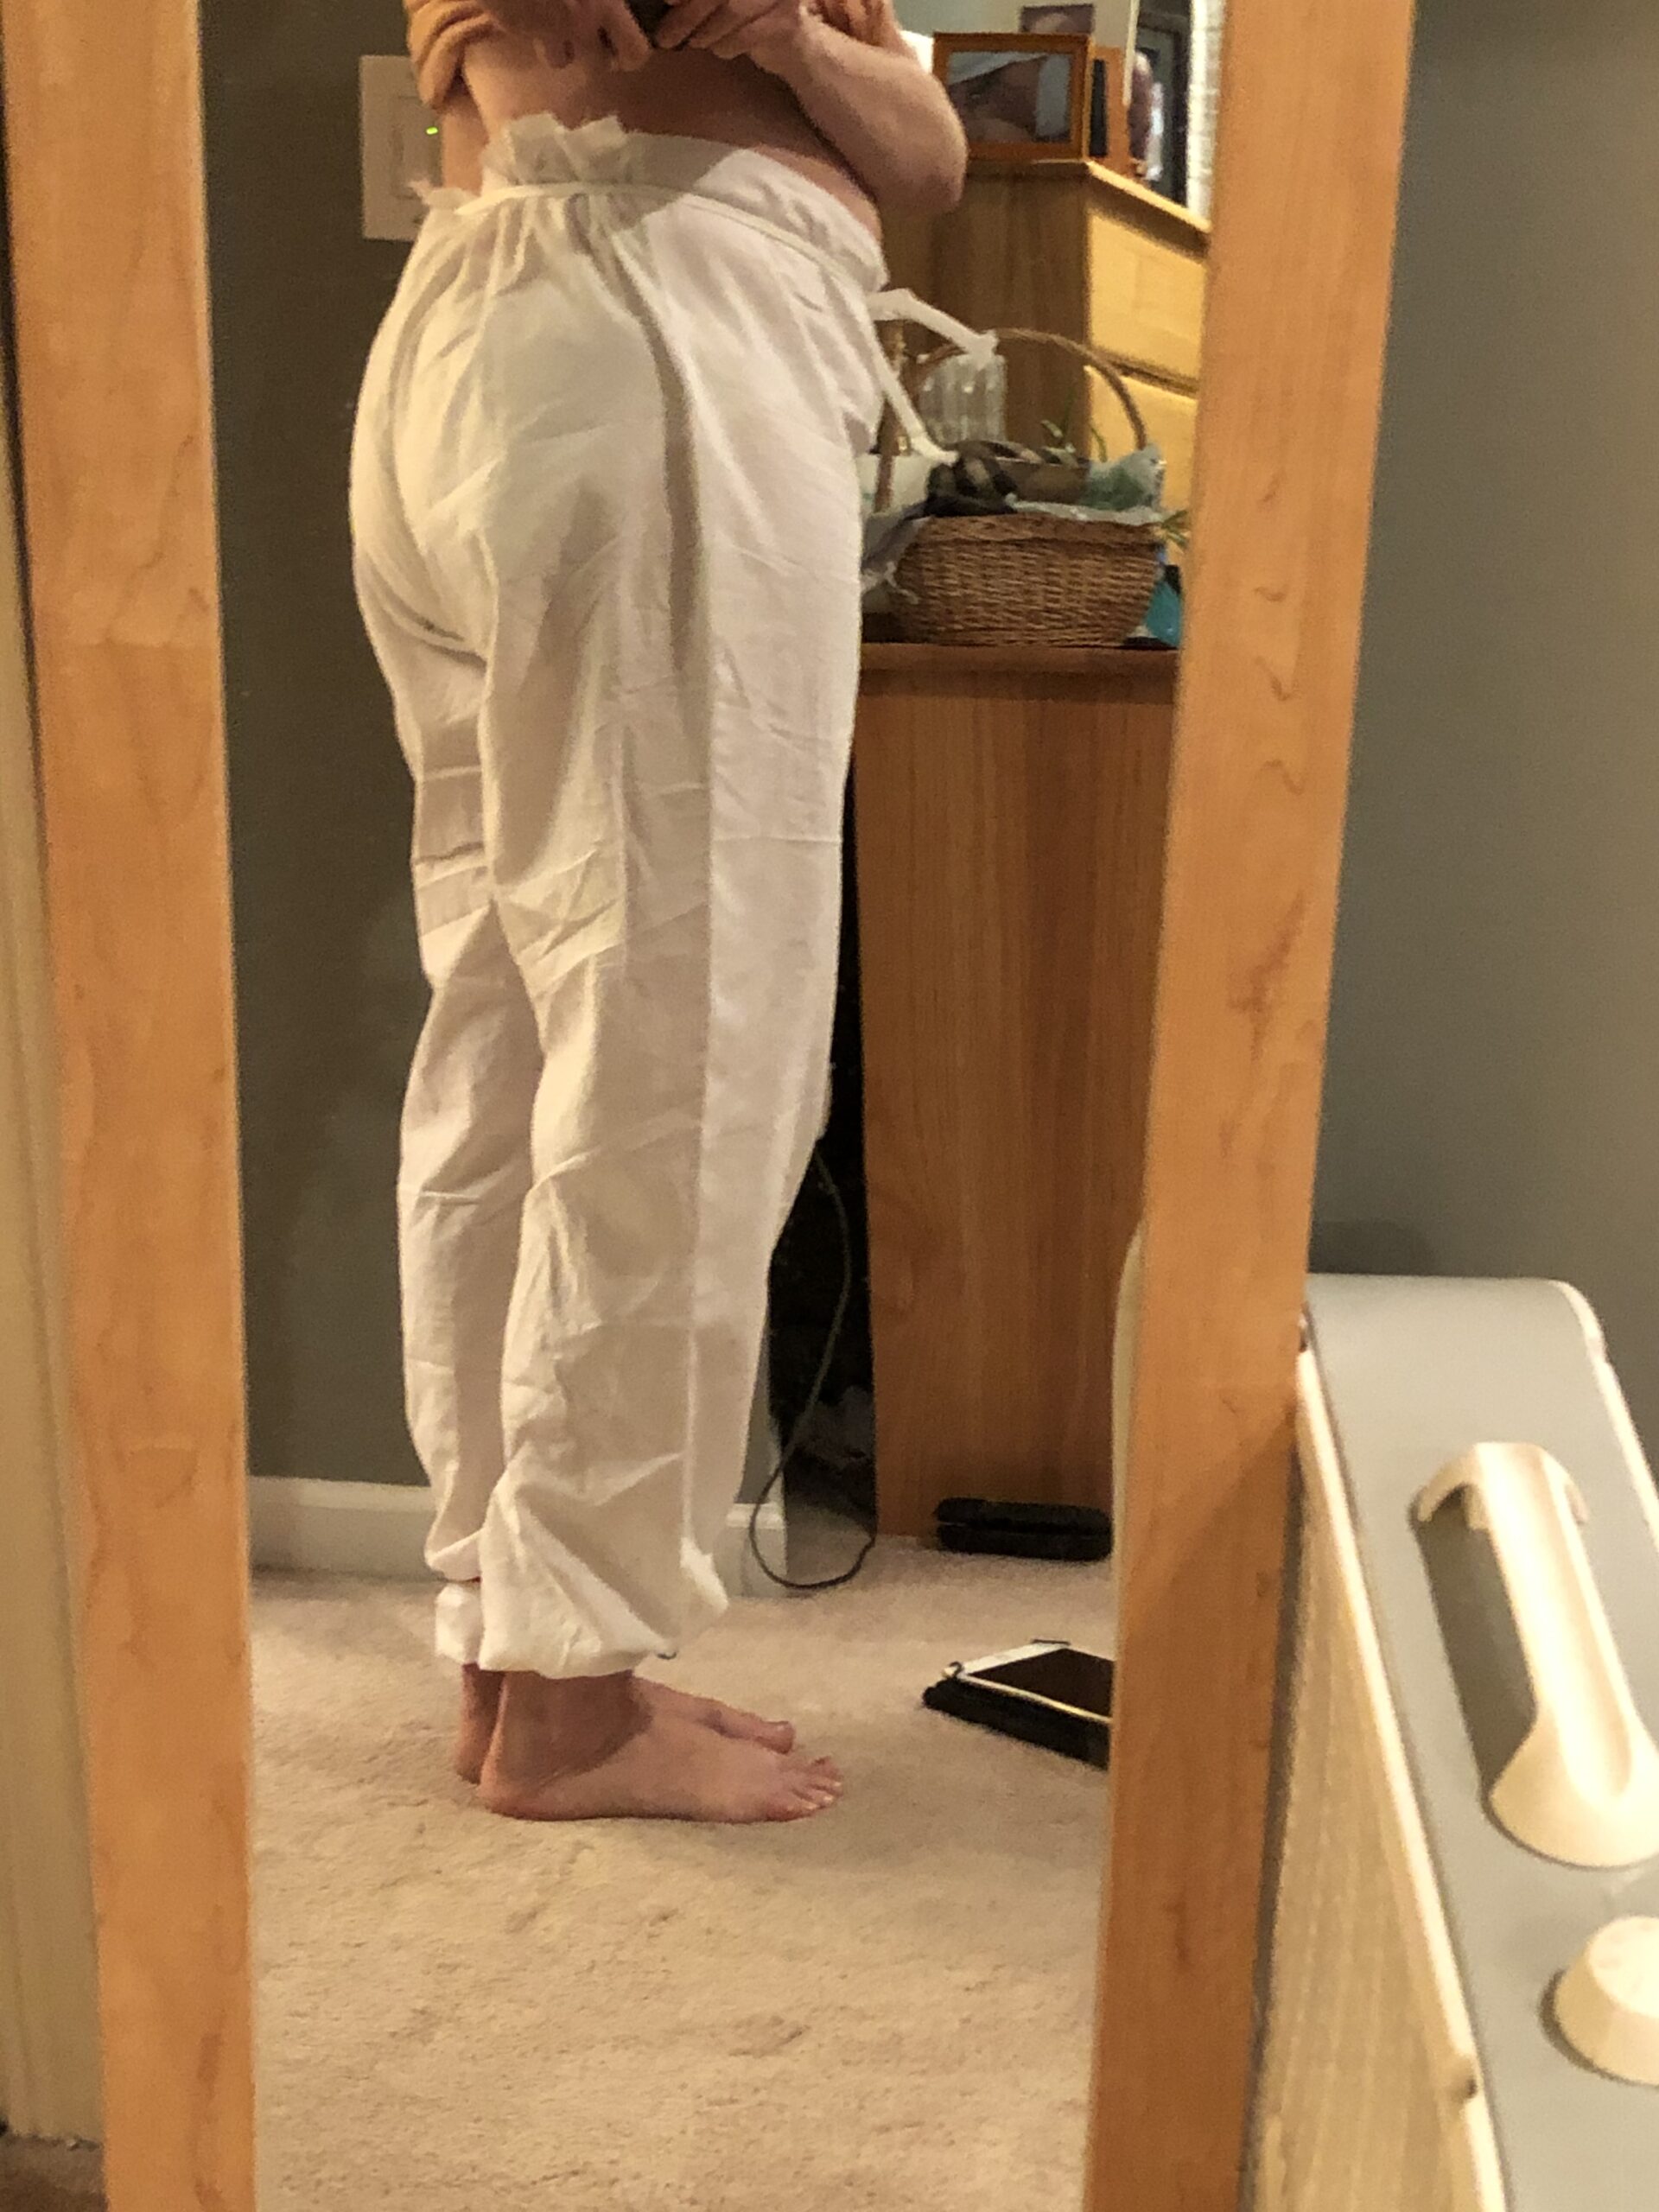
Below the knee, you can see there’s some volume here, (I pinch out about 4″ – 2″ in my hand x 2 sides), and depending on the look we’re going for – I may narrow the pants to a smaller size below the upper thigh. You CAN see this volume is designed into the pant in the last pic (from Made by Rae.) So I am opting to not adjust this yet.


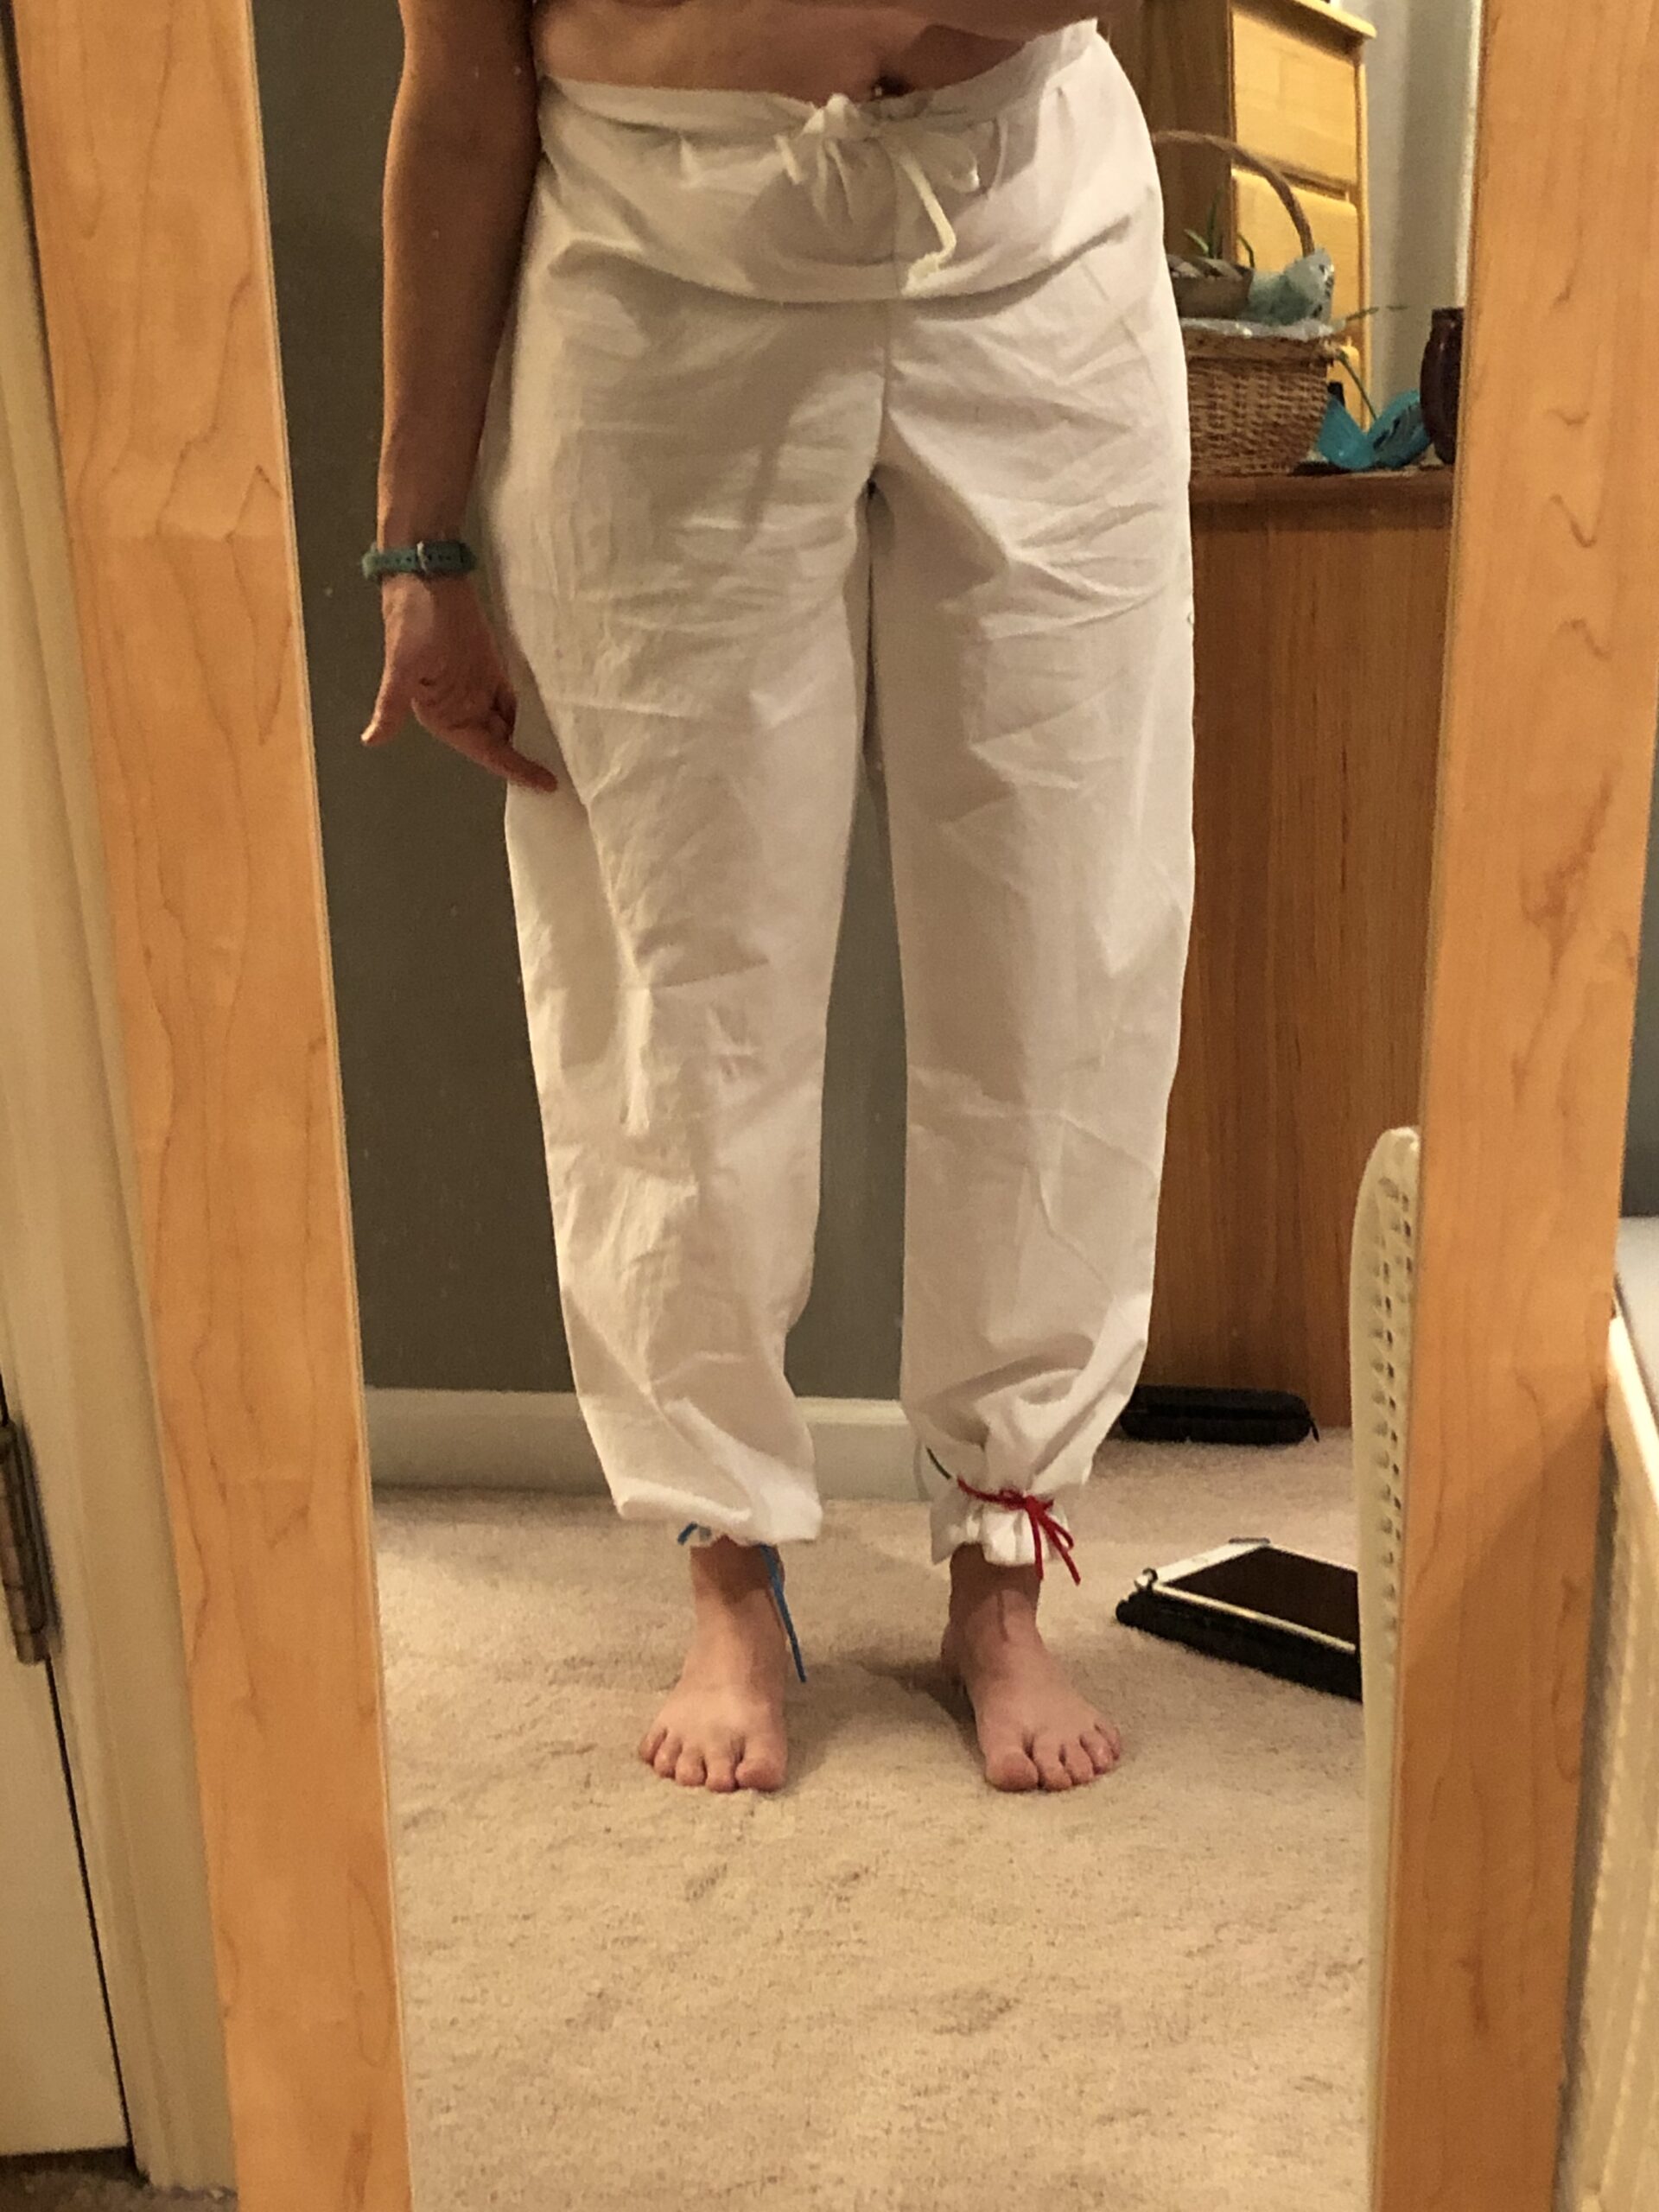

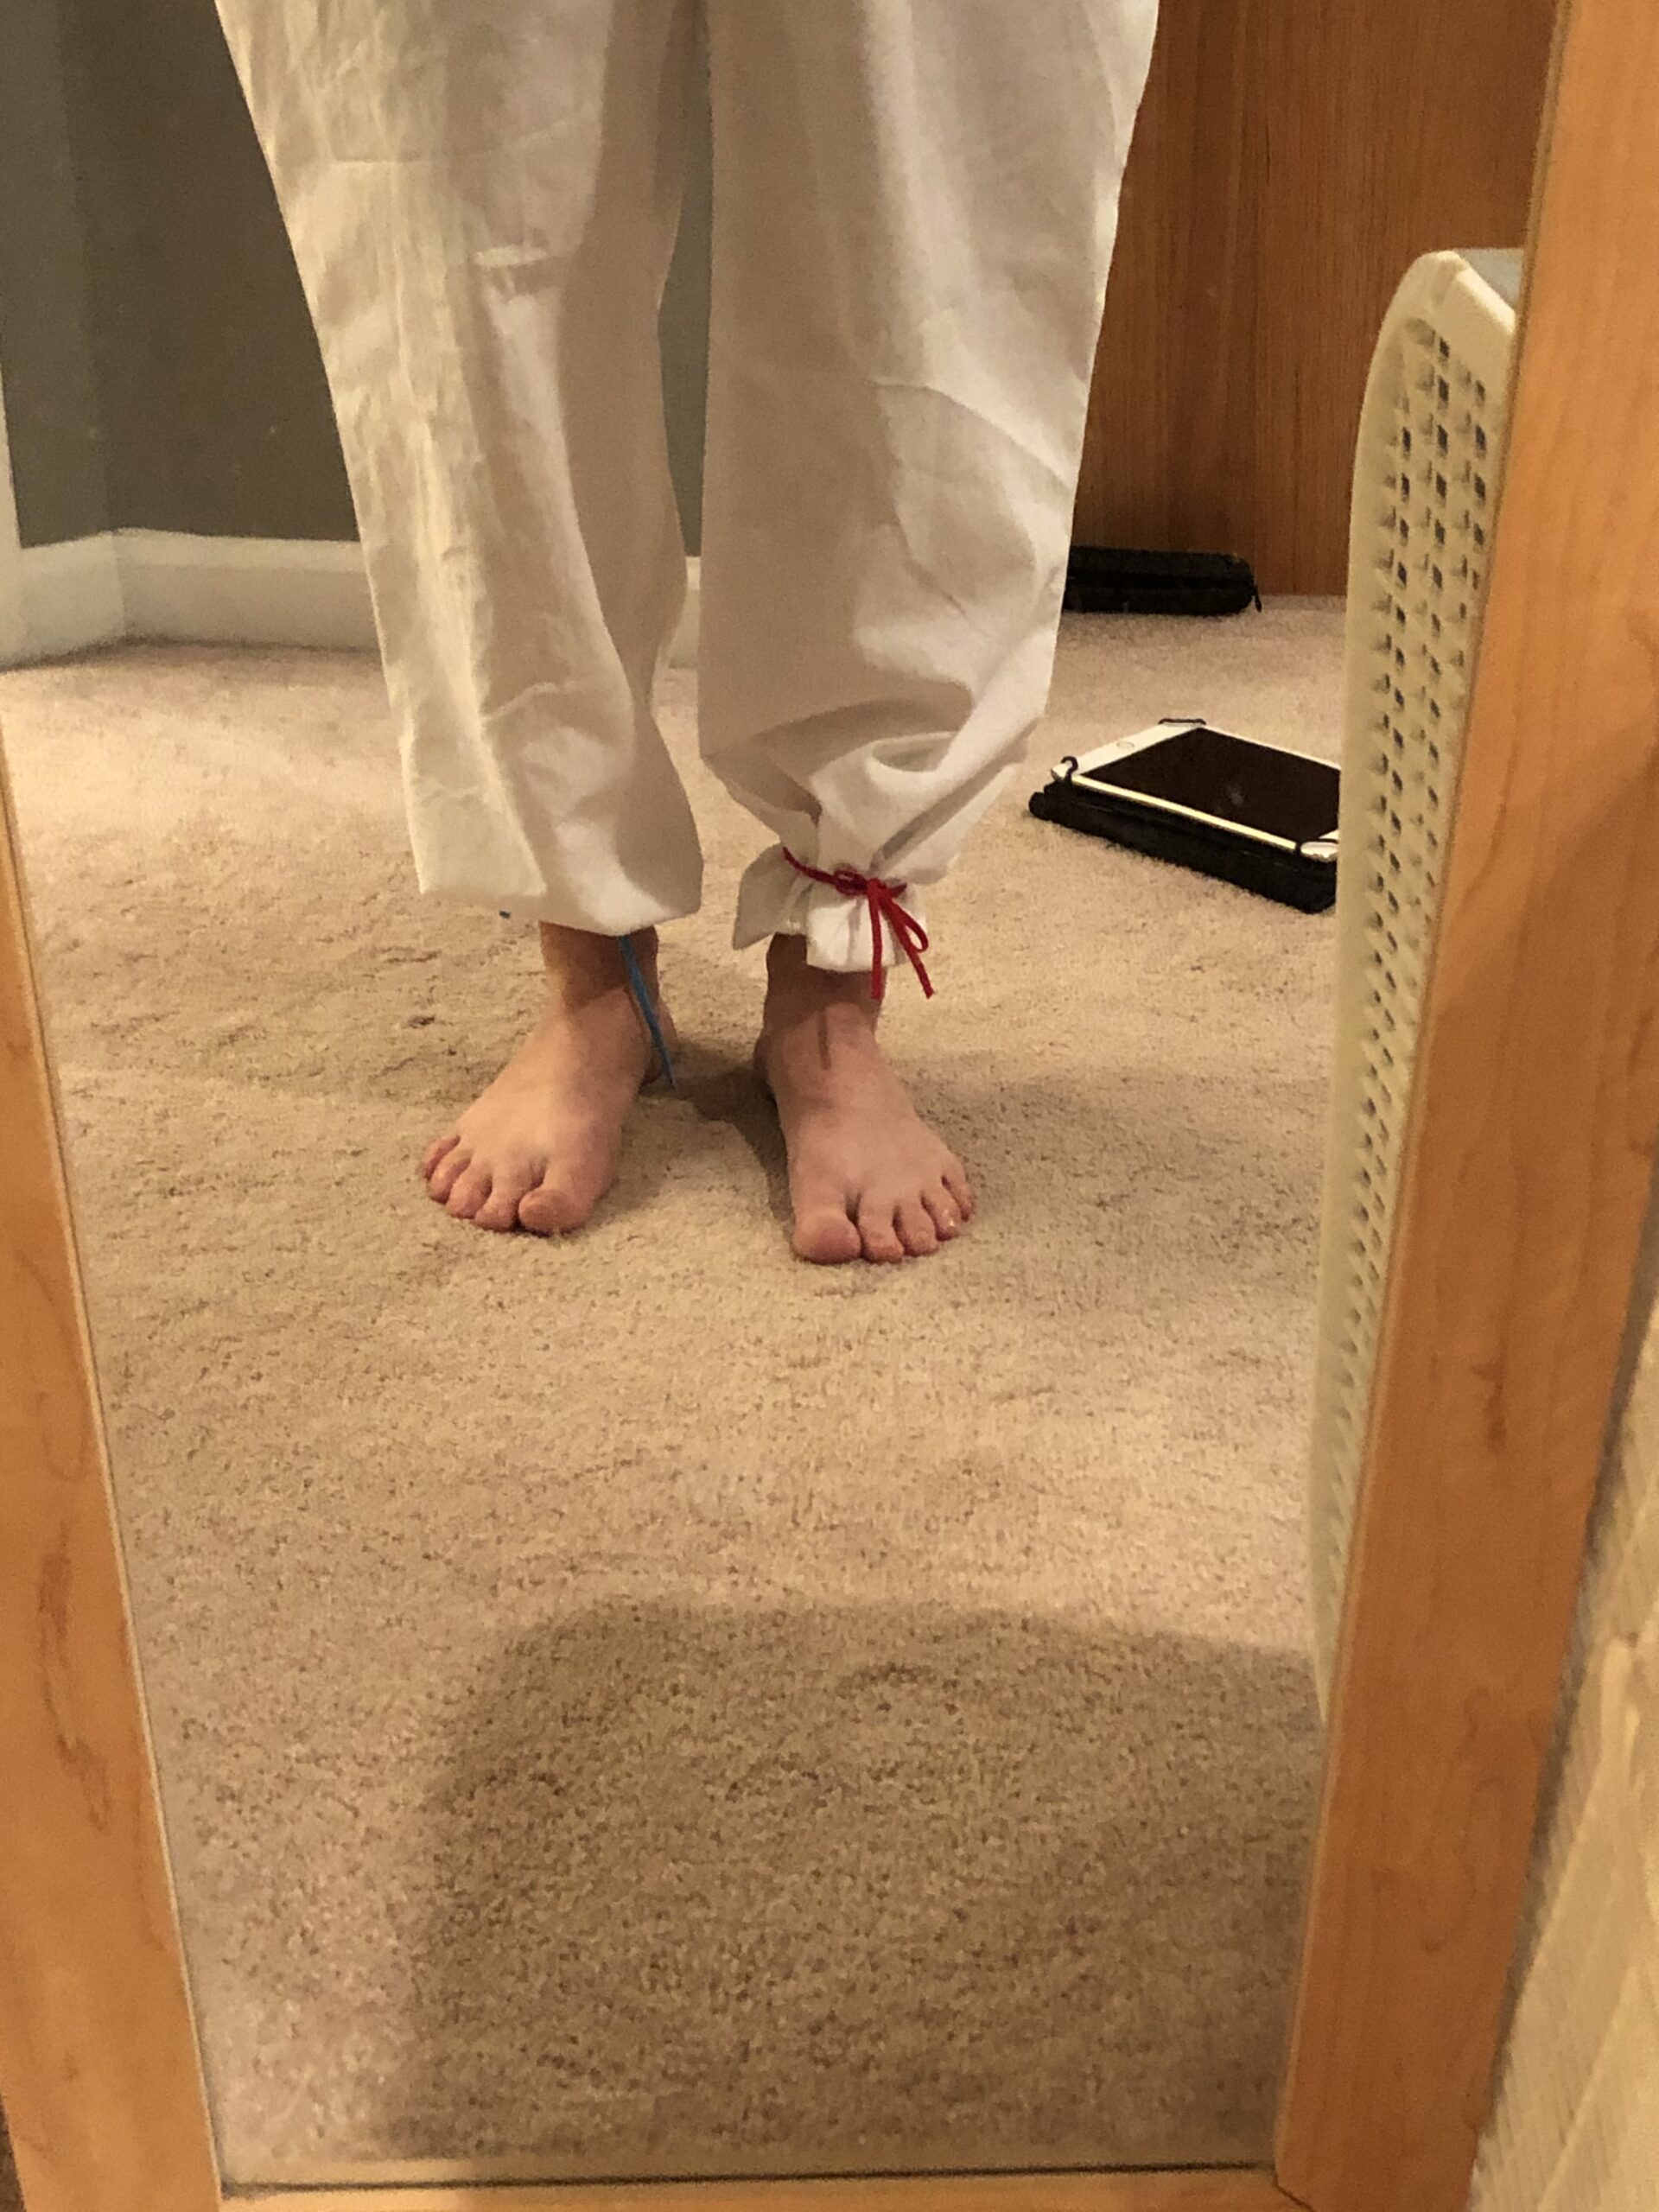

A tip, I keep a shoelace in my elastic bag of elastics to try on pants. I am, just for seeing how this comes together, sewing the facing/channel for elastic and testing it out. Why not? With a long basting stitch on my machine, I can test out my adjustments for using much wider elastic at the waist FIRST, before I cut my fashion fabric.
And as I’ve said before, I make things in threes so investing some time into pattern adjustments like this is no big deal. I intend to make two in solid colors and two in prints so this pattern will get some wear.
Final muslin adjustments, ready to cut the fashion fabric!
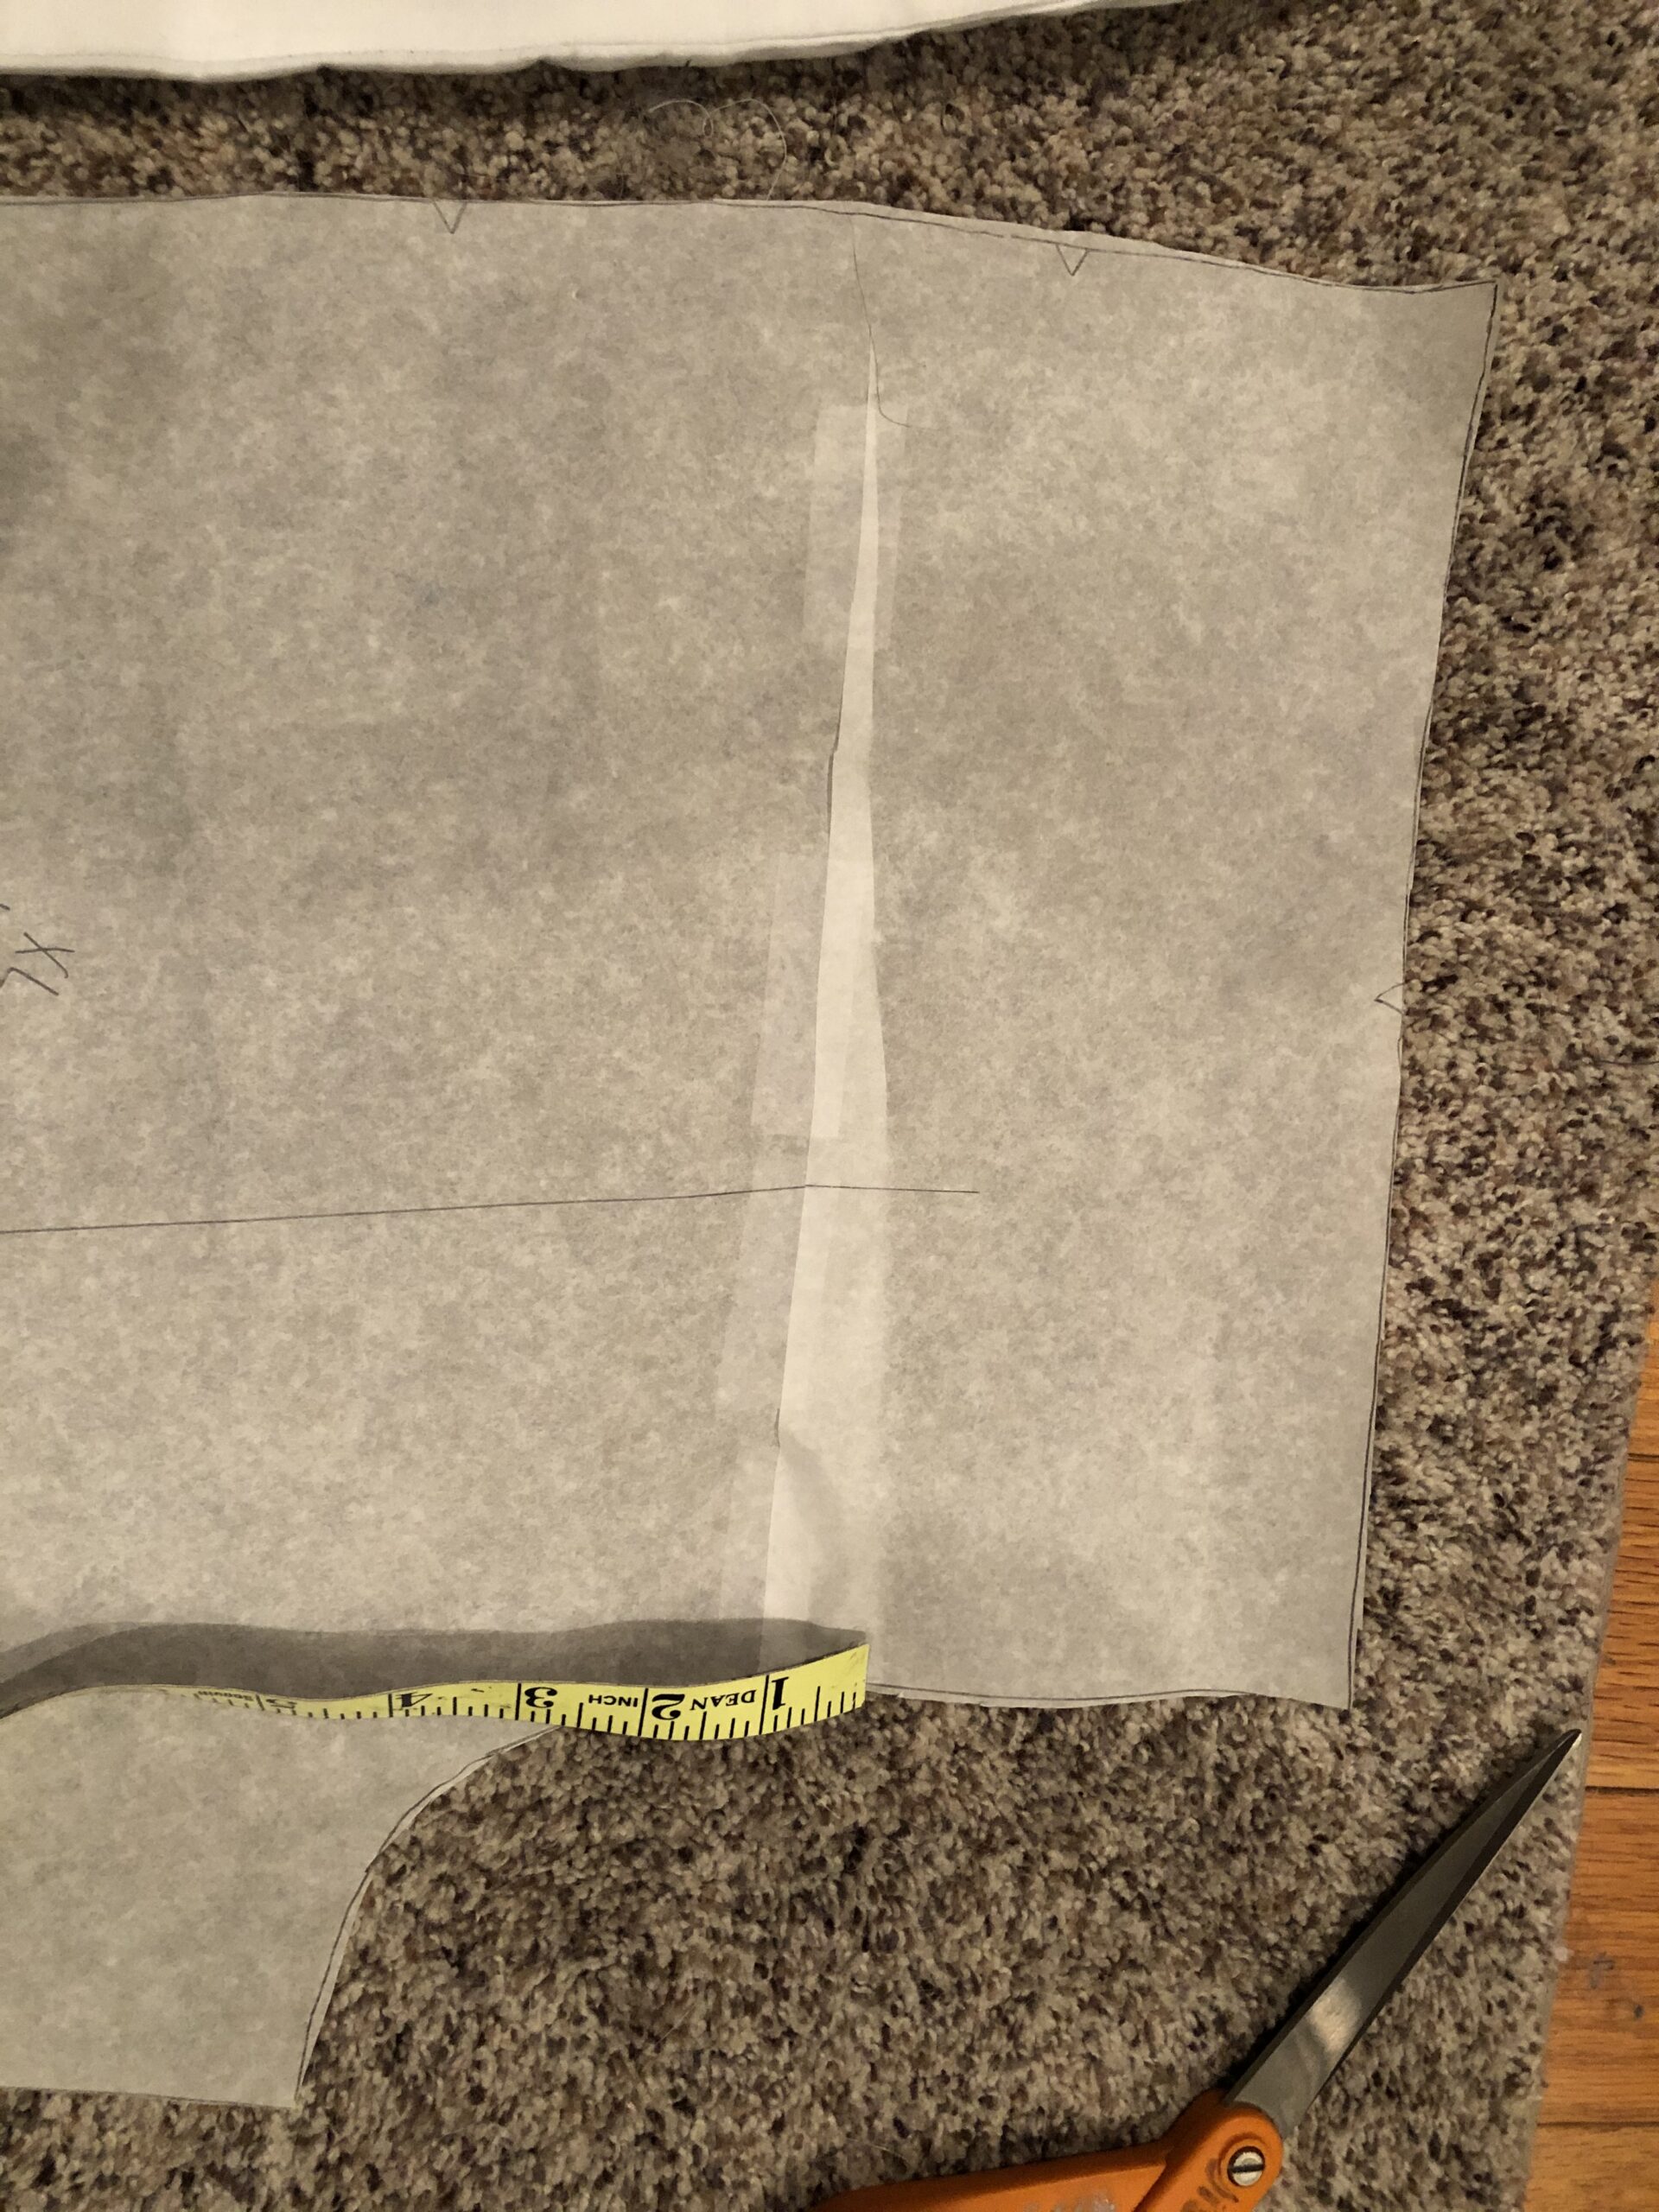
This video shows how to transfer the muslin adjustments to tissue.
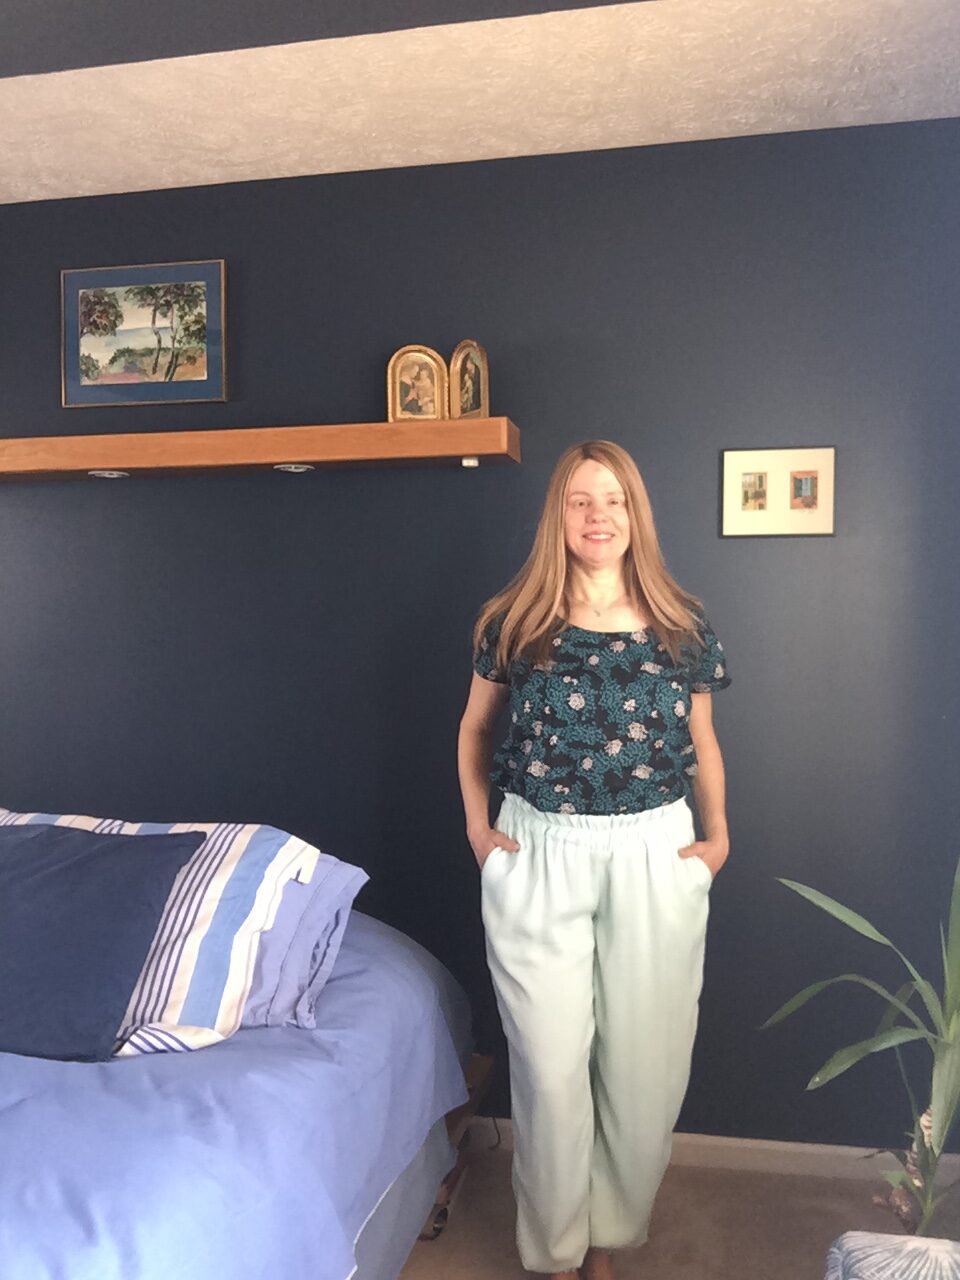
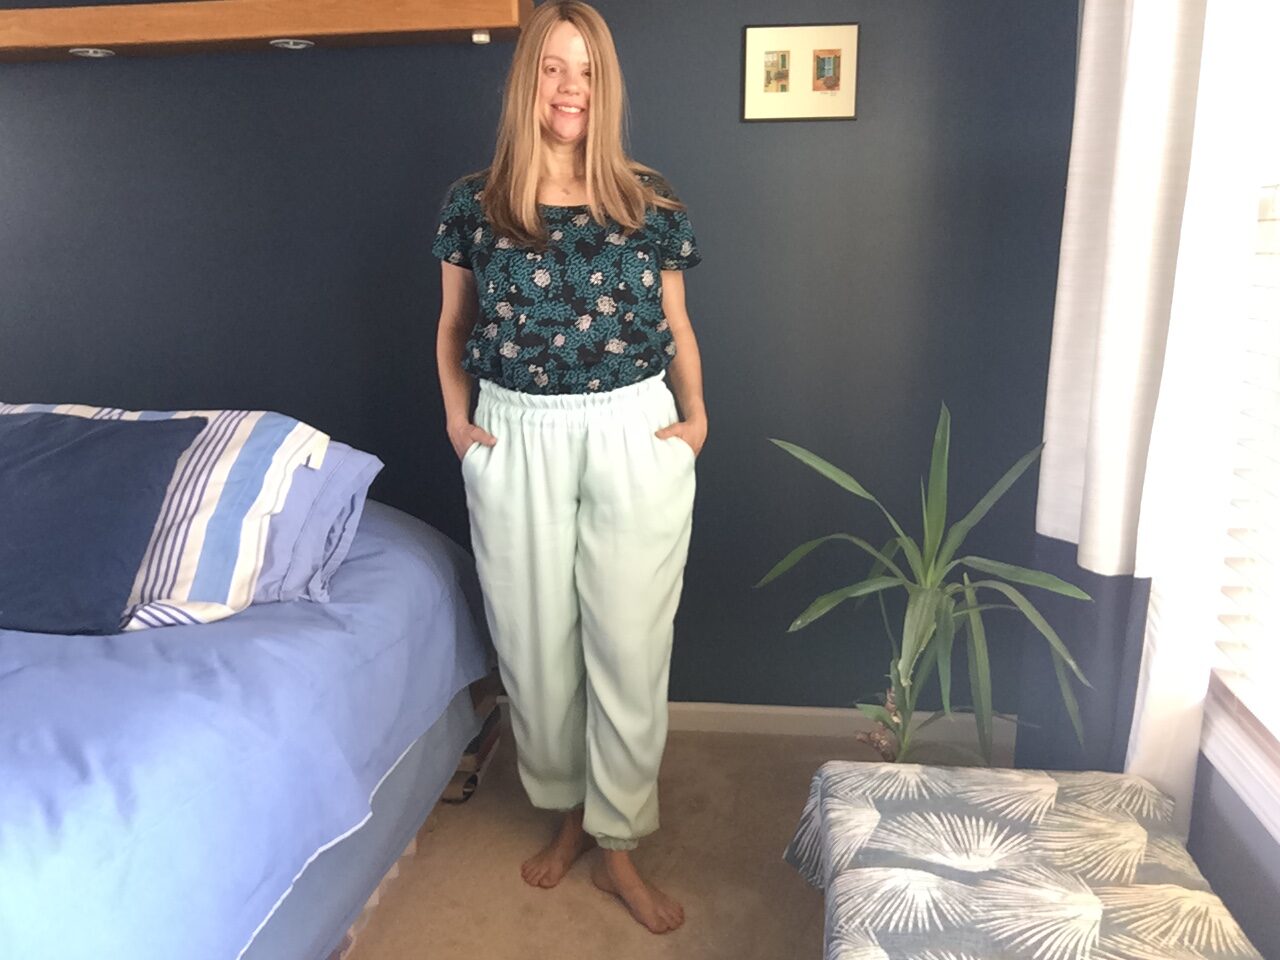
During construction (following the illustrated Luna instructions), I used a lot of pins and clips. This fabric is heavy and a little slippery, but the result is worth it – feels like heavy sueded silk, super nice, not at all see through. Going up a size gave me the right slouch and drape, and also impunity for future washing and drying (I did prewash and dry in the dryer on medium before cutting.)