
Build your me made capsule wardrobe FAST by sewing multiple pants at once.
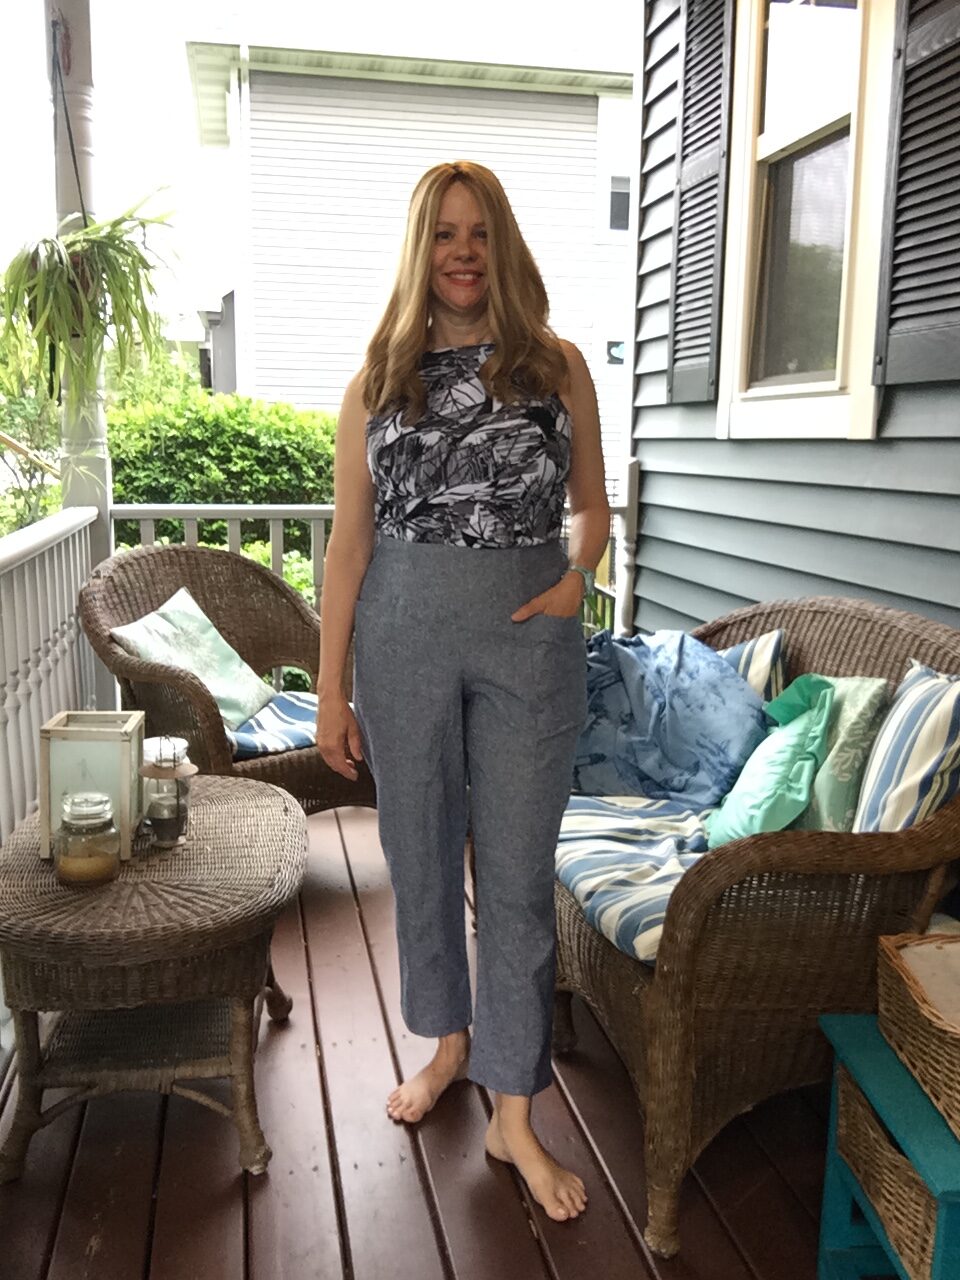
I’m sewing the Pietra Pants by Closet Core Patterns
It’s no secret, we love efficiency. And today, when you’re waiting days to buy something on line, you might be better off (for you AND the planet) to sew multiples of garments.

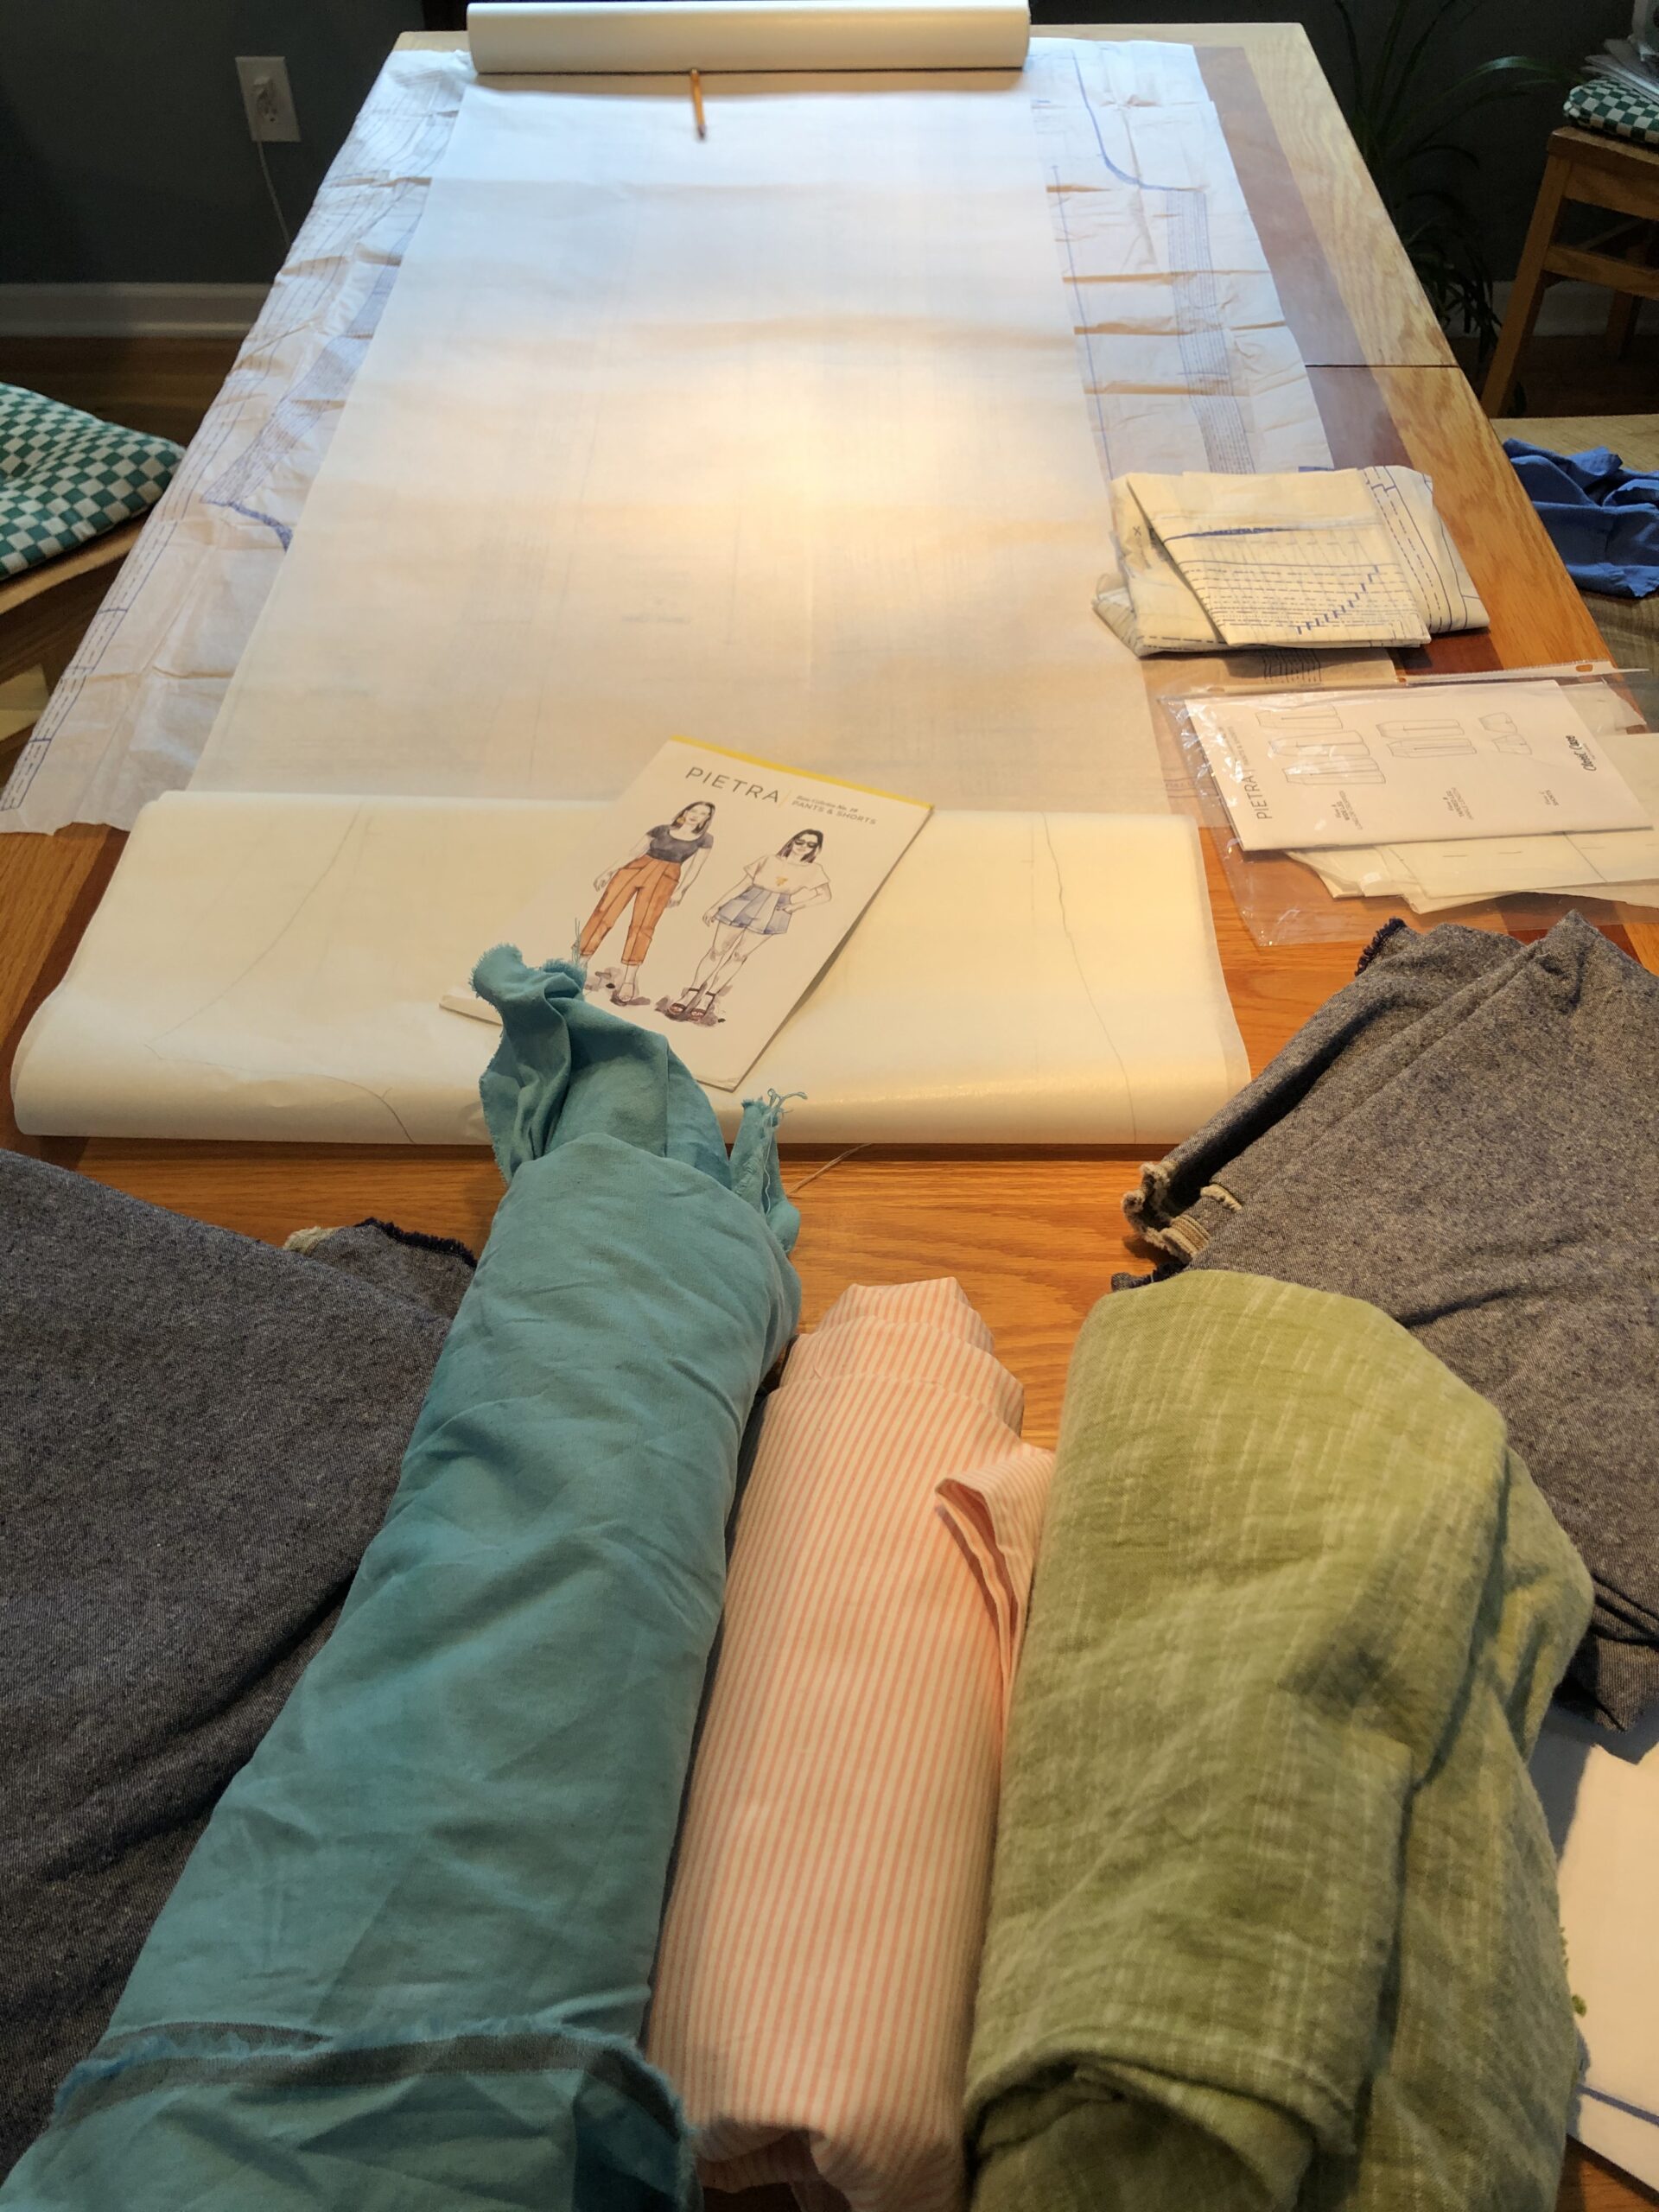
I’m embarking on a plan to sew 5 shorts/pants from one pattern. I’m calling this my #fivepantschallenge. My LFS is doing a MeMade May with the Pietra Pants from Closet Core Patterns and I’ve made these before (twice so far, with alterations). They asked me to sew a pair of shorts as a sample for the store so other customers can see what they look like sewn up. So, I purchased not only my own fabric for a pair of cropped slim leg, but also for the wide, full-length leg, and for shorts for the sample. Plus, I’m diving into stash to sew my own pair of shorts too.
- You can save a ton of time by batch sewing. I am going to choose a neutral thread for all of the pants (except topstitching, where I will swap thread and match) so I can sew all the pockets, all the front panels, all the side seams, etc. at a time. It’s not that much more time to do one seam than it is to do four of the exact same one, and you can then group pressing and other tasks together for efficiency
- You can add multiple garments to your wardrobe, that look different. The Pietra comes in four varieties: slim leg cropped, wide leg cropped, wide leg full length and shorts. Each of these in a variety of fabric colors would look very different in your wardrobe.
- You can sew faster than you can order online and wait. Especially with today’s pandemic no-dressing-room shopping.
- Your fabric choices are higher quality. Almost all garment fabric sold at your local fabric shop is higher quality than inexpensive RTW garments (unless you buy from discount fabric locations, like warehouses.)
My fabric choices are from stash and from my Local Fabric Shop, Seams Fabric in East Lansing, MI
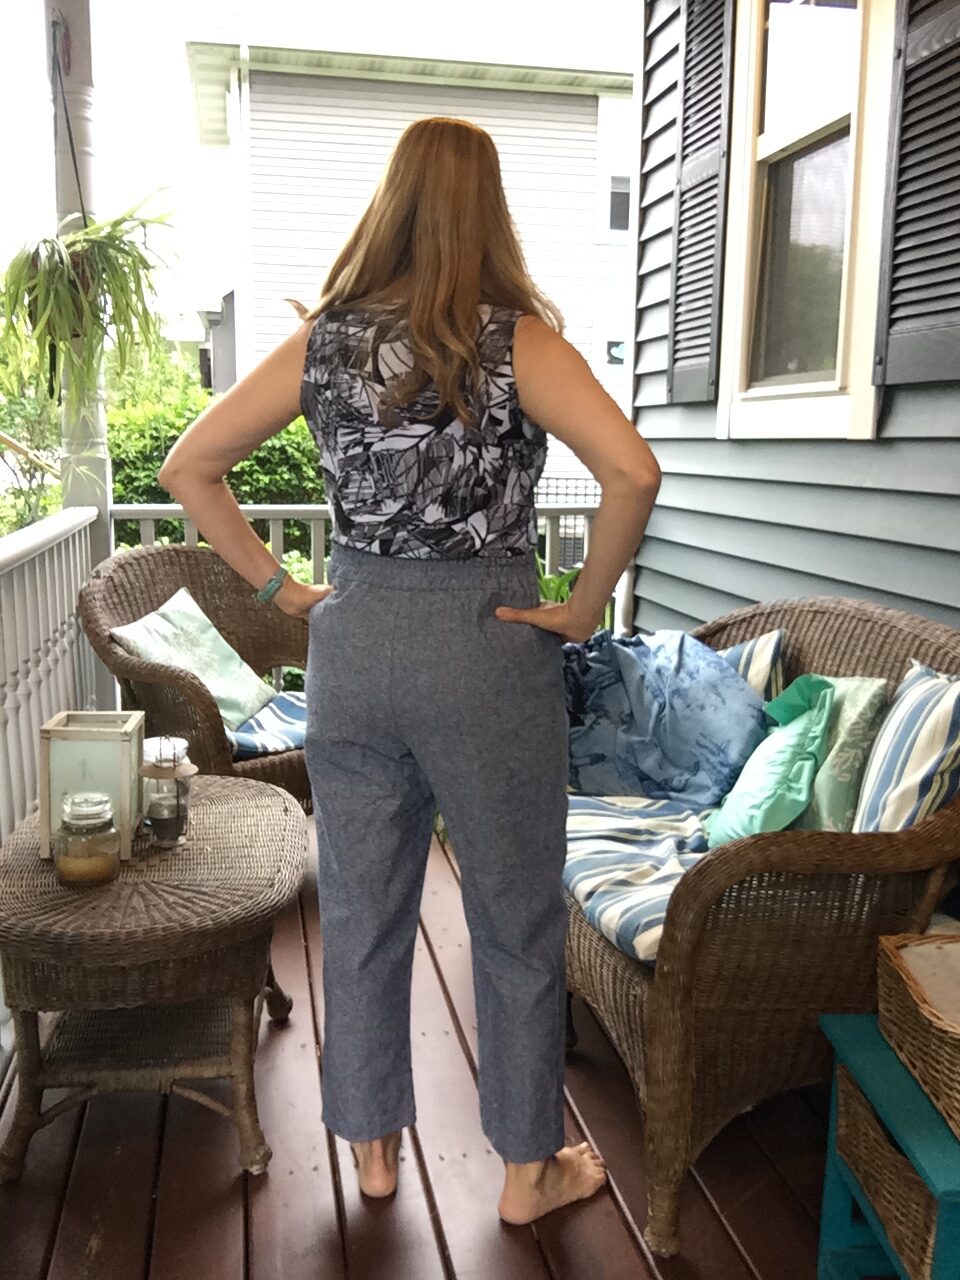
Pietra pants (slim, cropped) in a blue crossweave linen that is almost chambray-like in it’s look.
Pietra shorts in the blue crossweave linen (shop sample, size 10, no alterations to fit)
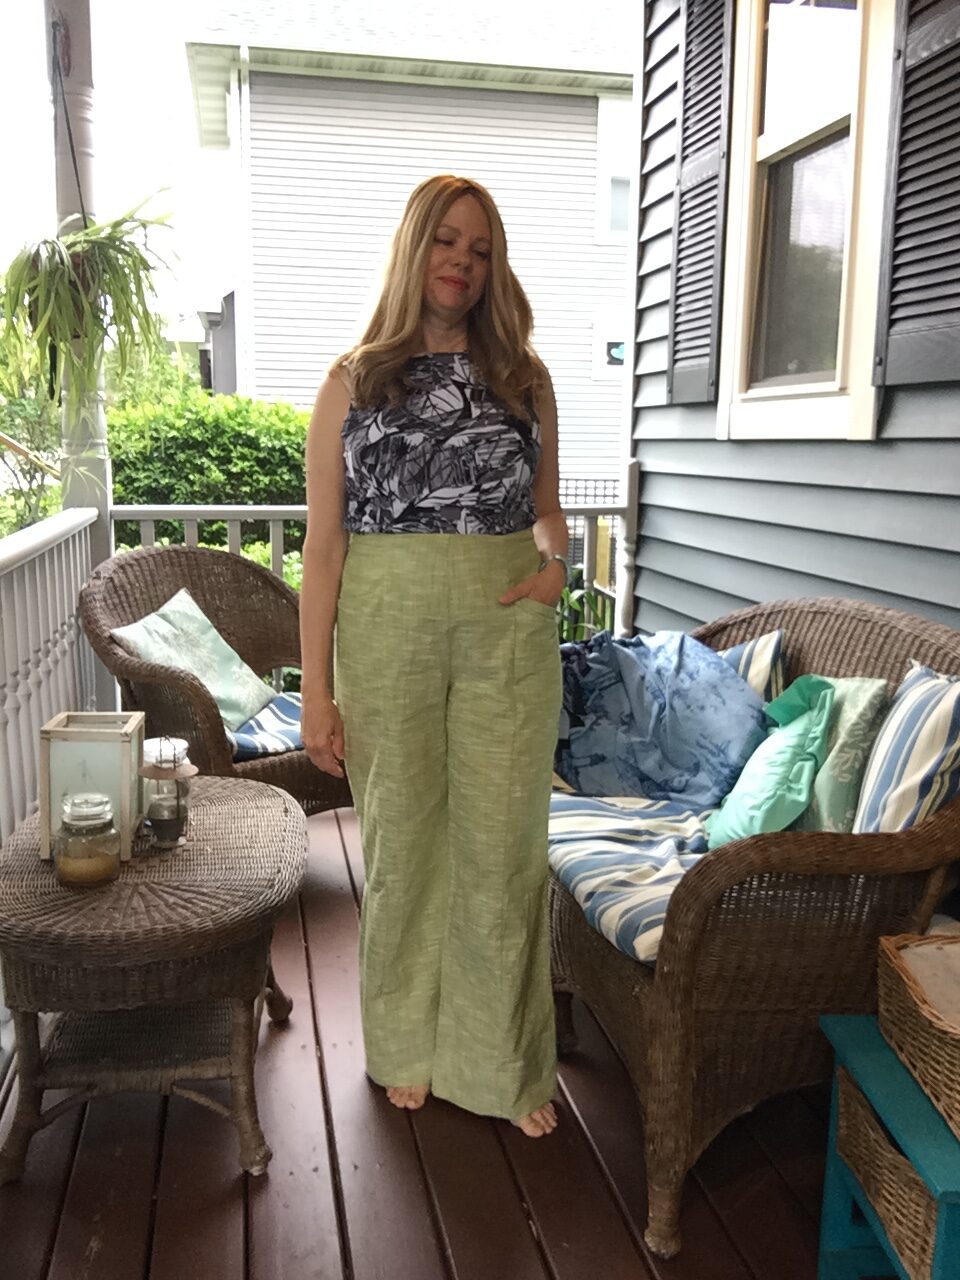
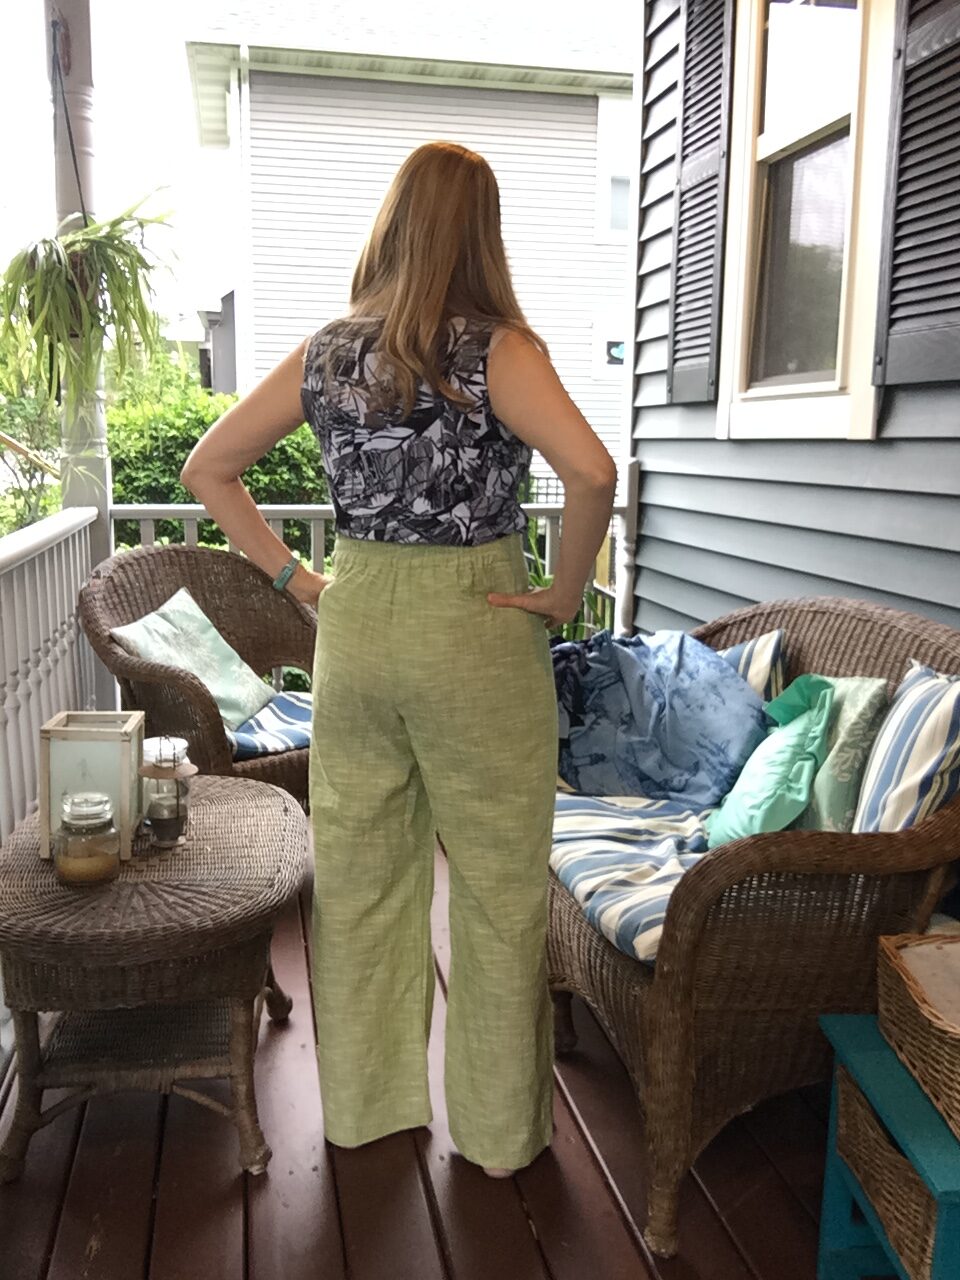
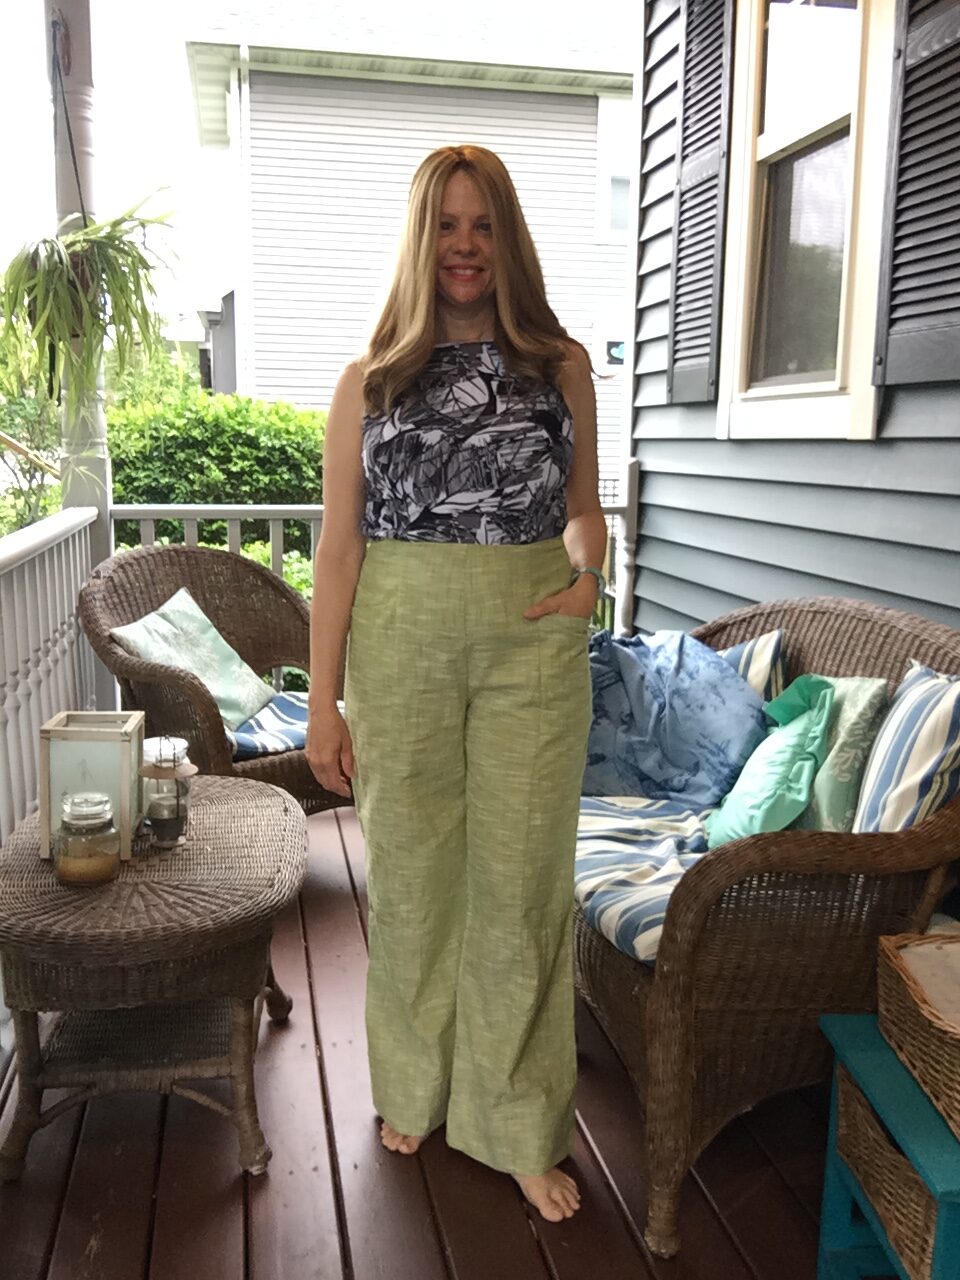
Pietra pants – wide leg, full length in green crossweave linen/rayon in a soft spring green (to coordinate with a big statement scarf I own)
Pietra shorts in coral print seersucker – from my stash!
Pietra shorts in hand-dyed Kona cotton
Progress Updates:
As I work on these shorts and pants, I’ll share some tips.
I first applied interfacing to all the front waistband panels and the top of the pockets in one batch session. If you’re going to burn your fingers pressing interfacing, best do it all at once, right? I then worked on the fronts of each of these pants or shorts in succession.
I applied the pocket to the side front of each short or pant leg. I then applied the center front panels to each short or pant leg, I serged the center front seams after straight stitching them together, and then I sewed the front crotch seams and clean finished those with the serger. This is the most complicated step of the whole pants, because once you have the front panel and pocket panel done, you’re just sewing the backs to the fronts and finishing waist and hem!
While doing this step (took about 2 hours for 4 pairs of pants or shorts), I listened to a read of a journal of a woman (Emily Holder) who lived with her physician/naturalist husband at Fort Jefferson in the Dry Tortugas, 90 miles west of Key West Florida right as the Civil War was starting. It’s a fascinating listen.
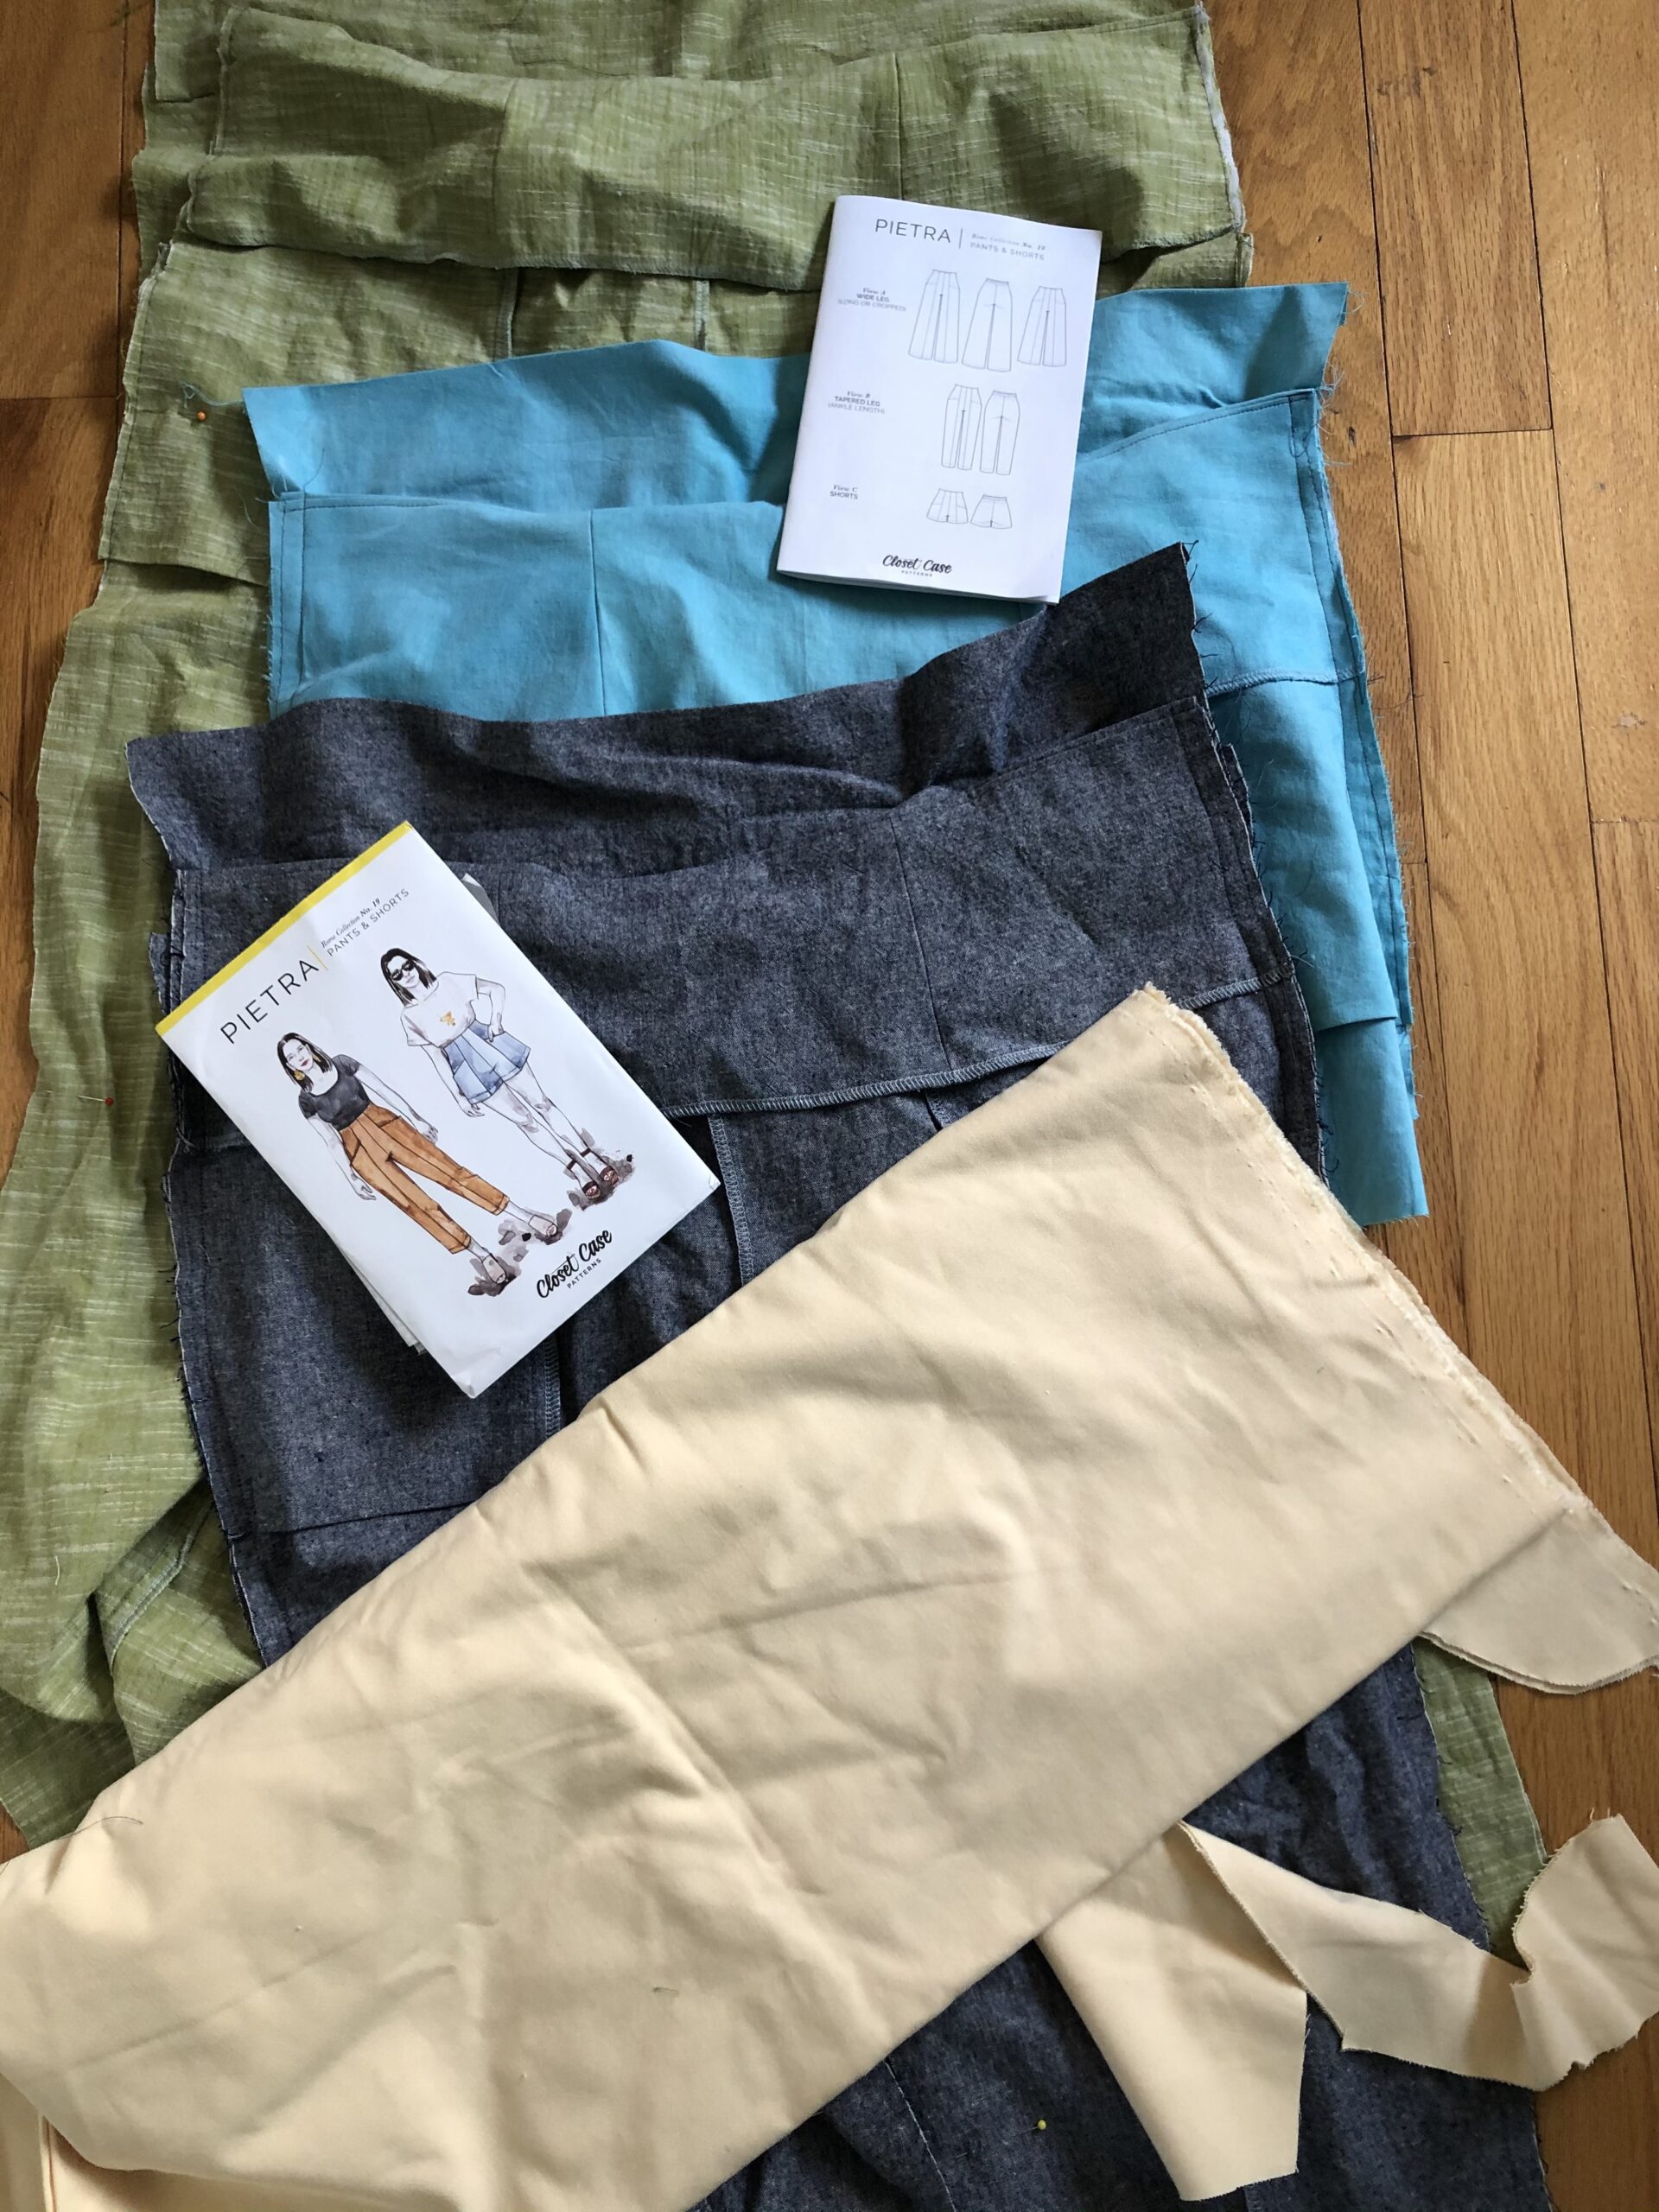

During the process, I realized one of the stash fabrics I’d selected was going to be too thin to wear as shorts, so I stopped construction, went to my stash, found a light yellow twill remnant and will continue on again with this new fabric, catching up to the same spot as the others before continuing on. Light lemon will work well with some upcoming additions to my summer wardrobe too.
I finished the pant front and backs and started assembling. In my tracing and alterations, I noted that I ended up with a 1/2″ longer sideseam on the back than front (I altered the front but tapered to 0″ at the sideseam so I need to check my tracing on this, it should not have happened this way.) So I made an adjustment at the sideseam waist on all three of these, and marked the same on my tracing for the next pair.
I always pin things up to see how they line up so these pants are pinned sideseam and inseam, ready for sewing the sideseam, and then the inseam.
I vary the construction from sewing the inseam AFTER the waistband (just personal preference, and I’ve now made this pattern seven times.) You can choose to just sew the waistband and then the inner leg seams before hemming.
For the final top stitching, you’ll have:
The back waistband
The front panel tack stitching to keep the facing down
The hems
Each of these will be sewn sequentially when you’re making multiple pairs of pants at once, so you’ll swap thread three times (unless your topstitching thread works for all of yours.)
In short, this was a worthwhile project in which I got a lot of well-fitting pants to wear. I got out of my previous rut of jeans-tee-blazer-sweater that I wore for years, and I have a TNT pattern that I’ll make for all season wear. In the winter, these will be made in baby wale corduroy, and twill.