
Today, I’m reviewing the Christine Jonson Taper & Wide Leg Pant.
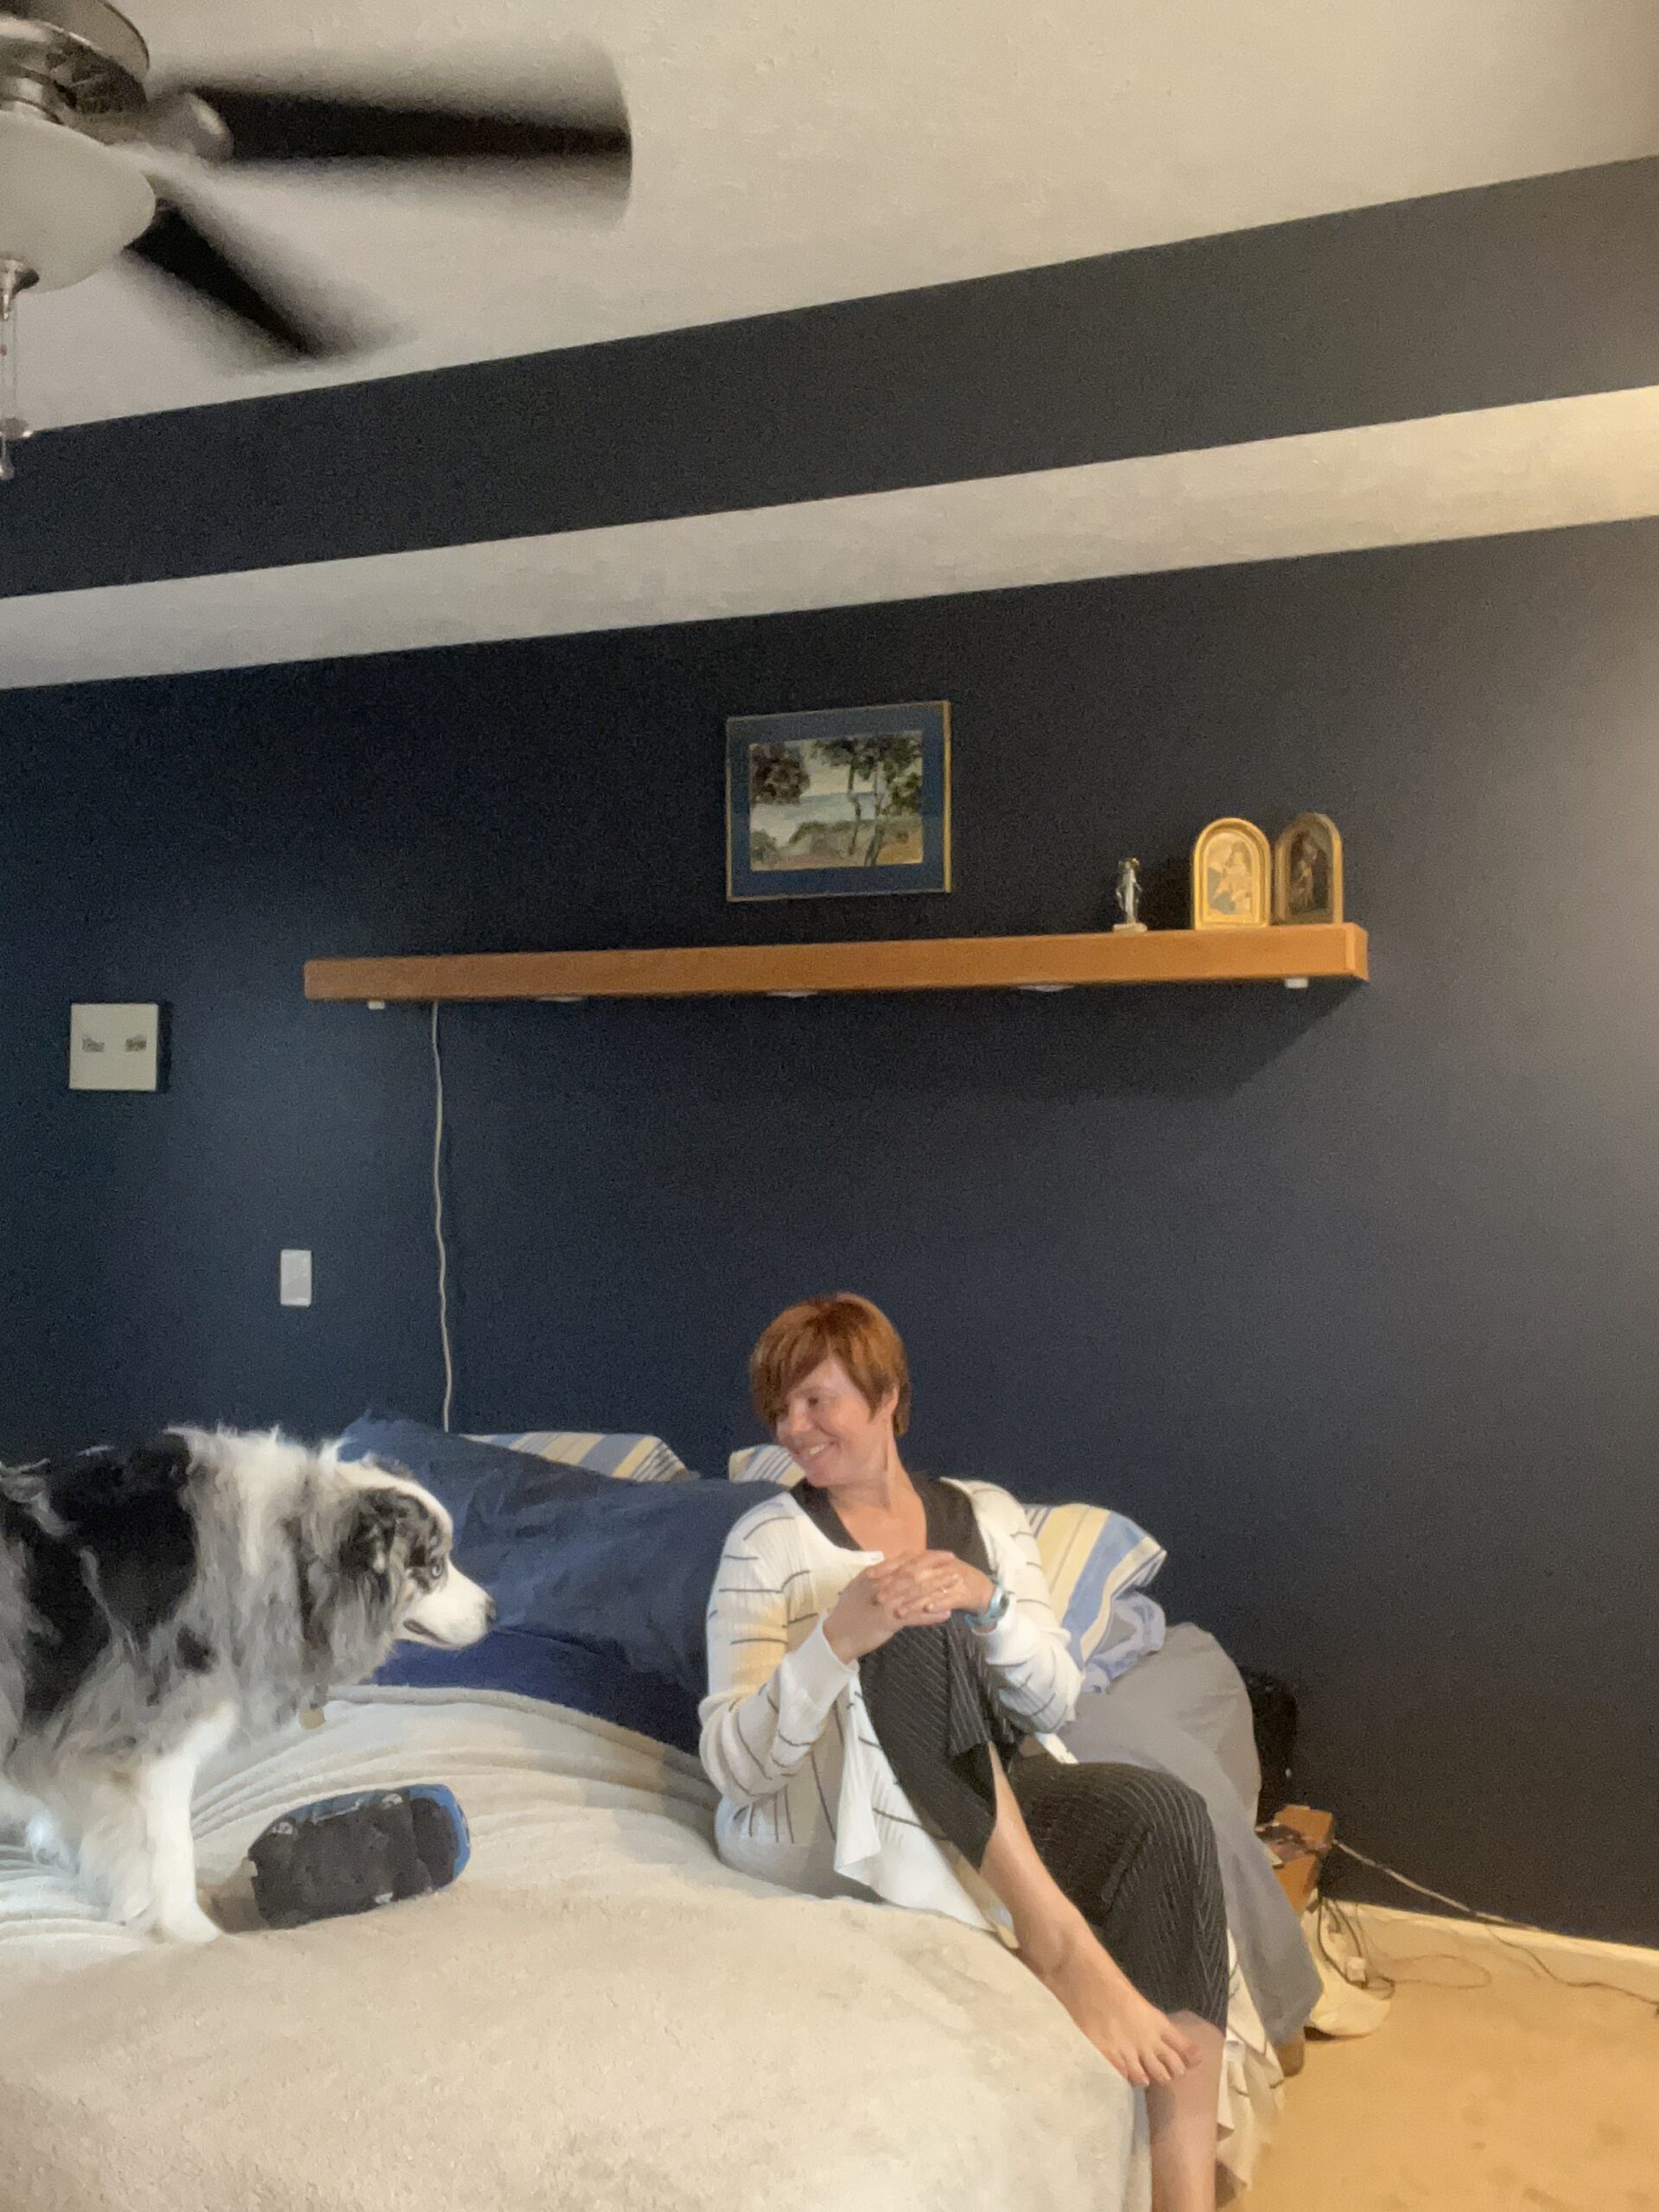
I sewed these black and white pinstripe doubleknit Wide Leg Pant about three or so years ago. I first had them sewn into a pair of really wide palazzo pants from Sandra Betzina, but this doubleknit is heavy and the pants were heavy, as well. So I recut these into the Christine Jonson Patterns version of them, which is narrower overall and has a slight taper to the hem.
They were worn first by Ella, our Christine Jonson model, below.
For about five years, I sold Christine’s patterns, and managed her social media and fulfillment. Ultimately, I didn’t want to design new patterns, and Christine wanted to design a plus sized line, so we parted friends, but she took her business back. For those five years though, a lot of the content on her website was authored and produced by me, including tons of tutorials and videos, at least two blog posts a week and a zillion sew alongs. Many of these feature those pants!
The taper/wide leg pant is a great knit pant basic, and you should own it. Both pants are no-side-seam ONE pattern piece pants. I mean how could you not want to whip these up. I do mean whip! They take about 20-30 minutes. My washer’s cycle is 30 minutes and my dryer, same. If I need clean pants, these are my go-to!
The taper pant fits like a jogger – it’s a slim fit, but it’s not a legging. It doesn’t have a jogger cuff, but Christine shows one in a blog post on her website (the joggers are in purple). She adds a drawstring to the waist too.
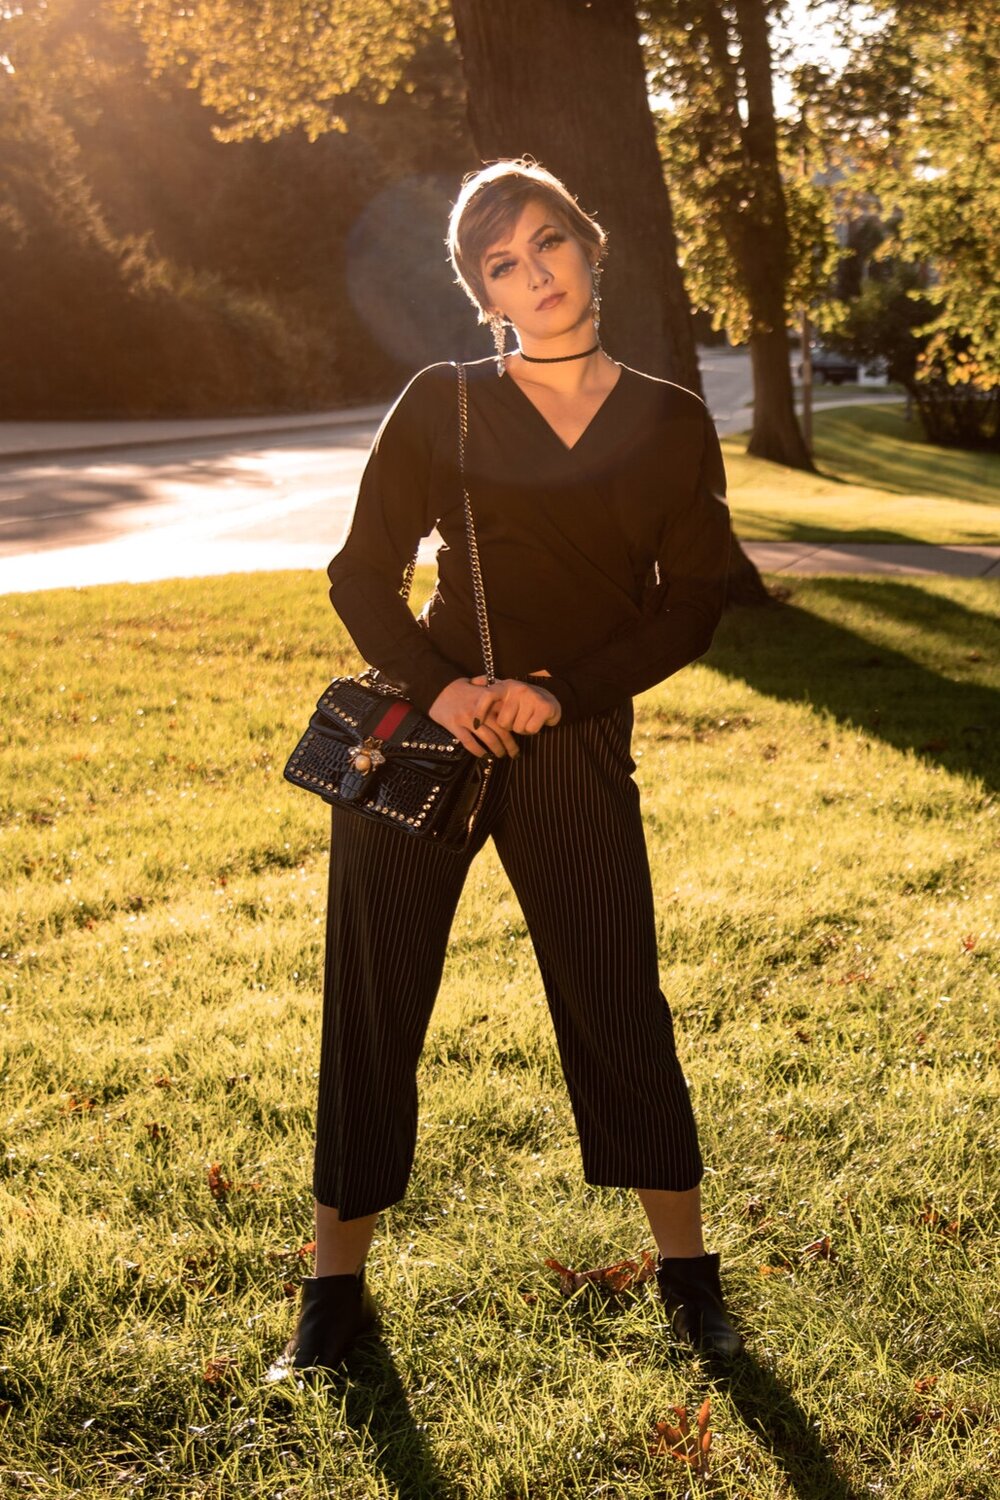
The wide leg pants are slightly tapered at the hem – from the knee down, so they are very much the 1990s shape we are seeing right now. Though they don’t have pockets (in either), you can use Christine’s Pocket in a Dart tutorial to do a sideseam pocket in a sideseam dart, or you can add a cargo style pocket in a woven fabric to the side. If your knit is stable, like ponte, just use the ponte, interface the pocket top before you fold it down and maybe add a button closure to it, by sewing a buttonhole in the pocket’s fold over facing and sewing a button to the pants accordingly.
I’ve made these pants straight wide leg too and they’re amazing. I even hacked them into a bandeau jumpsuit.
They’re designed for knit fabrics, and you should make them as such. You can go up a size or two for a woven, if you want to. They are very well drafted and fit the body quite well for such a basic pair of pants. I’ve said before, I think Christine drafts some of the best fitting sewing patterns ever, and that’s not just because I know her, she just does.
Styling these pants:
They’re a basic elastic waist pant – you’ll wear them everywhere. I typically do a 30 minute yoga stretch session before work, so I dress in knit pants, a tee shirt and I do my stretching, then I put on whatever cardigan/jacket I’m going to wear that day, and sit down to work. That’s a perfect studio-to-street pattern in these pants, regardless of whether you choose to wear the taper or the wide.
In this video (which is for the equally awesome Boyfriend or boifriend knit blazer), you’ll see the black taper pants on the mannequin with a black wrap top (also CJP).
If you’re plus sized, Christine released a version of these for plus too!
You can wear them with a graphic tee, and a moto jacket.
You can wear the taper/wide pant with a cozy sweatshirt and duster over that. For summer, they are awesome with a cropped swingy tank top or a boxy linen tee shirt.
They are incredibly comfortable and versatile, and did I mention they take 20 minutes to sew?
The construction is simple:
- Cut 2 of the ONE pattern piece. Just one piece!
- Sew the inner leg seams of each pant leg
- Turn one pantleg out and slide it, right sides together, inside the other pant leg.
- Sew the crotch seam
- Turn the pants wrong side out.
- Pull a length of elastic your waistband plus a little, snug it up a little snugger than you think you want. If you’re following the pattern instructions, you’ll sew the elastic ends together, then quarter the elastic and sew to the wrong side of the top raw edge of the pants, stretching the elastic to fit the circumference of the waistband. Then, turn under the elastic, and stretch and topstitch the elastic in place. This creates a permanent elastic waist, similar to RTW pants, not a casing.
- If you prefer a casing, sew a casing by folding down the top of the pants, larger than the width of your elastic, leaving a space at the center back. You do not need to turn the casing under at the raw edge, as knit fabrics won’t ravel. Thread elastic through, sew the ends together, then sew the pants waistband closed. The latter method gives you options to make the elastic smaller if you lose weight (or larger.)
That’s it! If you want to hem them, you can turn under, press and hem (with a straight stitch!) I recommend you use Steam a Seam to hold the knit hem in place – again, no second turn under is needed on that hem, as the fabric will not ravel.
If you want to crop them like I did, I just measured and then ran a rotary cutter along the pant hem with my clear ruler for a straight line. Then I secured the inner leg seam with some extra backstitching so it didn’t come unraveled.
That’s it! Your most-loved pants ever! There are so many wonderful ponté, sweatshirting, double knits, cotton lycra knits (beefy ones) that are perfect for these pants. If you want to make them more fancy, you can try a print knit – just use something bottom-weight and fairly stable as your knit.