
Originally published March 2020, updated January 2022.
How to sew a reversible fleece cape / ruana
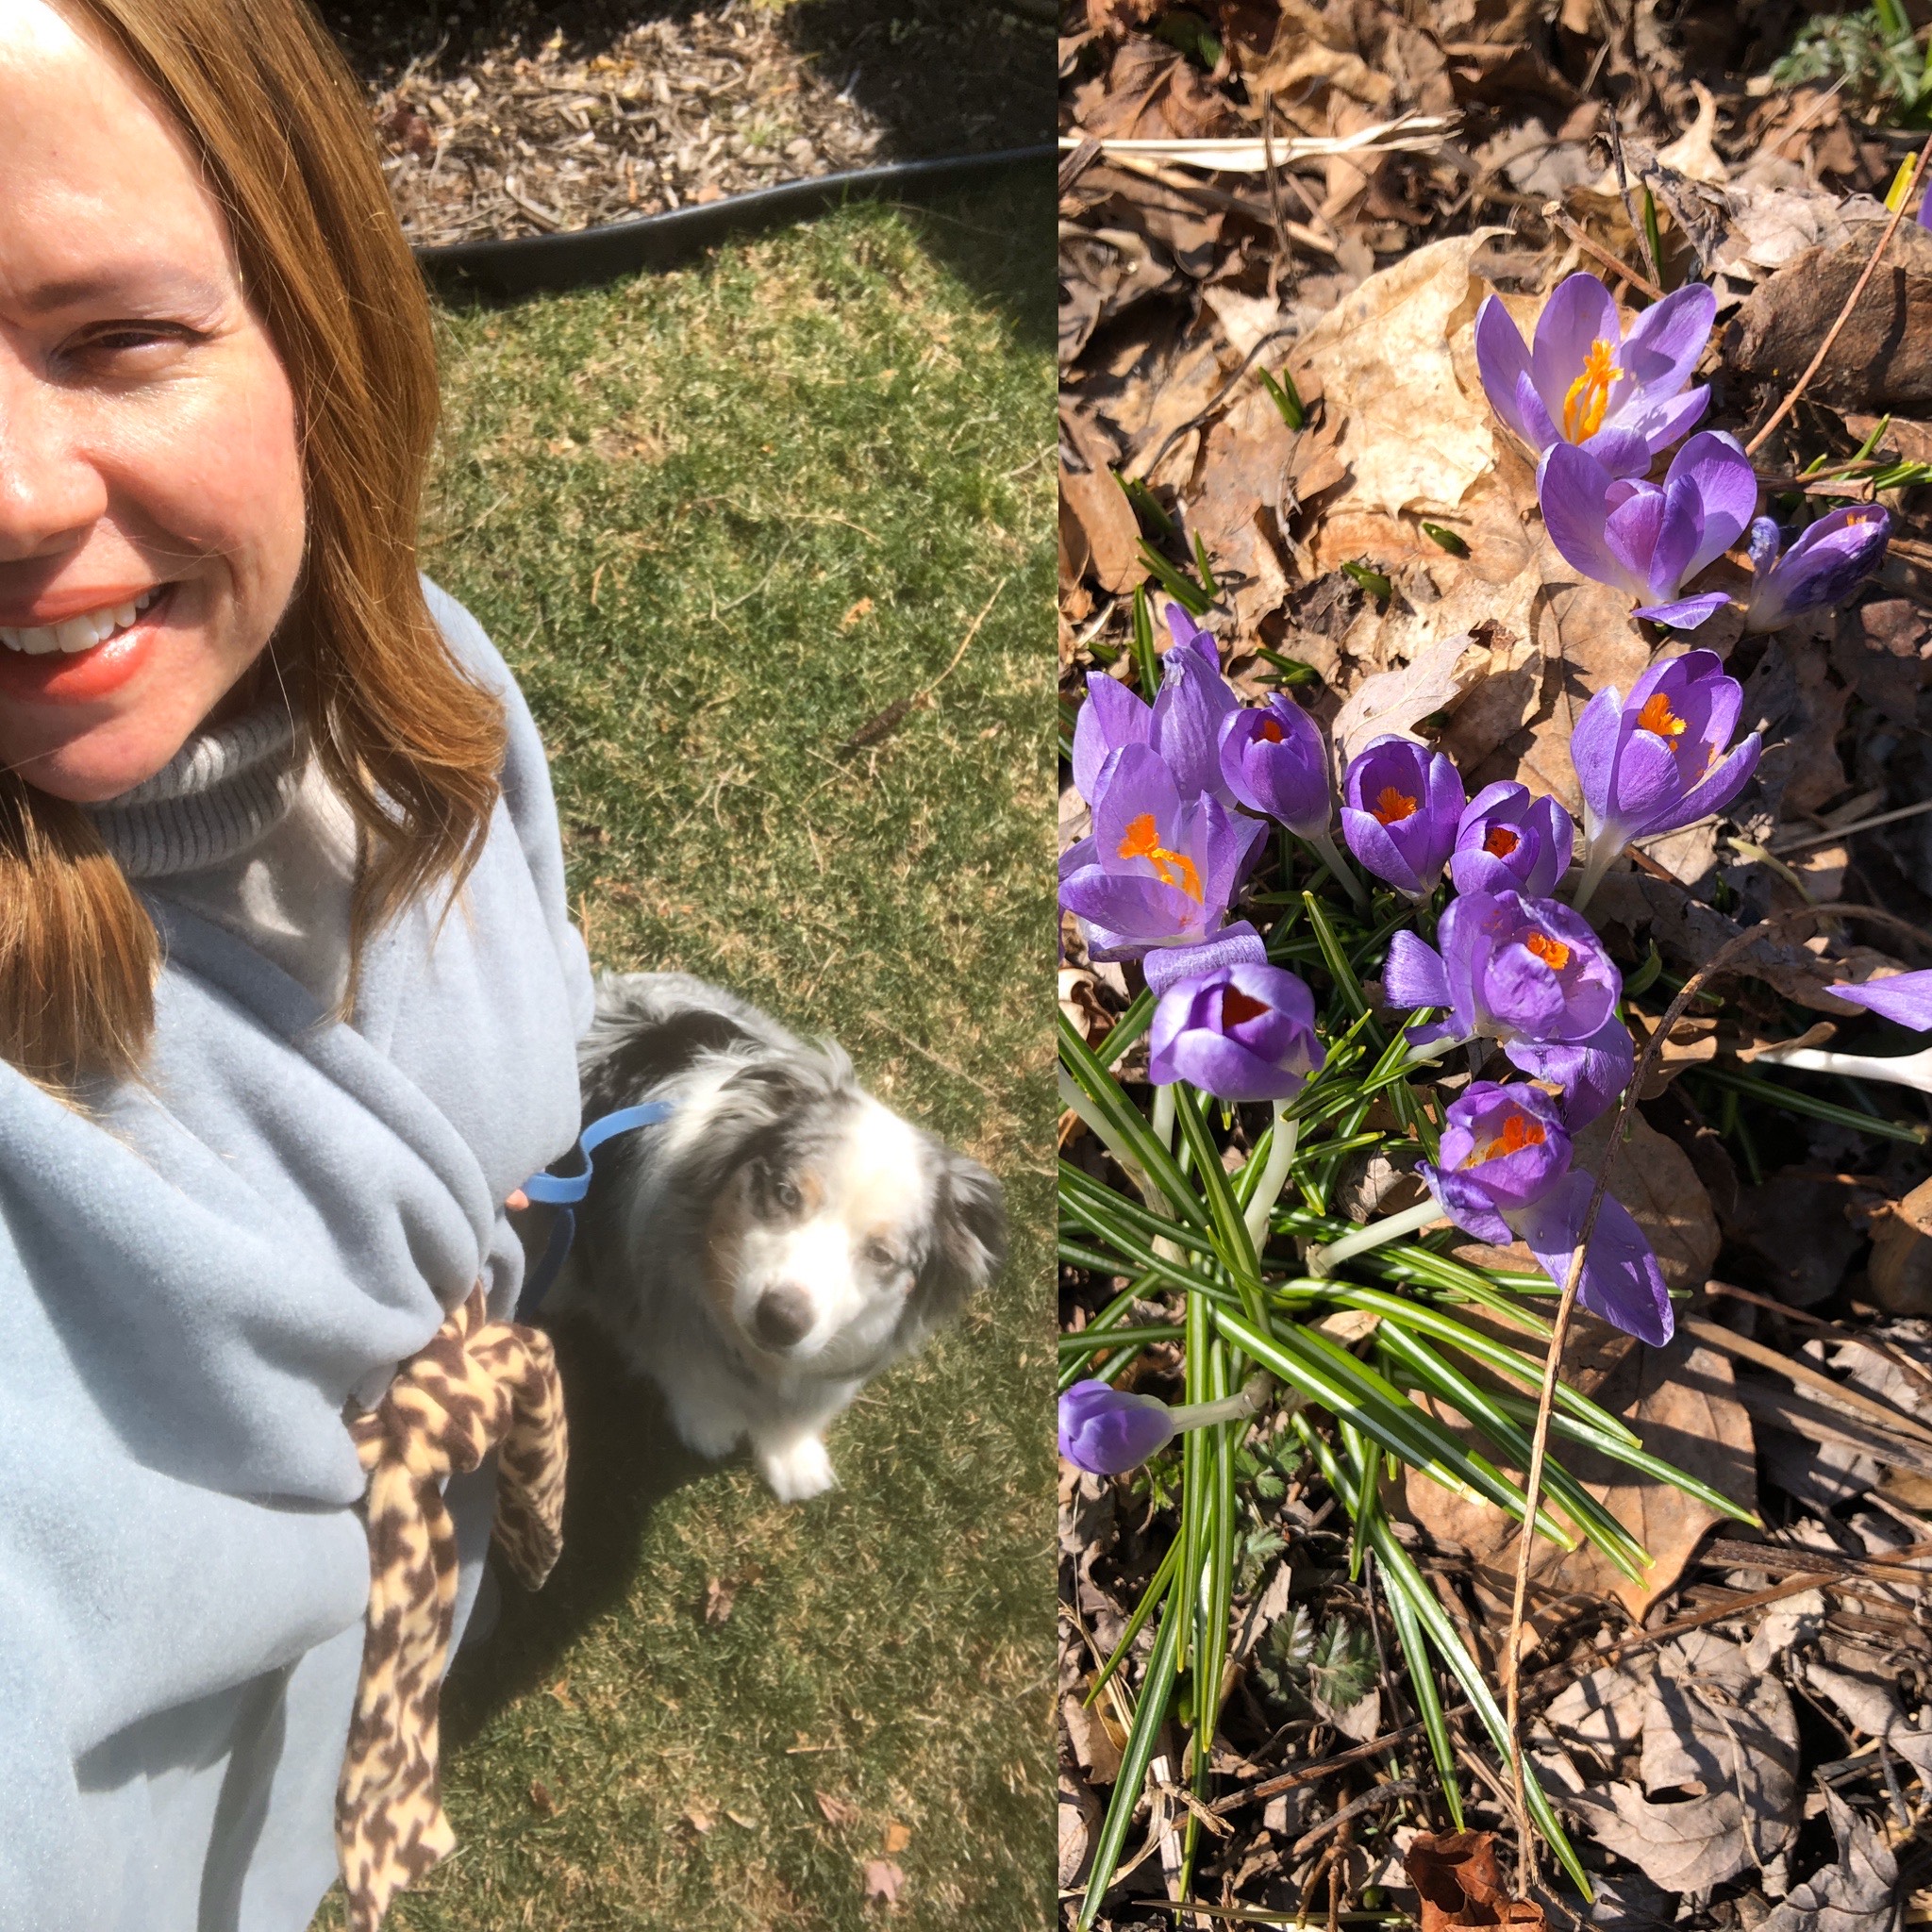
Now that we’re all sequestered in our homes, it’s time to revive the blog and #stayhomeandsew! Today I’m sharing a favorite cozy spring layer outfit that I love. It’s about 50 degrees out, and I have on a light heather gray cashmere turtleneck (#J.Crew, thrifted from #Poshmark), and a double-sided ruana in light gray Polartec fleece and a camel houndstooth Blizzard Fleece Print from #JoannFabrics.
My ruana pattern is one from #burdastyle which has buttonholes and a tie waist belt. But there are zillions of ruana patterns including free ones online that you can google. I have included dimensions and instructions here for how to draft your own!
Insert buttonholes in the fleece front and back, for a long tie to go through to wear wrapped. The tie goes in the front, around your waist, back out the back buttonhole, across your waist and back in on the other back buttonhole, across your other side and out the front buttonhole before tying. So the visual effect is a waist belt in the front and back but not on the sides.
And, a pic of some neighbor’s crocuses because, well, we need cheery flowers right now!
Making the fleece cape pattern

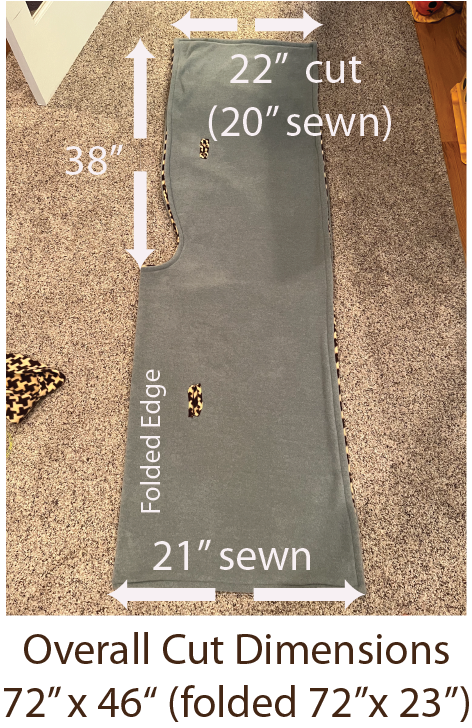
Across the back 46″ cut (42″ sewn) wide x 72″ long cut (70″ sewn), the opening is 38″ from the bottom and has a curve cut at the neck. The belt (optional) is 75″ cut (74″ sewn) x 4″ cut (3″ sewn) wide.
- You’ll need 2 and 1/8 yards of two fleece (or four of one color). I used basic fleece from JoAnn Fabrics (their anti-pill Blizzard fleece). I have one in gray solid and camel/coffee houndstooth.
- The measurements of the cape
- Lay the fleece down, folded lengthwise, right sides together. Cut the outer dimensions of the cape as 46″ x 72″. You’ll have fabric along the selvedge to use later for your belt. Put this aside.
- Measure up along the fold line from the bottom 37 inches. Make a mark. This is the full length of your front opening
- Cut along this line, along the fold. In my cape this makes the front sections slightly narrower.
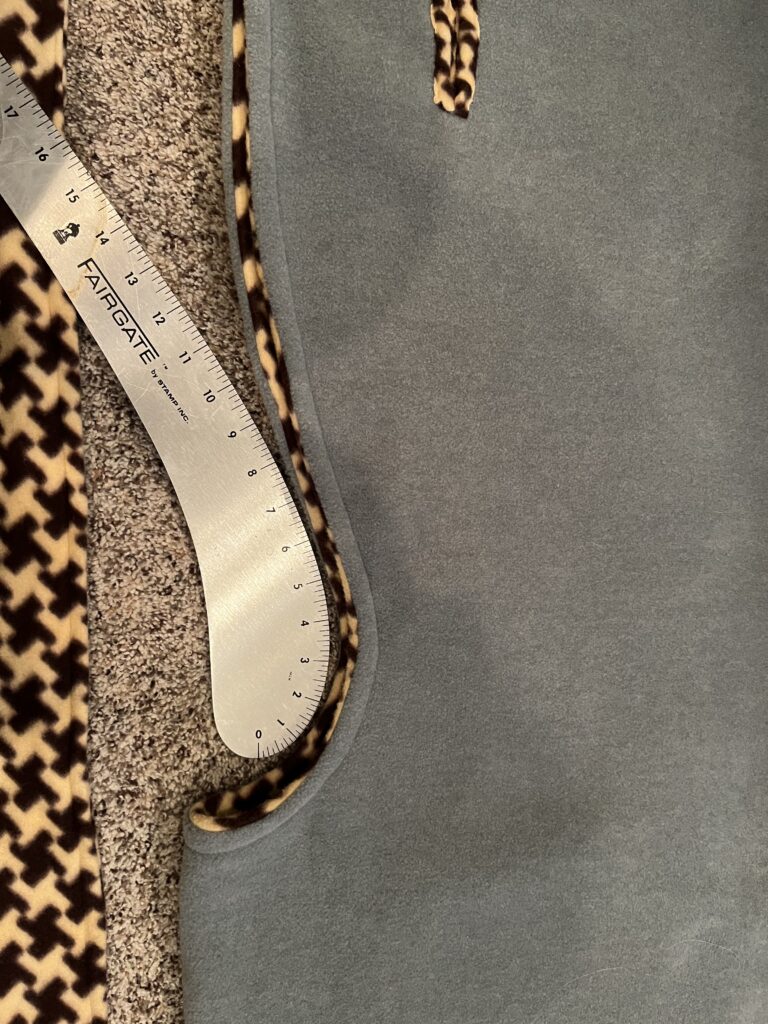
- Grab a French Curve ruler (if you have one) and trace/cut a graceful circle-to-curve along the neckline edge as shown in my example. I recommend marking this curve first with a removeable fabric marker until you get a nice curve.
- Lay your second fleece under the first and cut the same neckline and outer shape.
- Lay your fleeces right sides together, flat (not folded) and sew around the entire ruana, leaving one short front side open for turning. I use a 5/8″ seam allowance.
- Turn the ruana right side out
- Fold under the raw edges of the open front (so they are the same length). Pin. Begin top stitching along your open edge, continue all the way around the ruana. You are DONE!
Buttonholes and belts (optional)
- Buttonholes for the cape are optional, you can wrap a belt (any belt) around the cape and secure it, you can create a fabric belt (mine is 74″ long and 3″ wide once sewn)
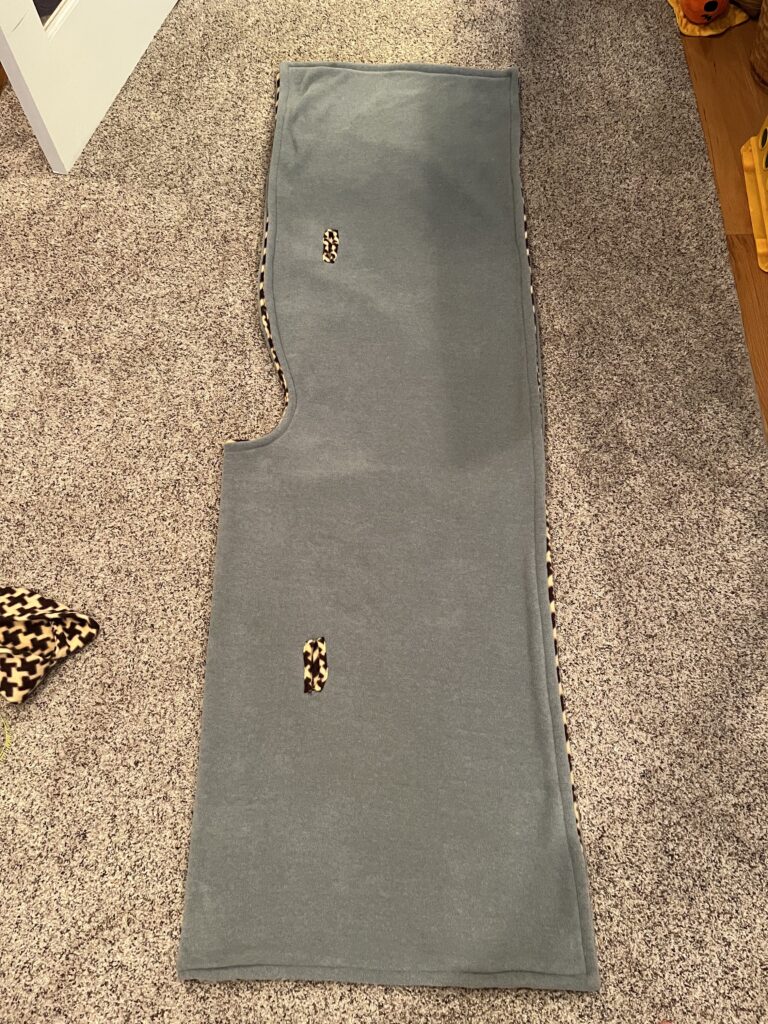
- Form the buttonholes on the front by putting on the cape and measuring down from the neckline to your desired waistline.
- Mark in 5″ inches from each front open edge, and 6.5″ from the center fold line in the back. This is where you’ll place your buttonholes. You can see if this will work for you by pinning through the entire cape at these marks and slipping it over your head. This will be how your ruana cape fits when it’s belted if you use belt loops. You can move the buttonholes in or out as needed.
- Measure the opening of your belt loops. Using chalk or a removeable marking marker, mark the opening.
- You can construct these several ways: by sewing a box around the opening and then cutting the opening neatly inside (the fleece raw edge will not ravel and the box will secure the layers.) This creates a buttonhole look and is the easiest to master. Use a 1/4″ box away from the opening on all sides, and cut the opening carefully with scissors. I like to first snip a small hole in the center to insert my scissors and then cut neatly in each direction to the desired length.
- You can cut out the entire opening (after stitching the box) to 1/8″ and create ‘buttonhole welts” that wrap around the opening (this is what I did). Each of these welts is 1″ wide x the length of your buttonhole opening, wrapped around the raw edges, hand stitched.
- You can finish the buttonhole edges with decorative stitching (once you’ve sewn your box). Embroidery thread works great here.
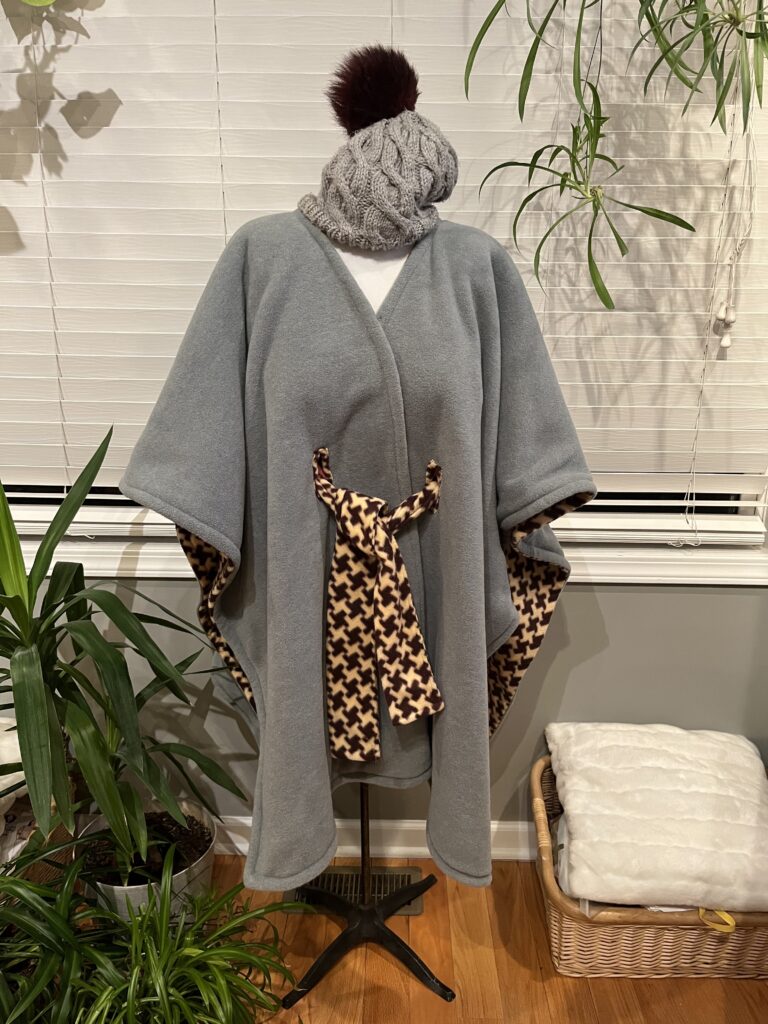
How to style your reversible fleece ruana cape:
This is VERY warm with two layers of fleece. I can wear this over a warm sweater turtleneck outside in 35-45 degree weather (with gloves and a hat) and it’s fine (I am from Michigan.) If you need an extra layer, a wool sweater over a tee or turtleneck should be quite sufficient for warmth. Wear it over jeans, leggings, or wide leg pants.
Color combos for your reversible fleece cape / ruana
Dark solid color (black) with plaid reverse side – try this in black/red+black buffalo check, or black with camel, red and white “burberry” look plaid. Gray with gray plaid. Black with leopard, gray with snow leopard. Navy with “black watch” plaid (navy, green tartan). Try cream with plaid or cream with gray. There are hundreds of fleece print options and almost as many solid colors – have fun selecting your favorite combo!
Fabric options:
These use up a lot of stash in one fell swoop. If you’re stash busting a couple of yards, feel free to color block the ends of the ties to make them longer than 72″ if you have only 2 yards of fabric.
Double sided – fleece fabrics, lightweight wool fabrics – especially good to use up those suiting wools you’ll never make into a suit again – cotton fleece fabrics like velour or sweatshirting.
Single sided – lightweight boiled wool, fleece fabric (you will not need to hem either of these). You can also choose sweatshirting, medium weight or coat weight wool (these latter will need edge hemming).
These make fabulous gifts – they fit everyone and they are warm and cozy. Perfect for travel (by car, air, plane) you are arriving with your very own blankie!
See my related post for a No Sew Ruana Cape that I authored for Christine Jonson Sewing Patterns. You’ll need fleece fabric, scissors and a ruler. French curve is helpful but you can use a small plate to trace a curve.