
Dye using snow! It’s super easy and fun to dye garments and fabric with snow and fabric dye. I show you how to snow dye in this blog post, including instructions, photos and sources.
We got 11″ of snow (not unusual for Michigan, but we don’t get over 10″ all that often any more.) So I knew I wanted to snow dye this winter. Several friends in northern climates have been doing it to yarn, fabric, upcycled thrifted clothing.
We found ourselves with a free Sunday afternoon and decided to do it! You’ll need the following:
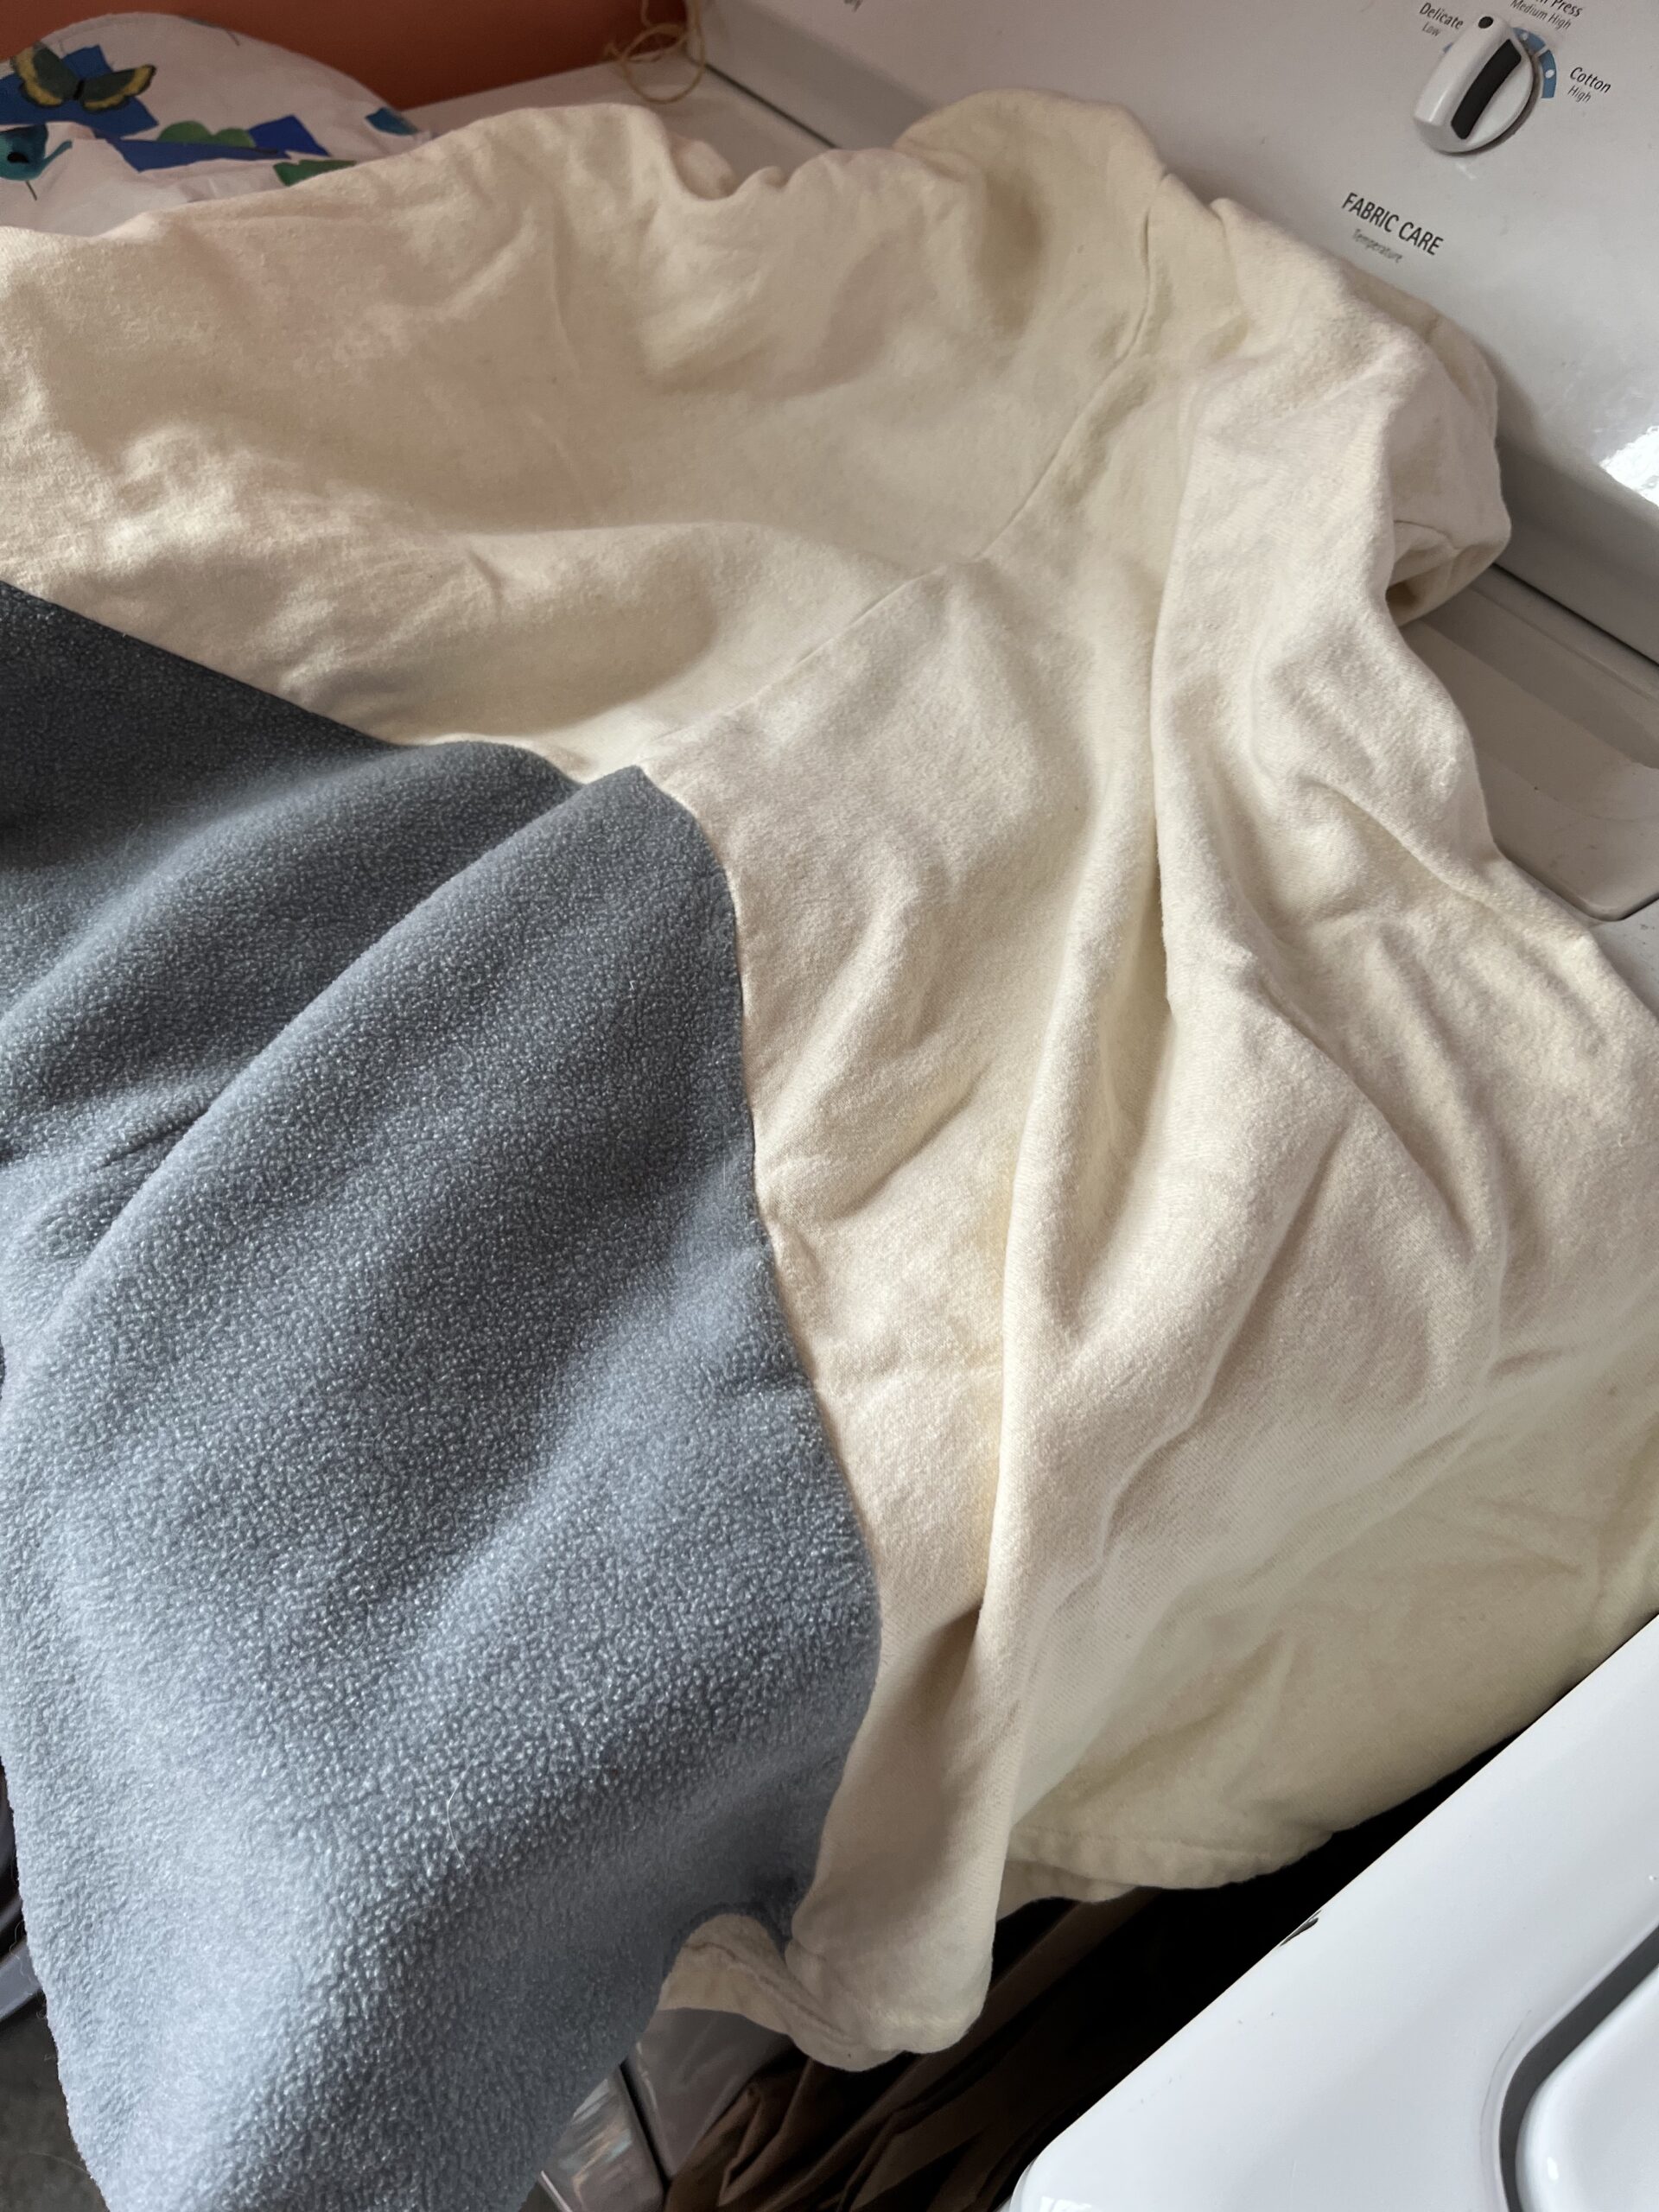
Natural fiber fabric (cotton, rayon, linen, silk) garments – such as tee shirts, button shirts, skirts, ponchos, sweatshirts, scarves. You can also use fabric, but it either needs to be PFD – prepared for dyeing – or it must be washed and dried twice first to remove any factory ‘sizing’ or chemicals on it.
Dye: I use Procion Dyes from Dharma trading, but you can also use prepared RIT powdered dye too. For the Procion dyes, you’ll need Soda Ash Fixer and hot water for your chemical bath first, then just the powdered dye and snow after. The RIT dyes have the soda ash fixer in the dye so you don’t need to do that step.
If you are using Procion Dye: (If you’re using RIT dye, just skip to the next section)
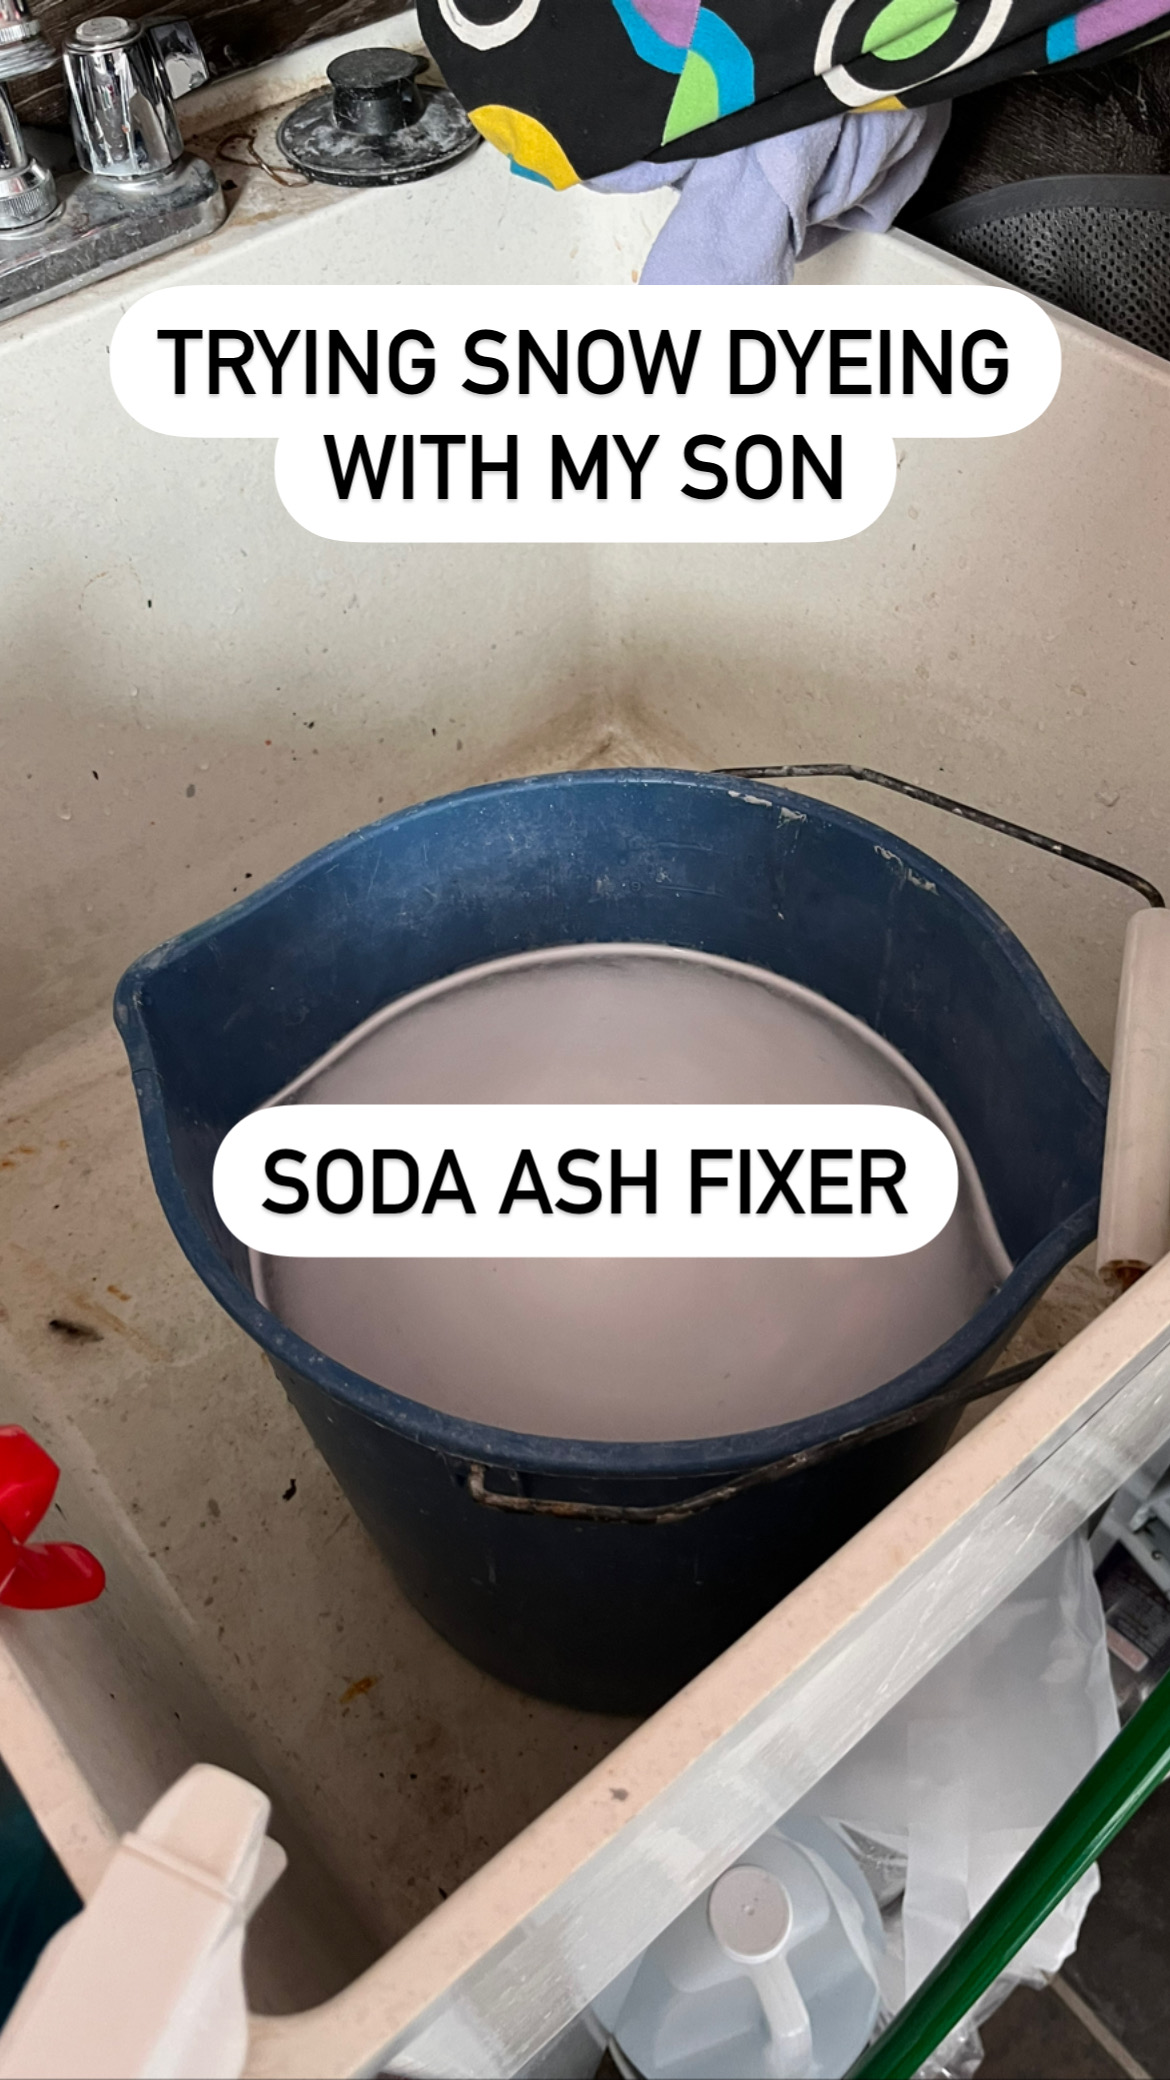
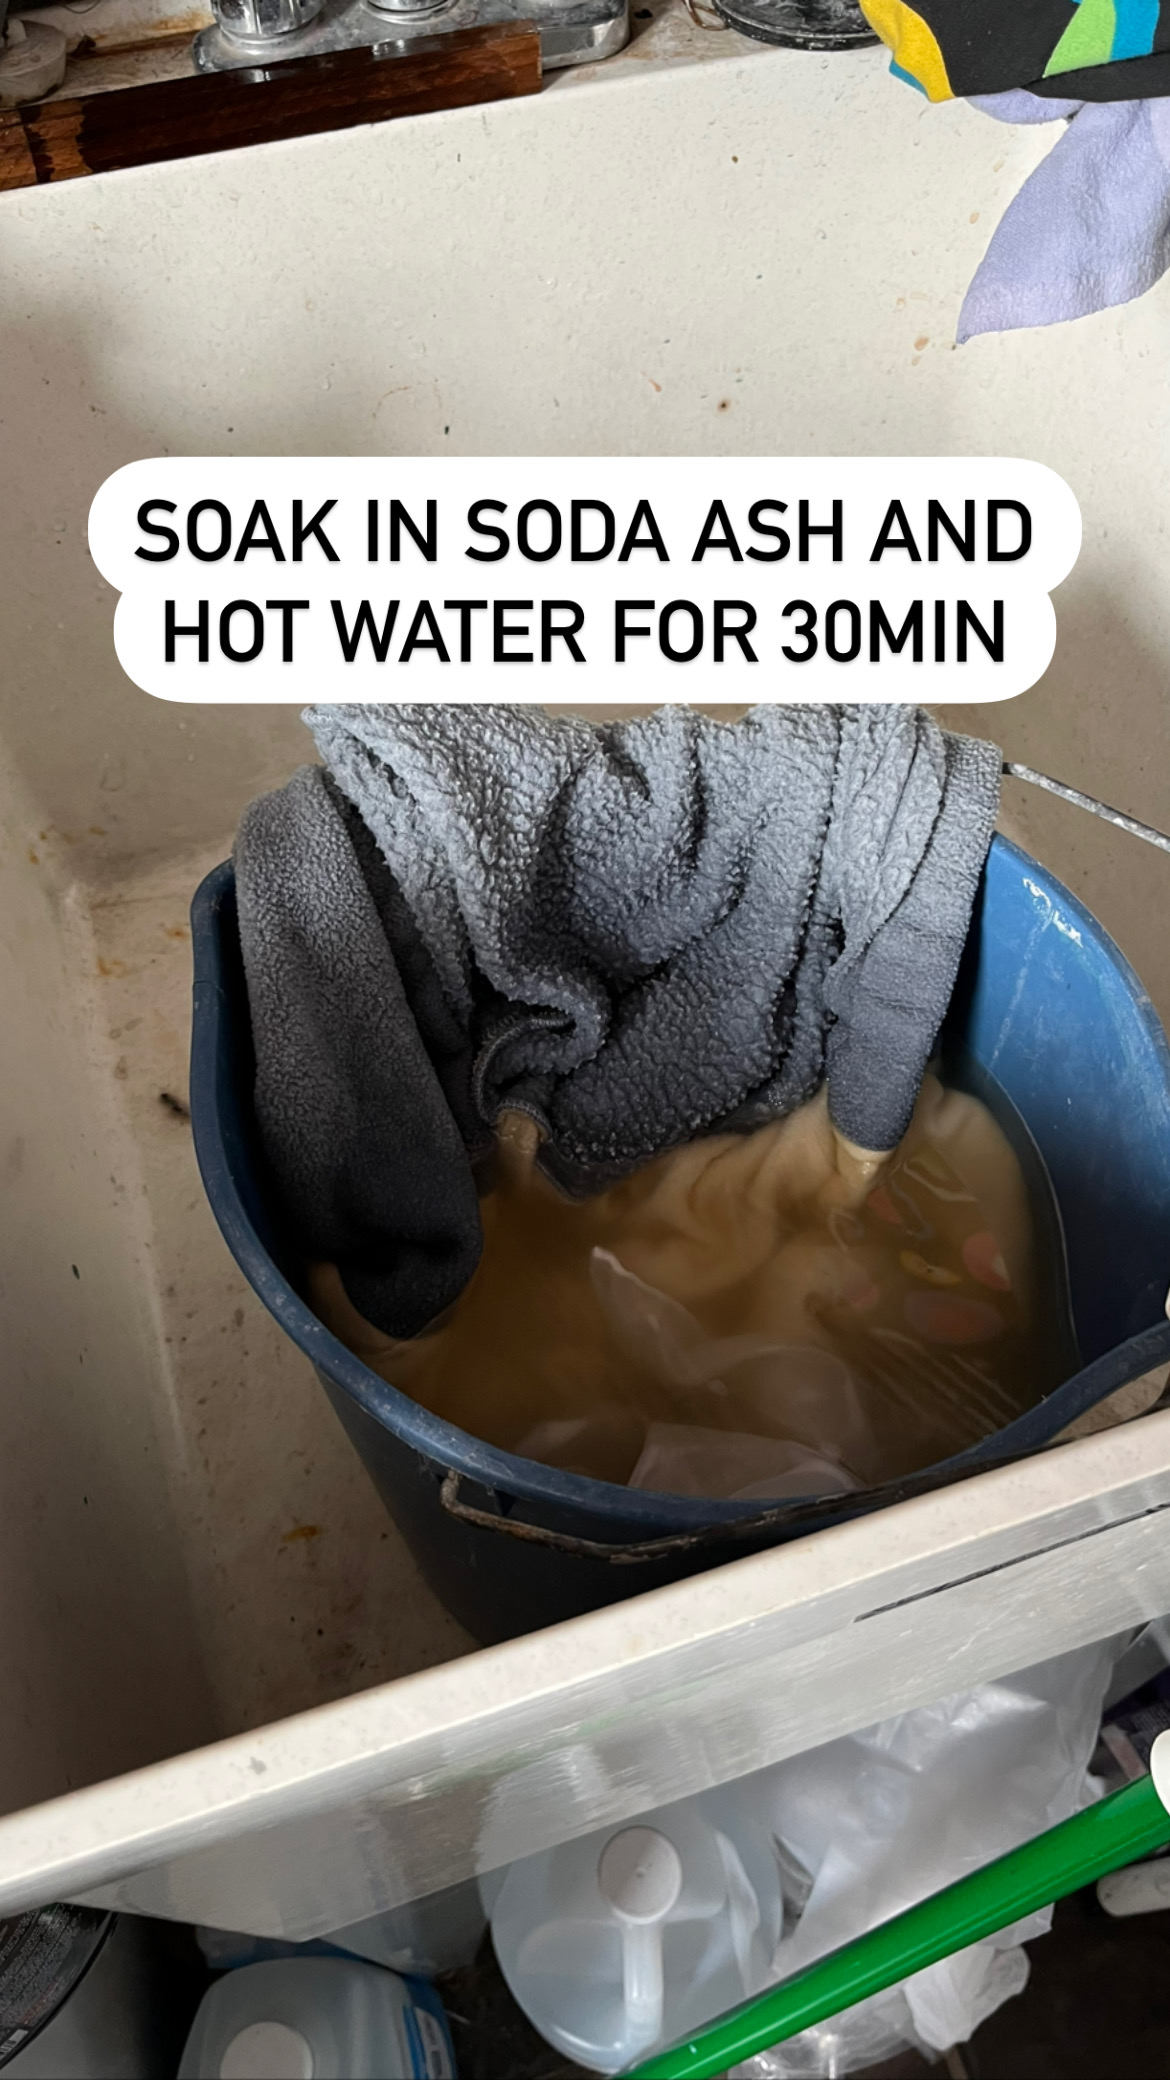
- mix a 2.5 gallon bucket with 1 cup Soda Ash Fixer and hot water. Use goggles, gloves and a facemask for this process.
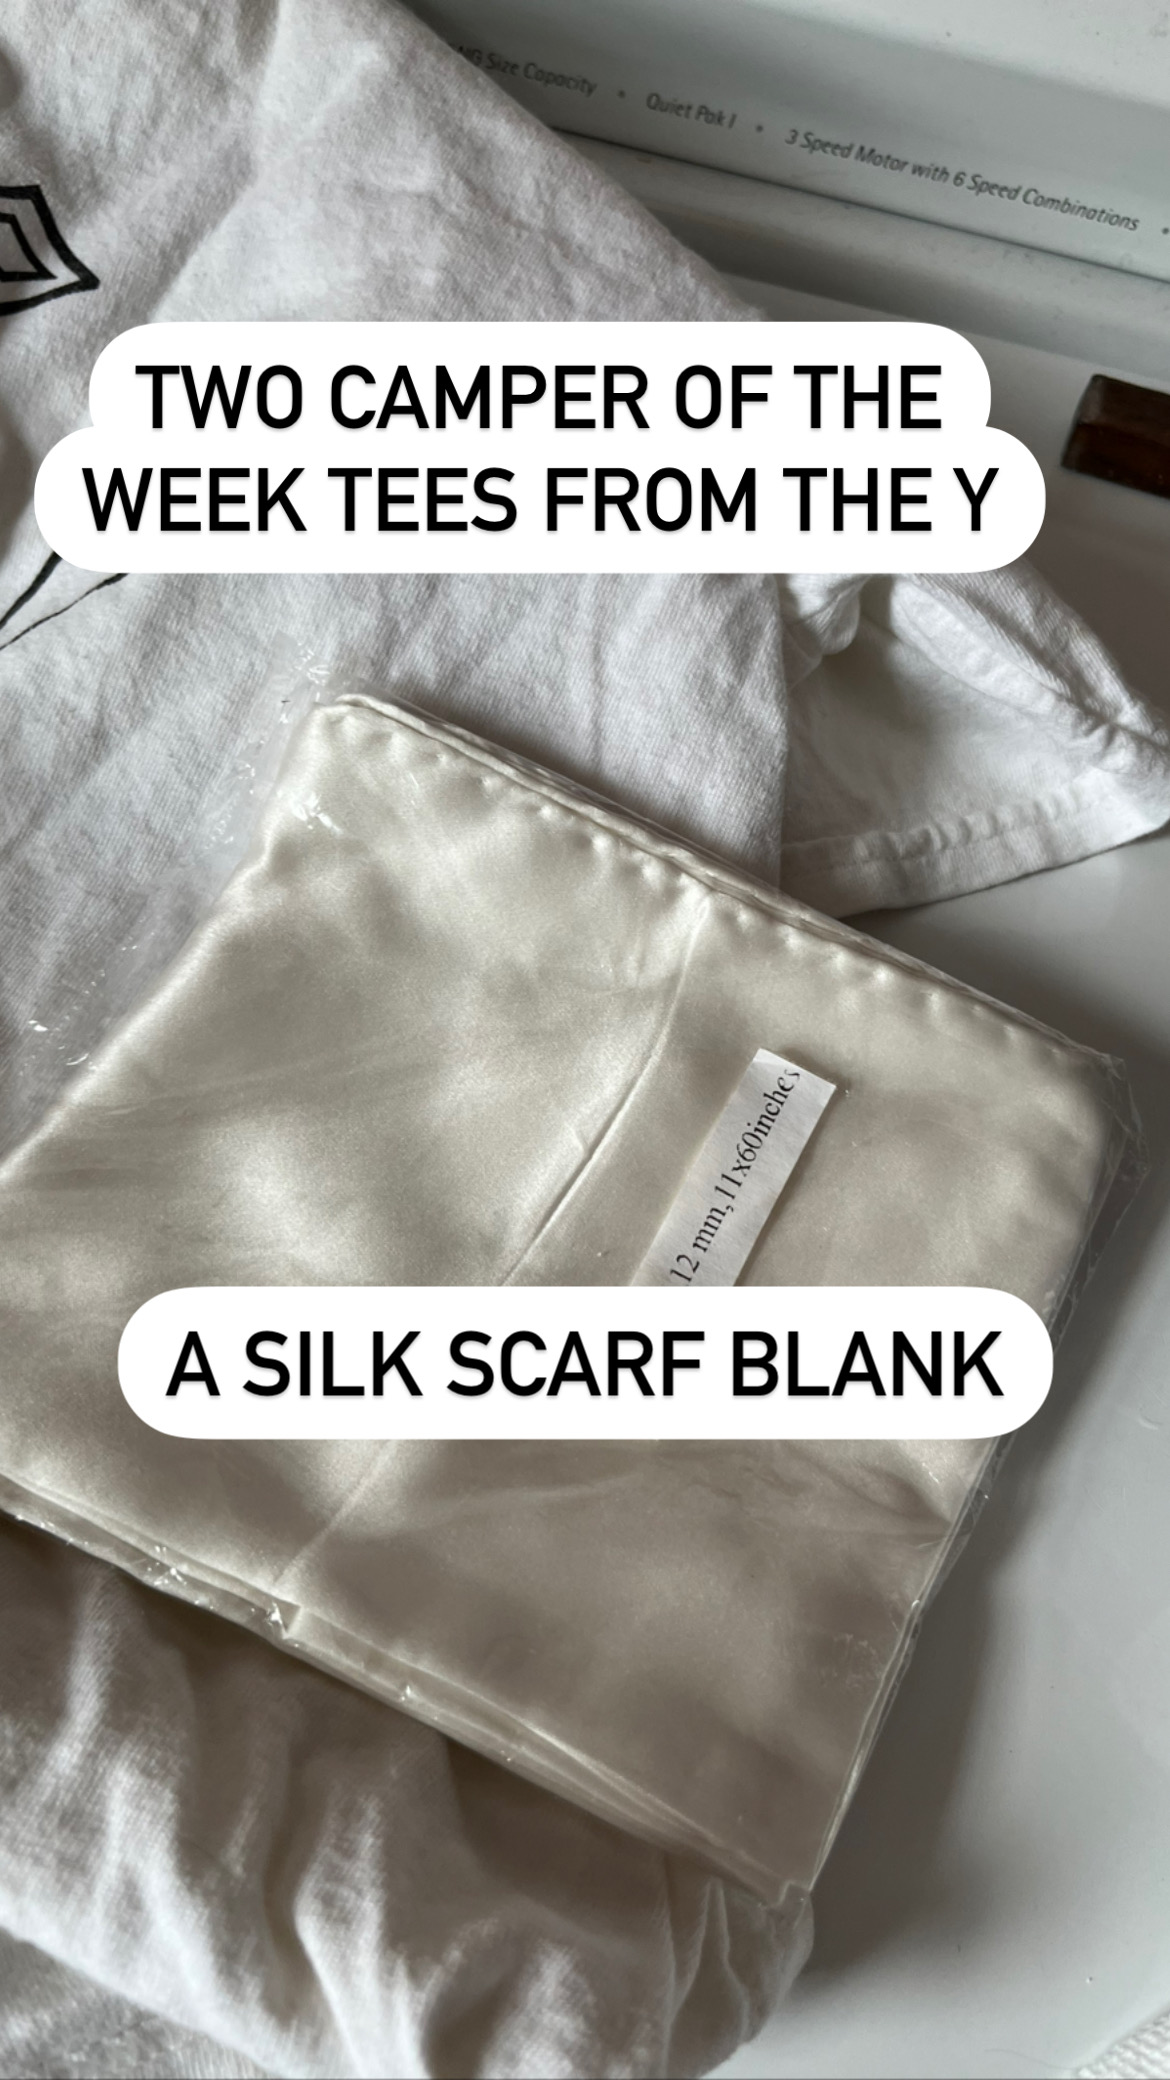
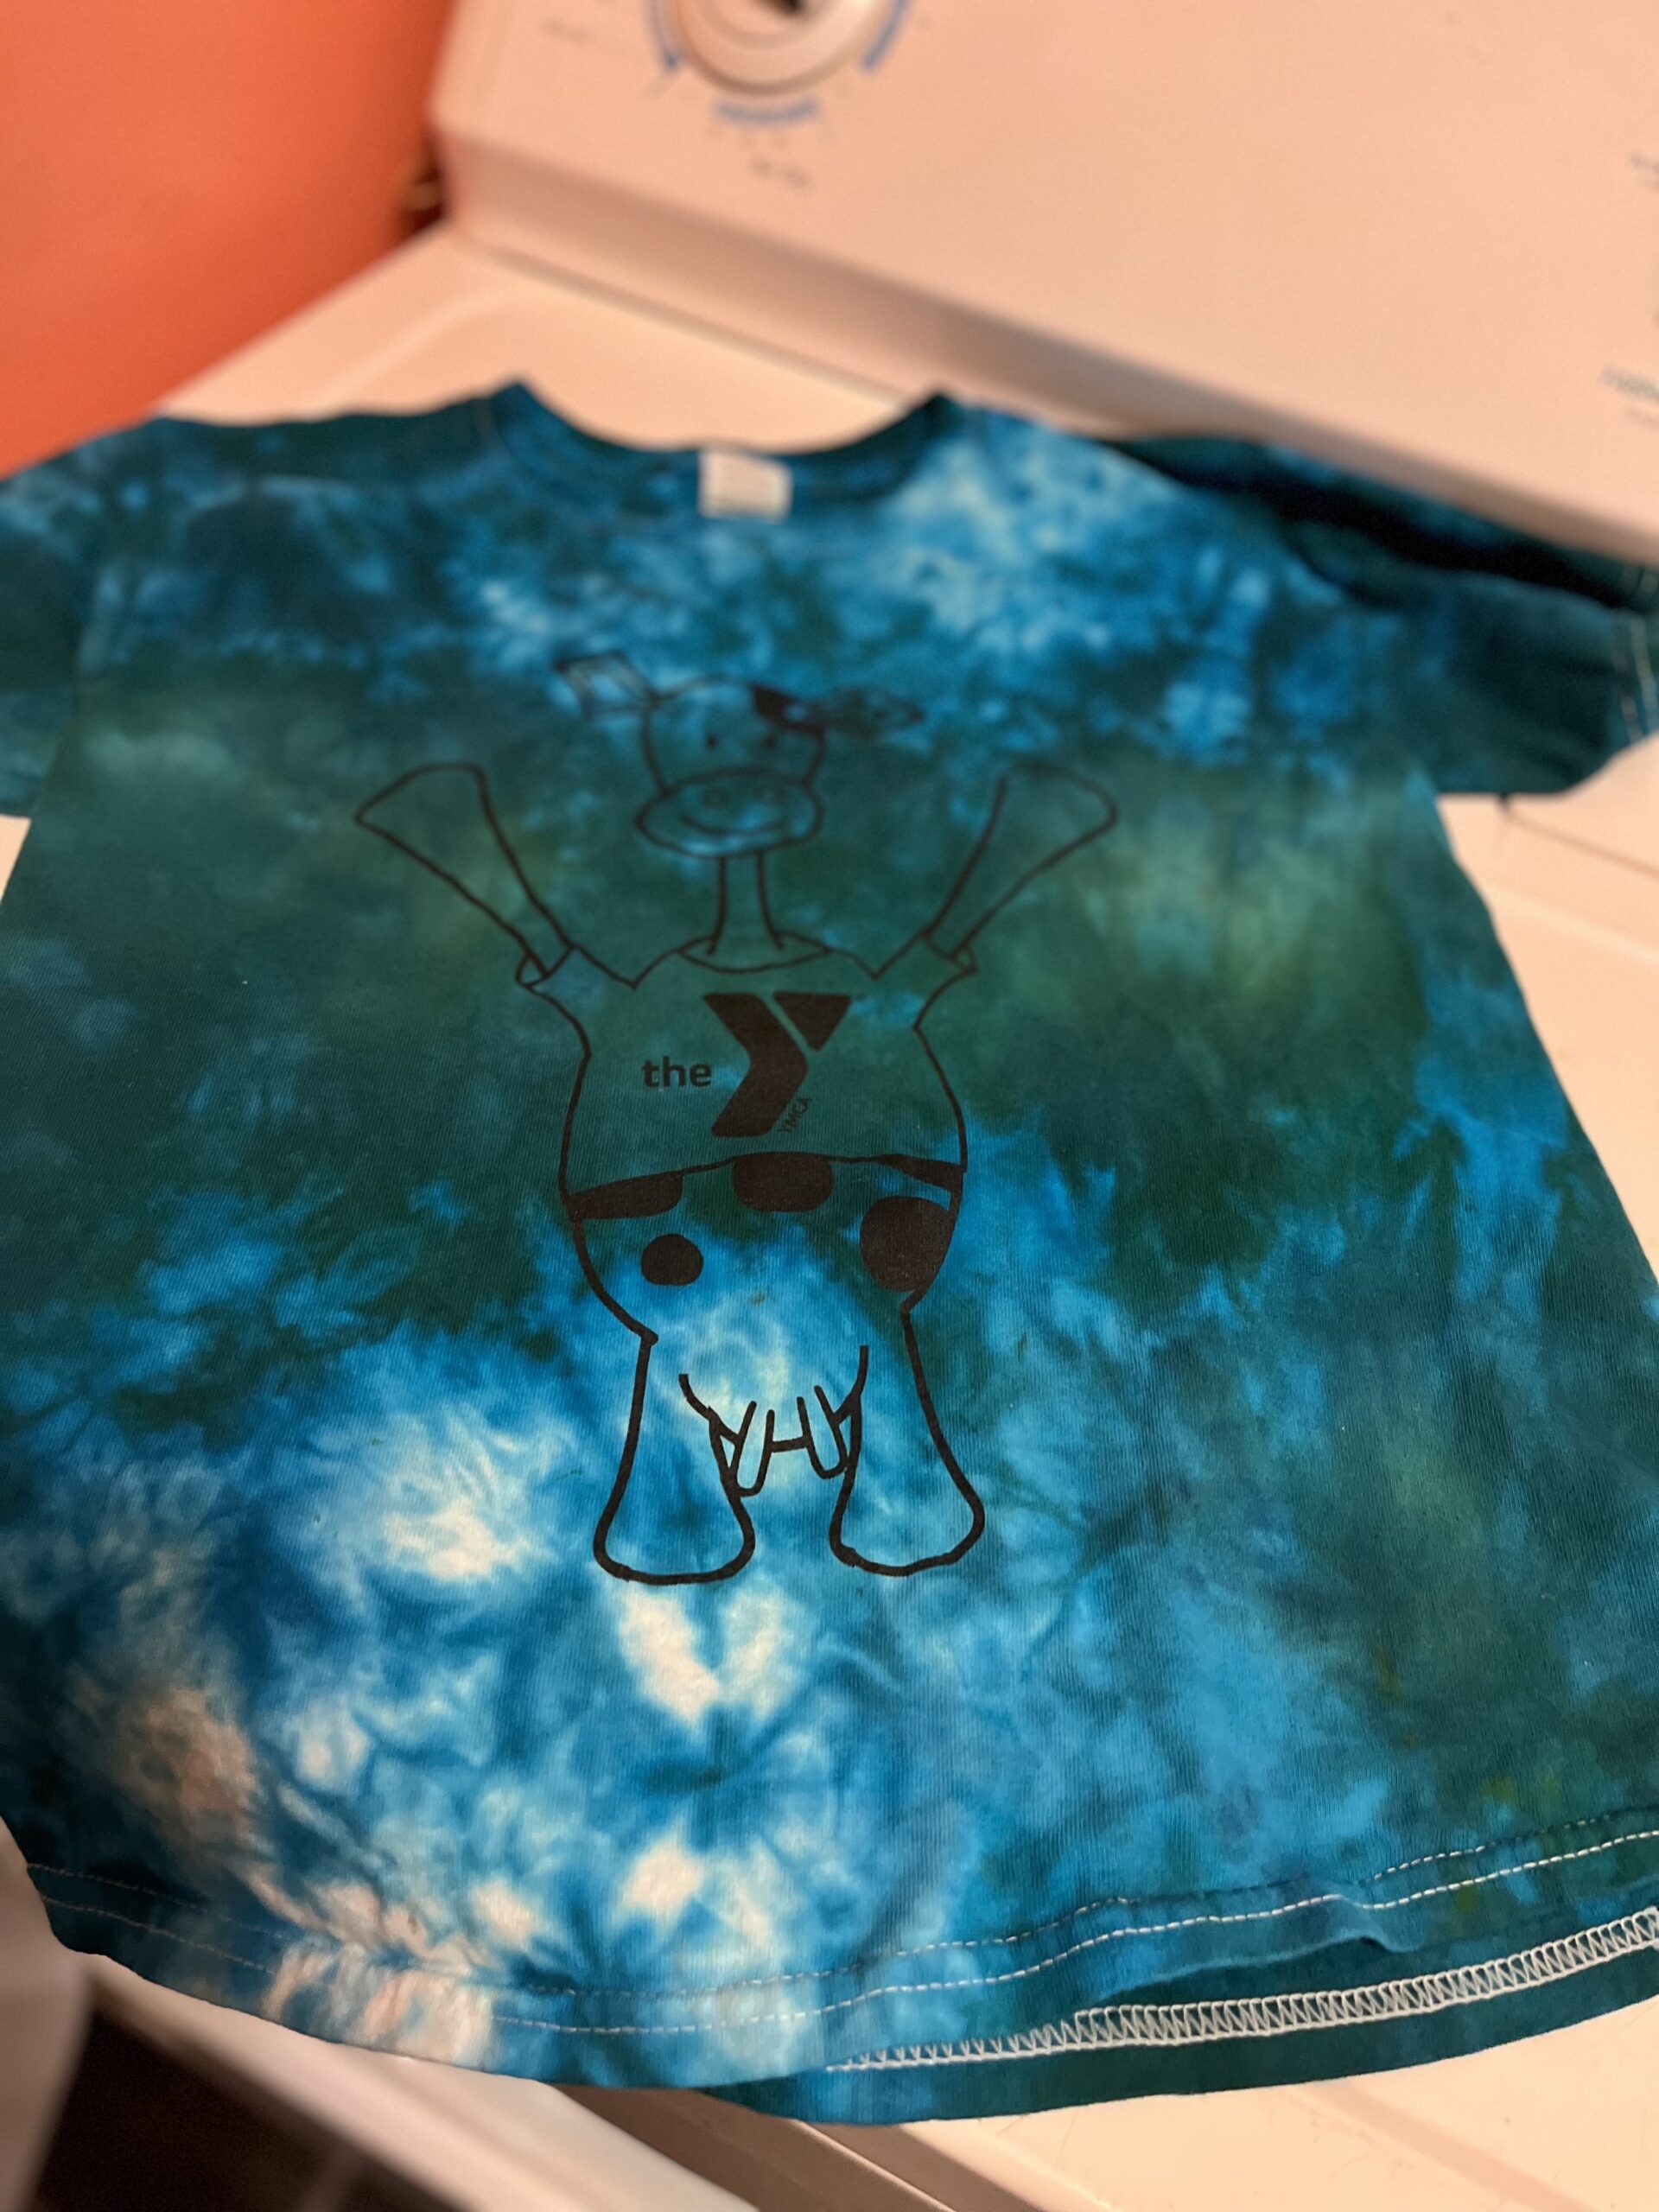
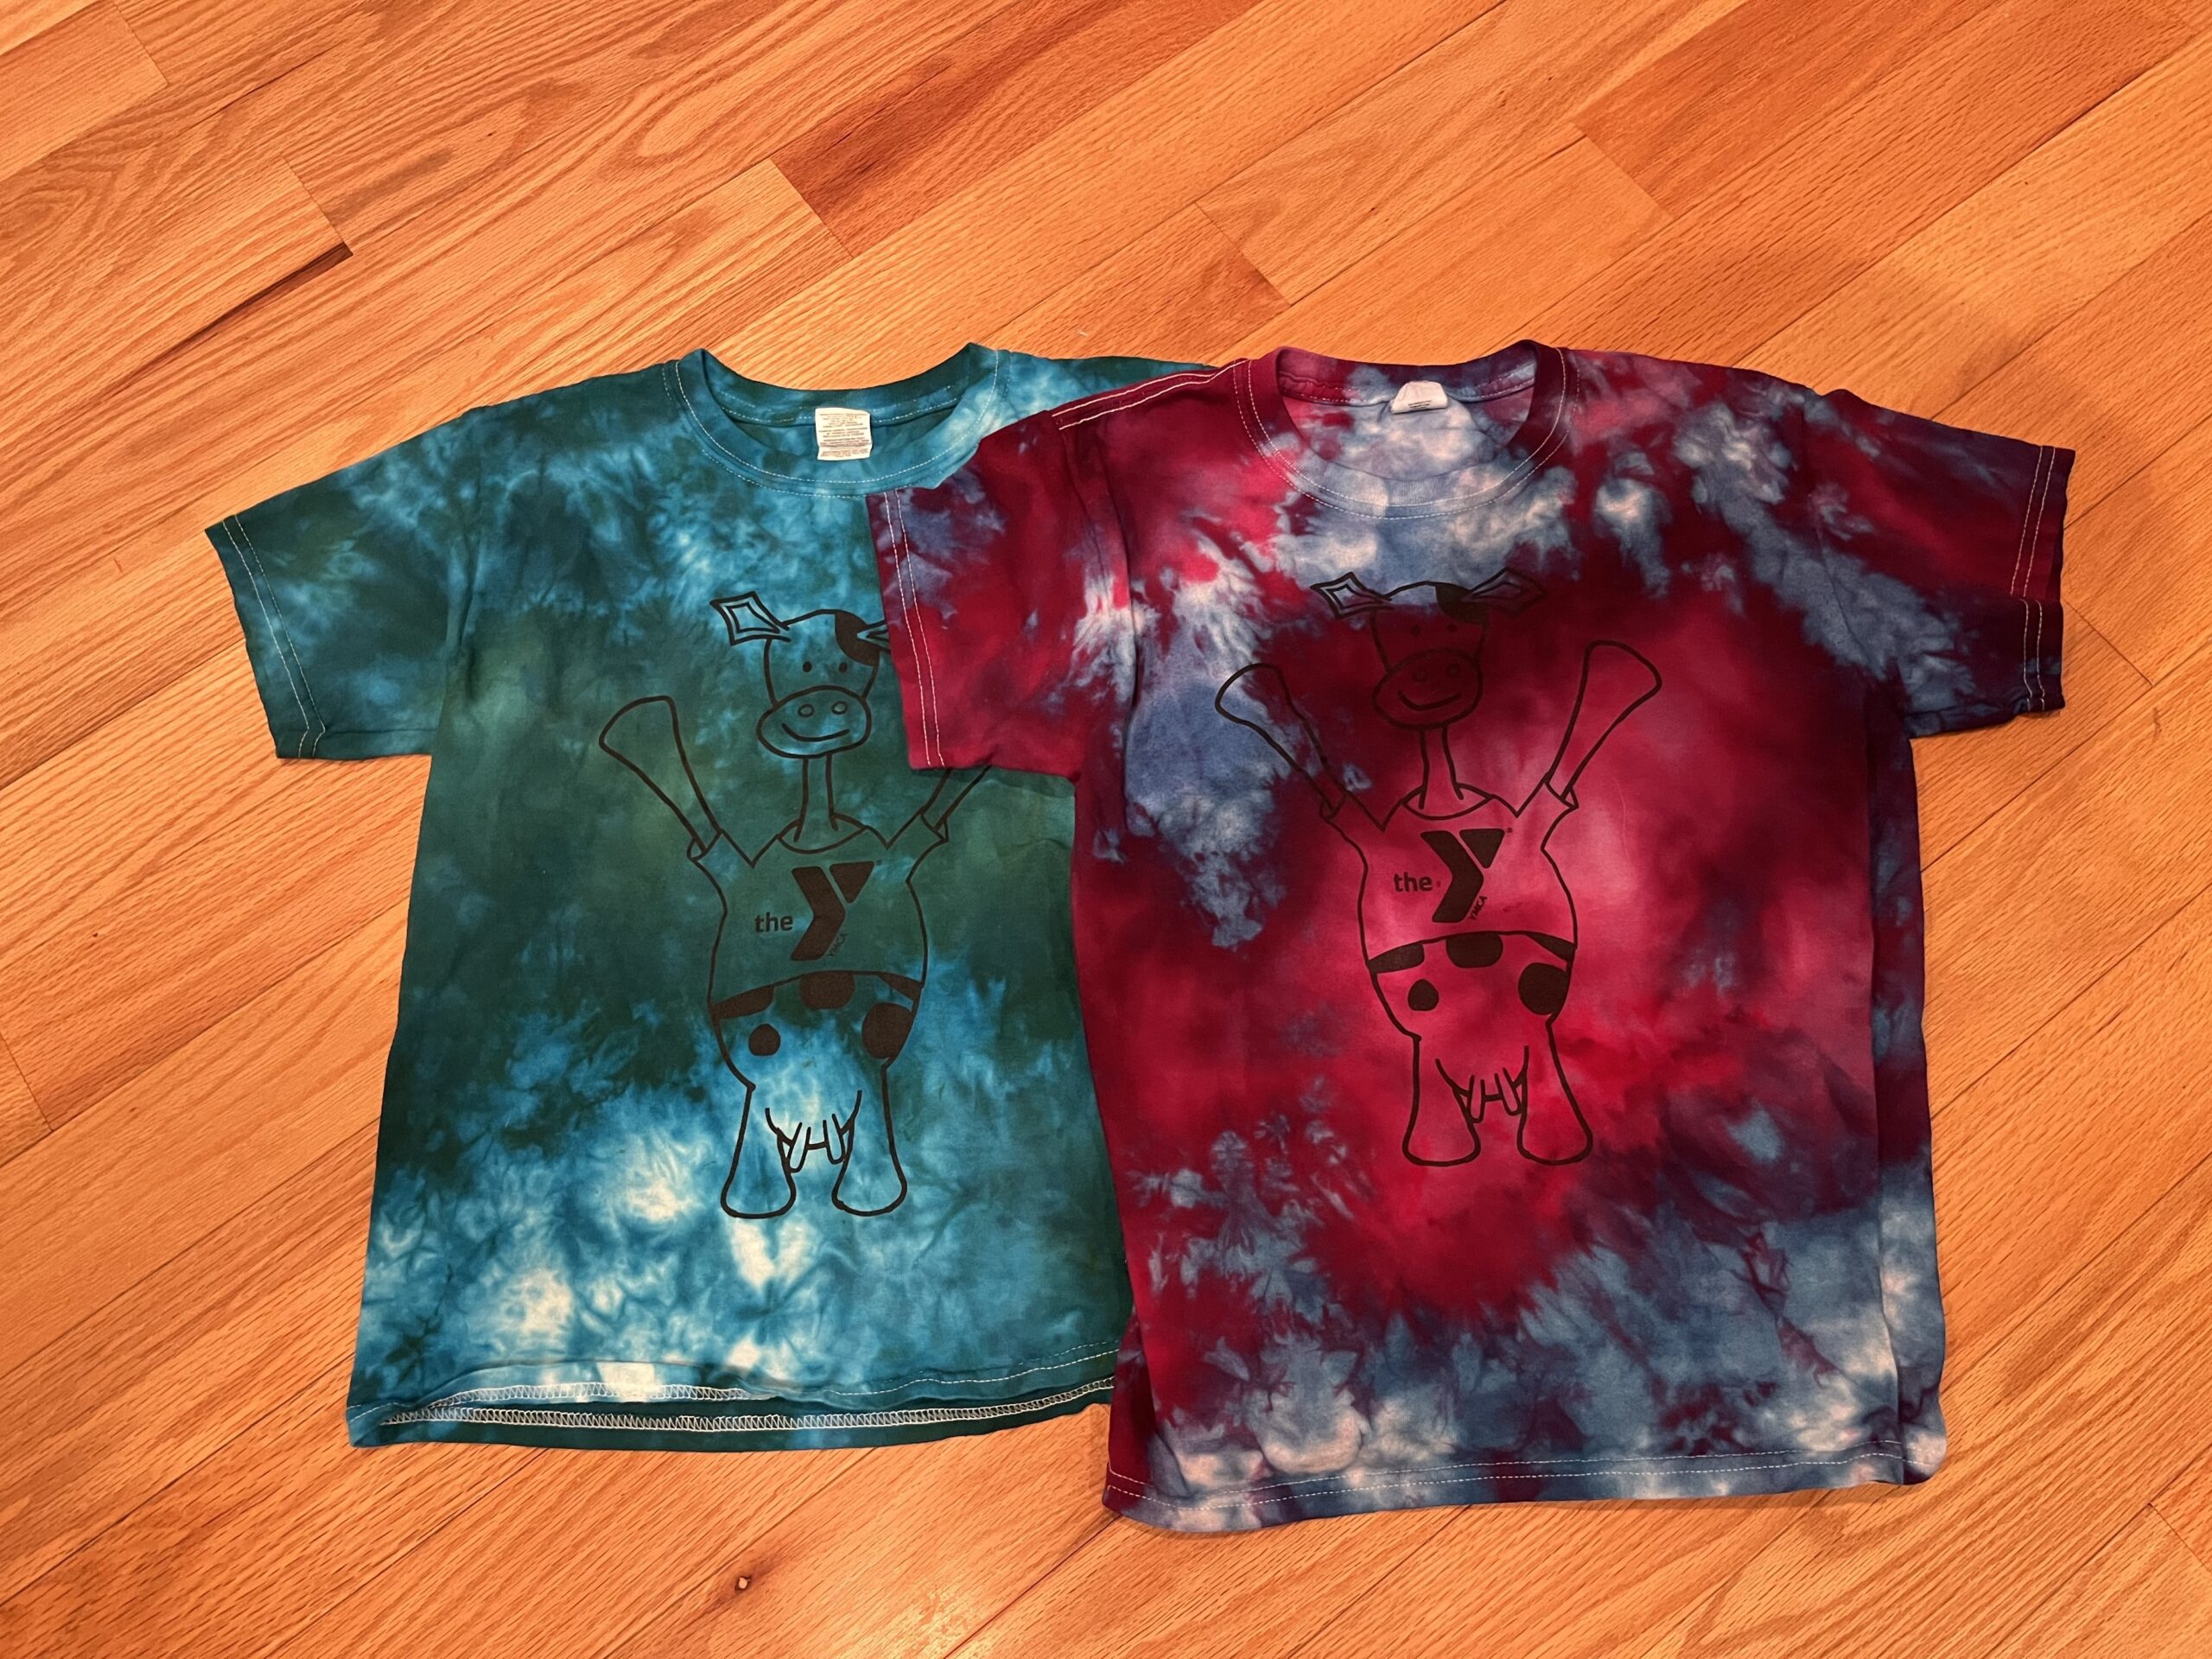
- Once the fixer is mixed, dip in and stir your garments in the bucket. I got two kid tee shirts, a pretty good sized poncho that I’d made some years back and a silk scarf blank all in the water in this bucket at the same time. Use a bigger bucket, and adjust the ratio accordingly. The instructions are on the bag of soda ash fixer for the ratio of water to fixer.
- Stir with a wood stick (I use paint sticks and scraps of trim wood from my hubby’s shop)
- Soak for 30 minutes
Prepare your dye stations:
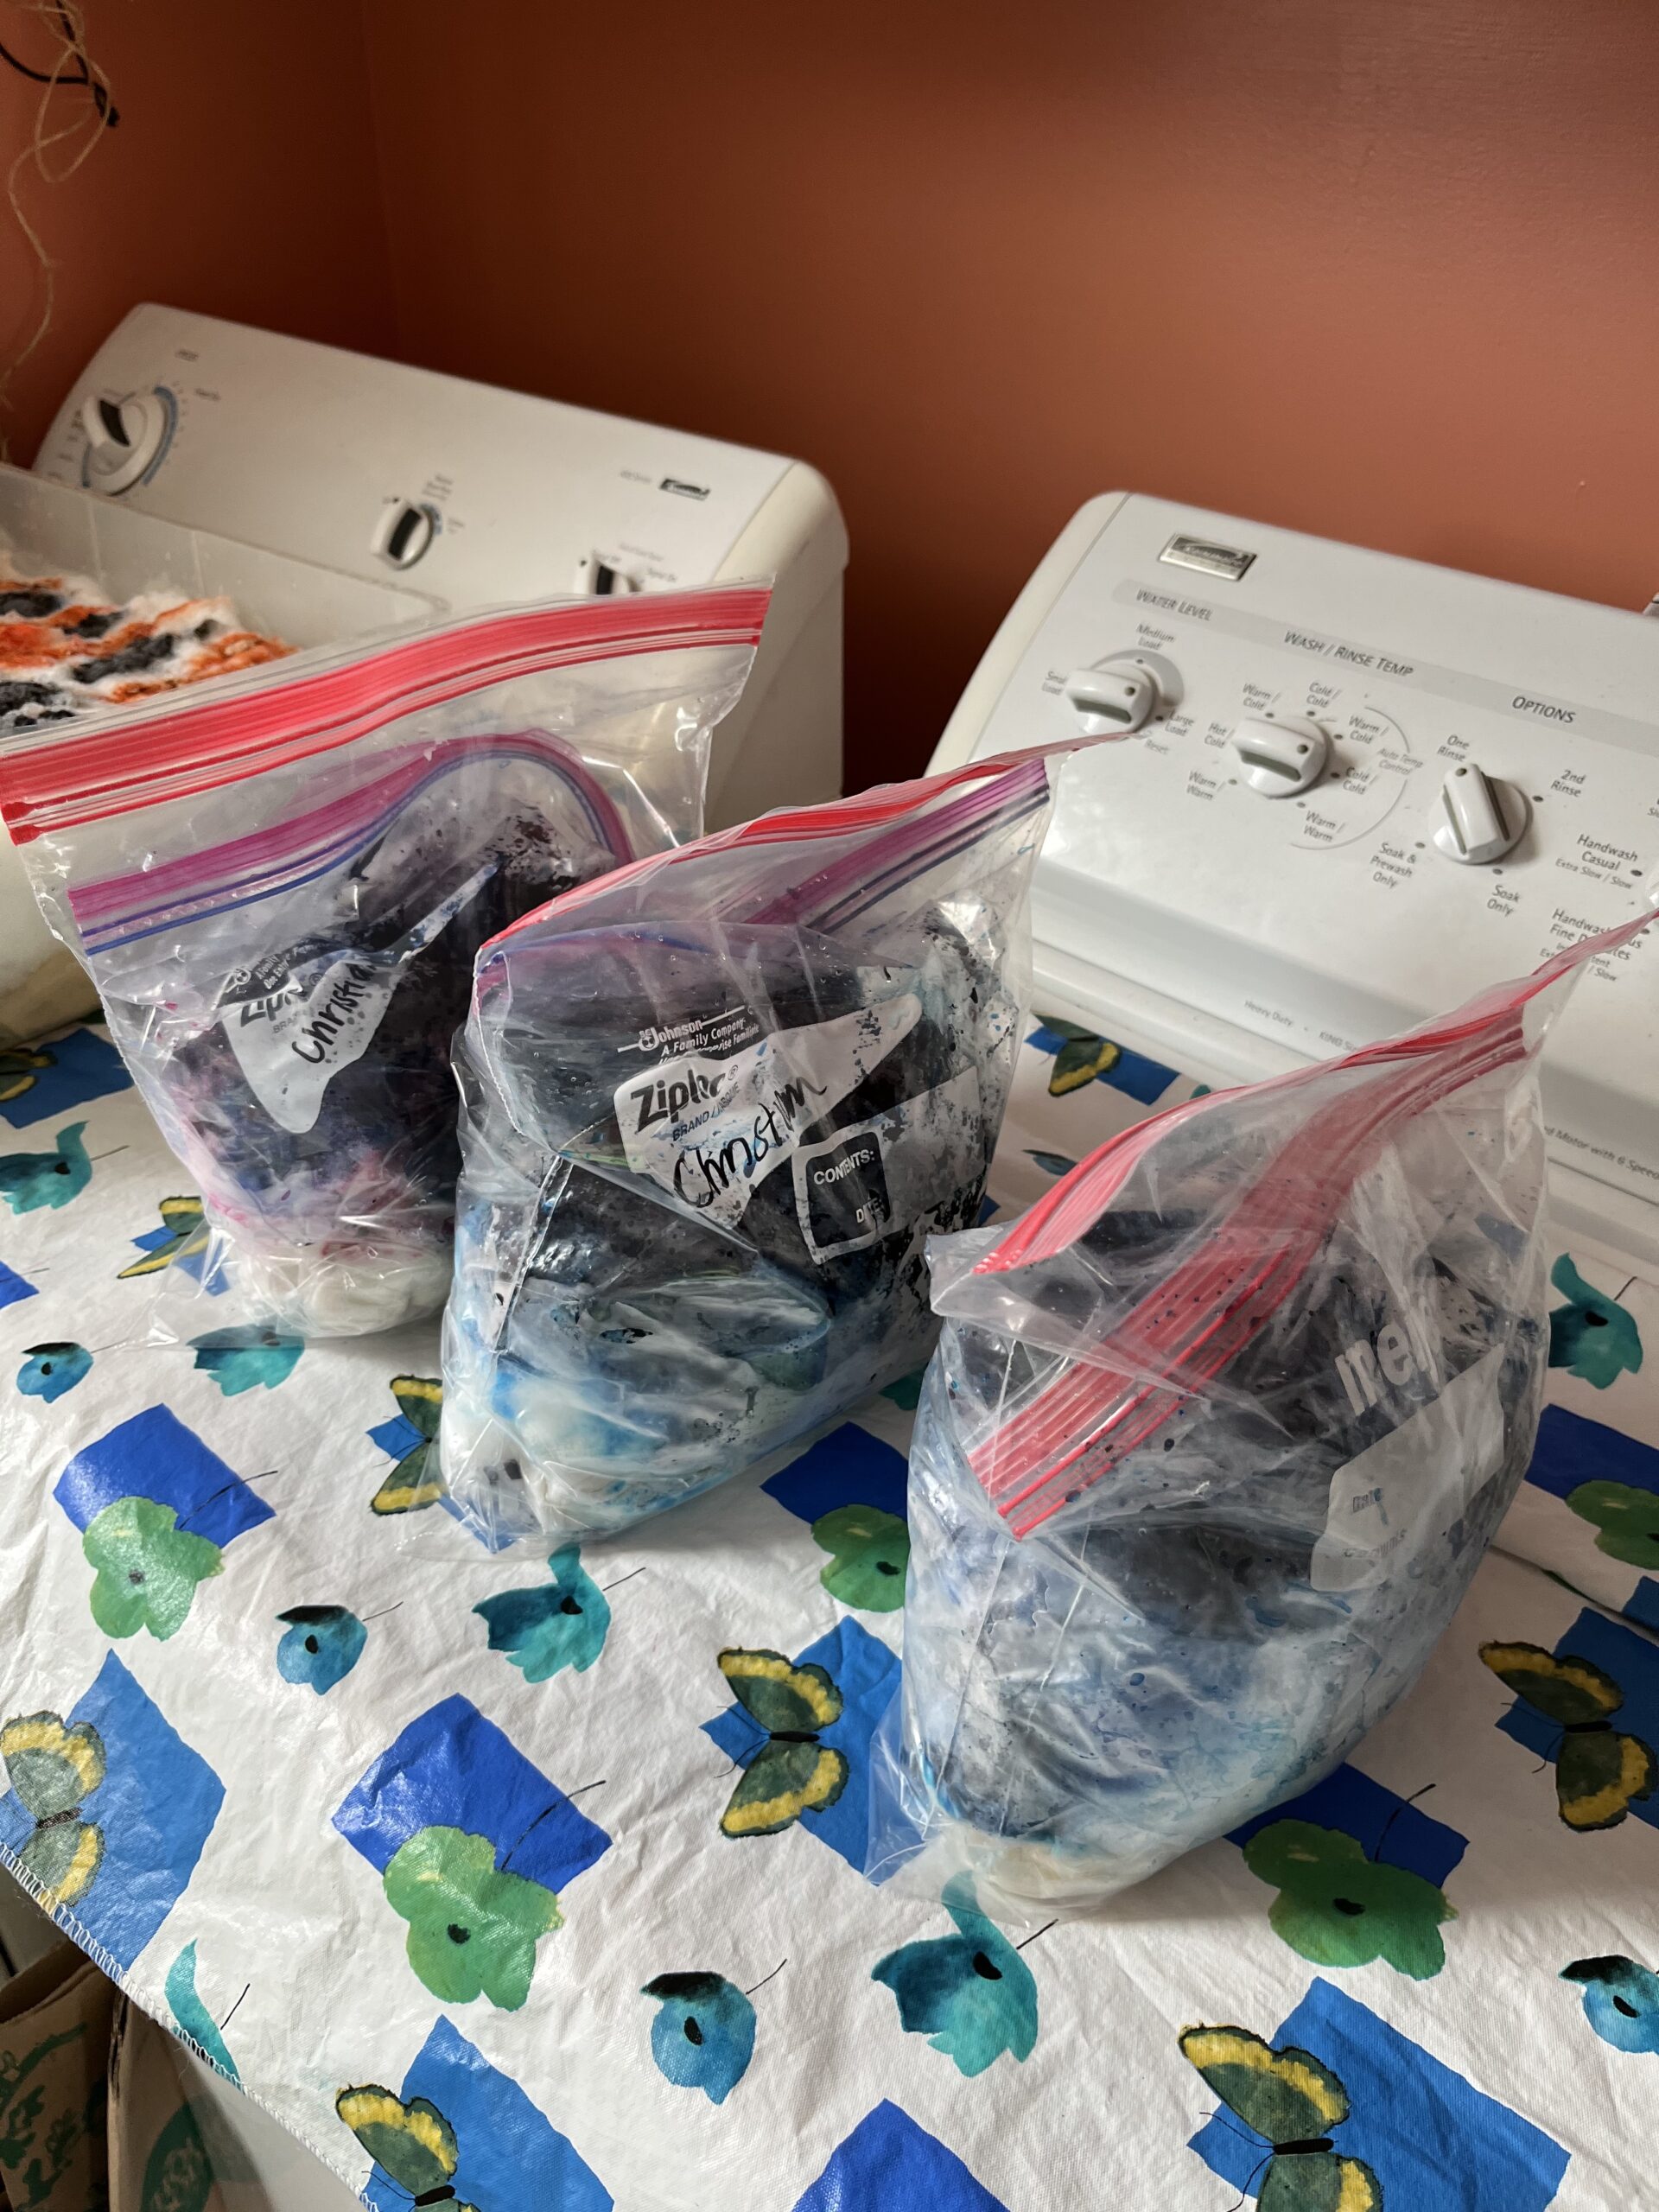
- Plastic containers with lids for dyeing- they can be any shape (round, rectangular) but you’ll want to NOT eat with them later. I also used double gallon zip lock bags too although it’s harder to control the dye over the snow with these.
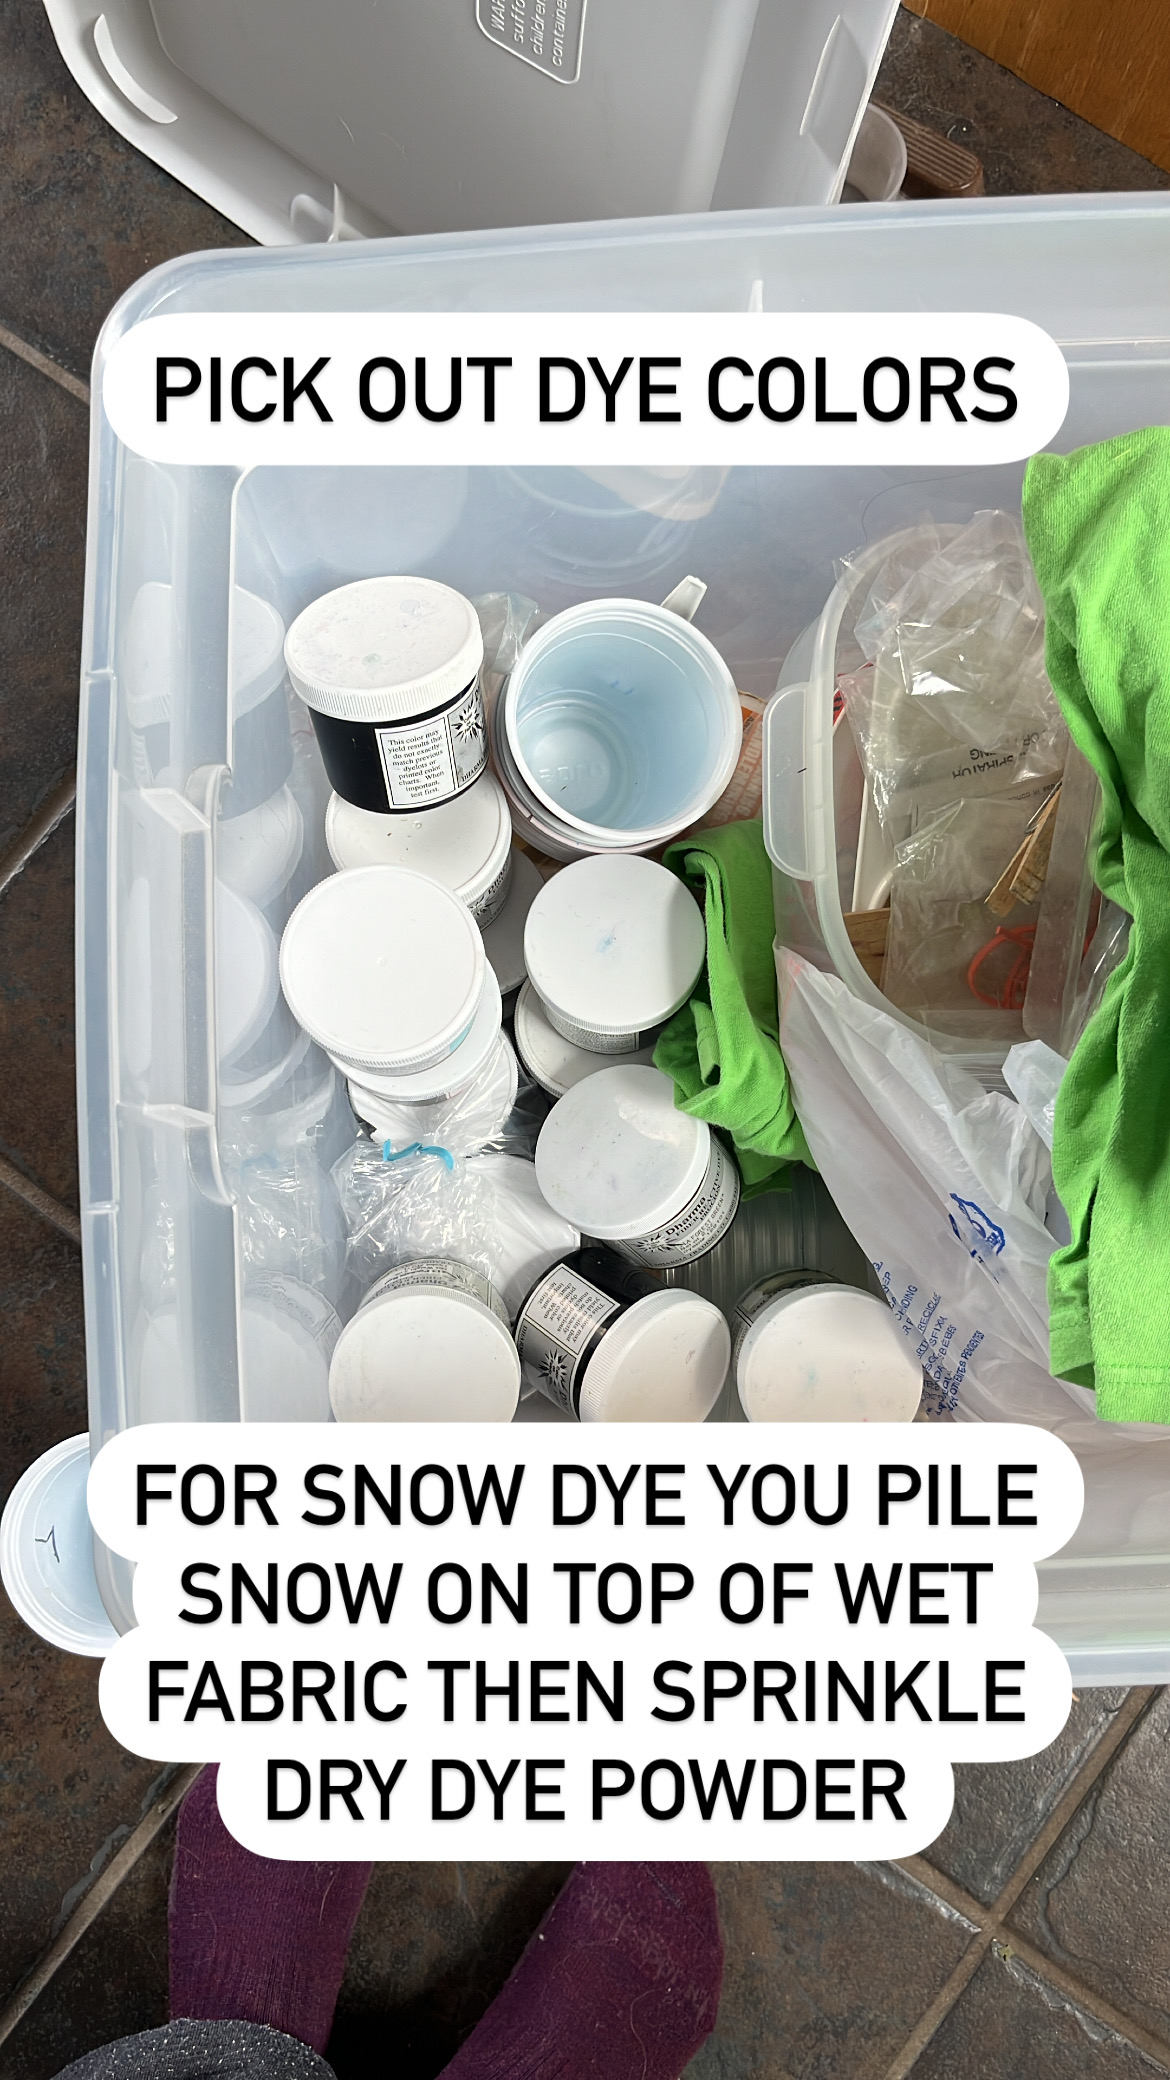
- Dye – powdered only
- Plastic disposable spoons (although I clean and reuse these forever)
- Gloves (dishwashing gloves or disposable plastic gloves)
- Facemasks – KN95s should be hanging around your house but even a surgical one is OK too. LOL, thank you pandemic for all that!
- and goggles/safety glasses
I used one large flat plastic container for the poncho, and three gallon sized zip lock bags for my other items, but you can use smaller plastic containers that are more flat for optimal results. I just buy inexpensive ones from the grocery store and keep them for dyeing.
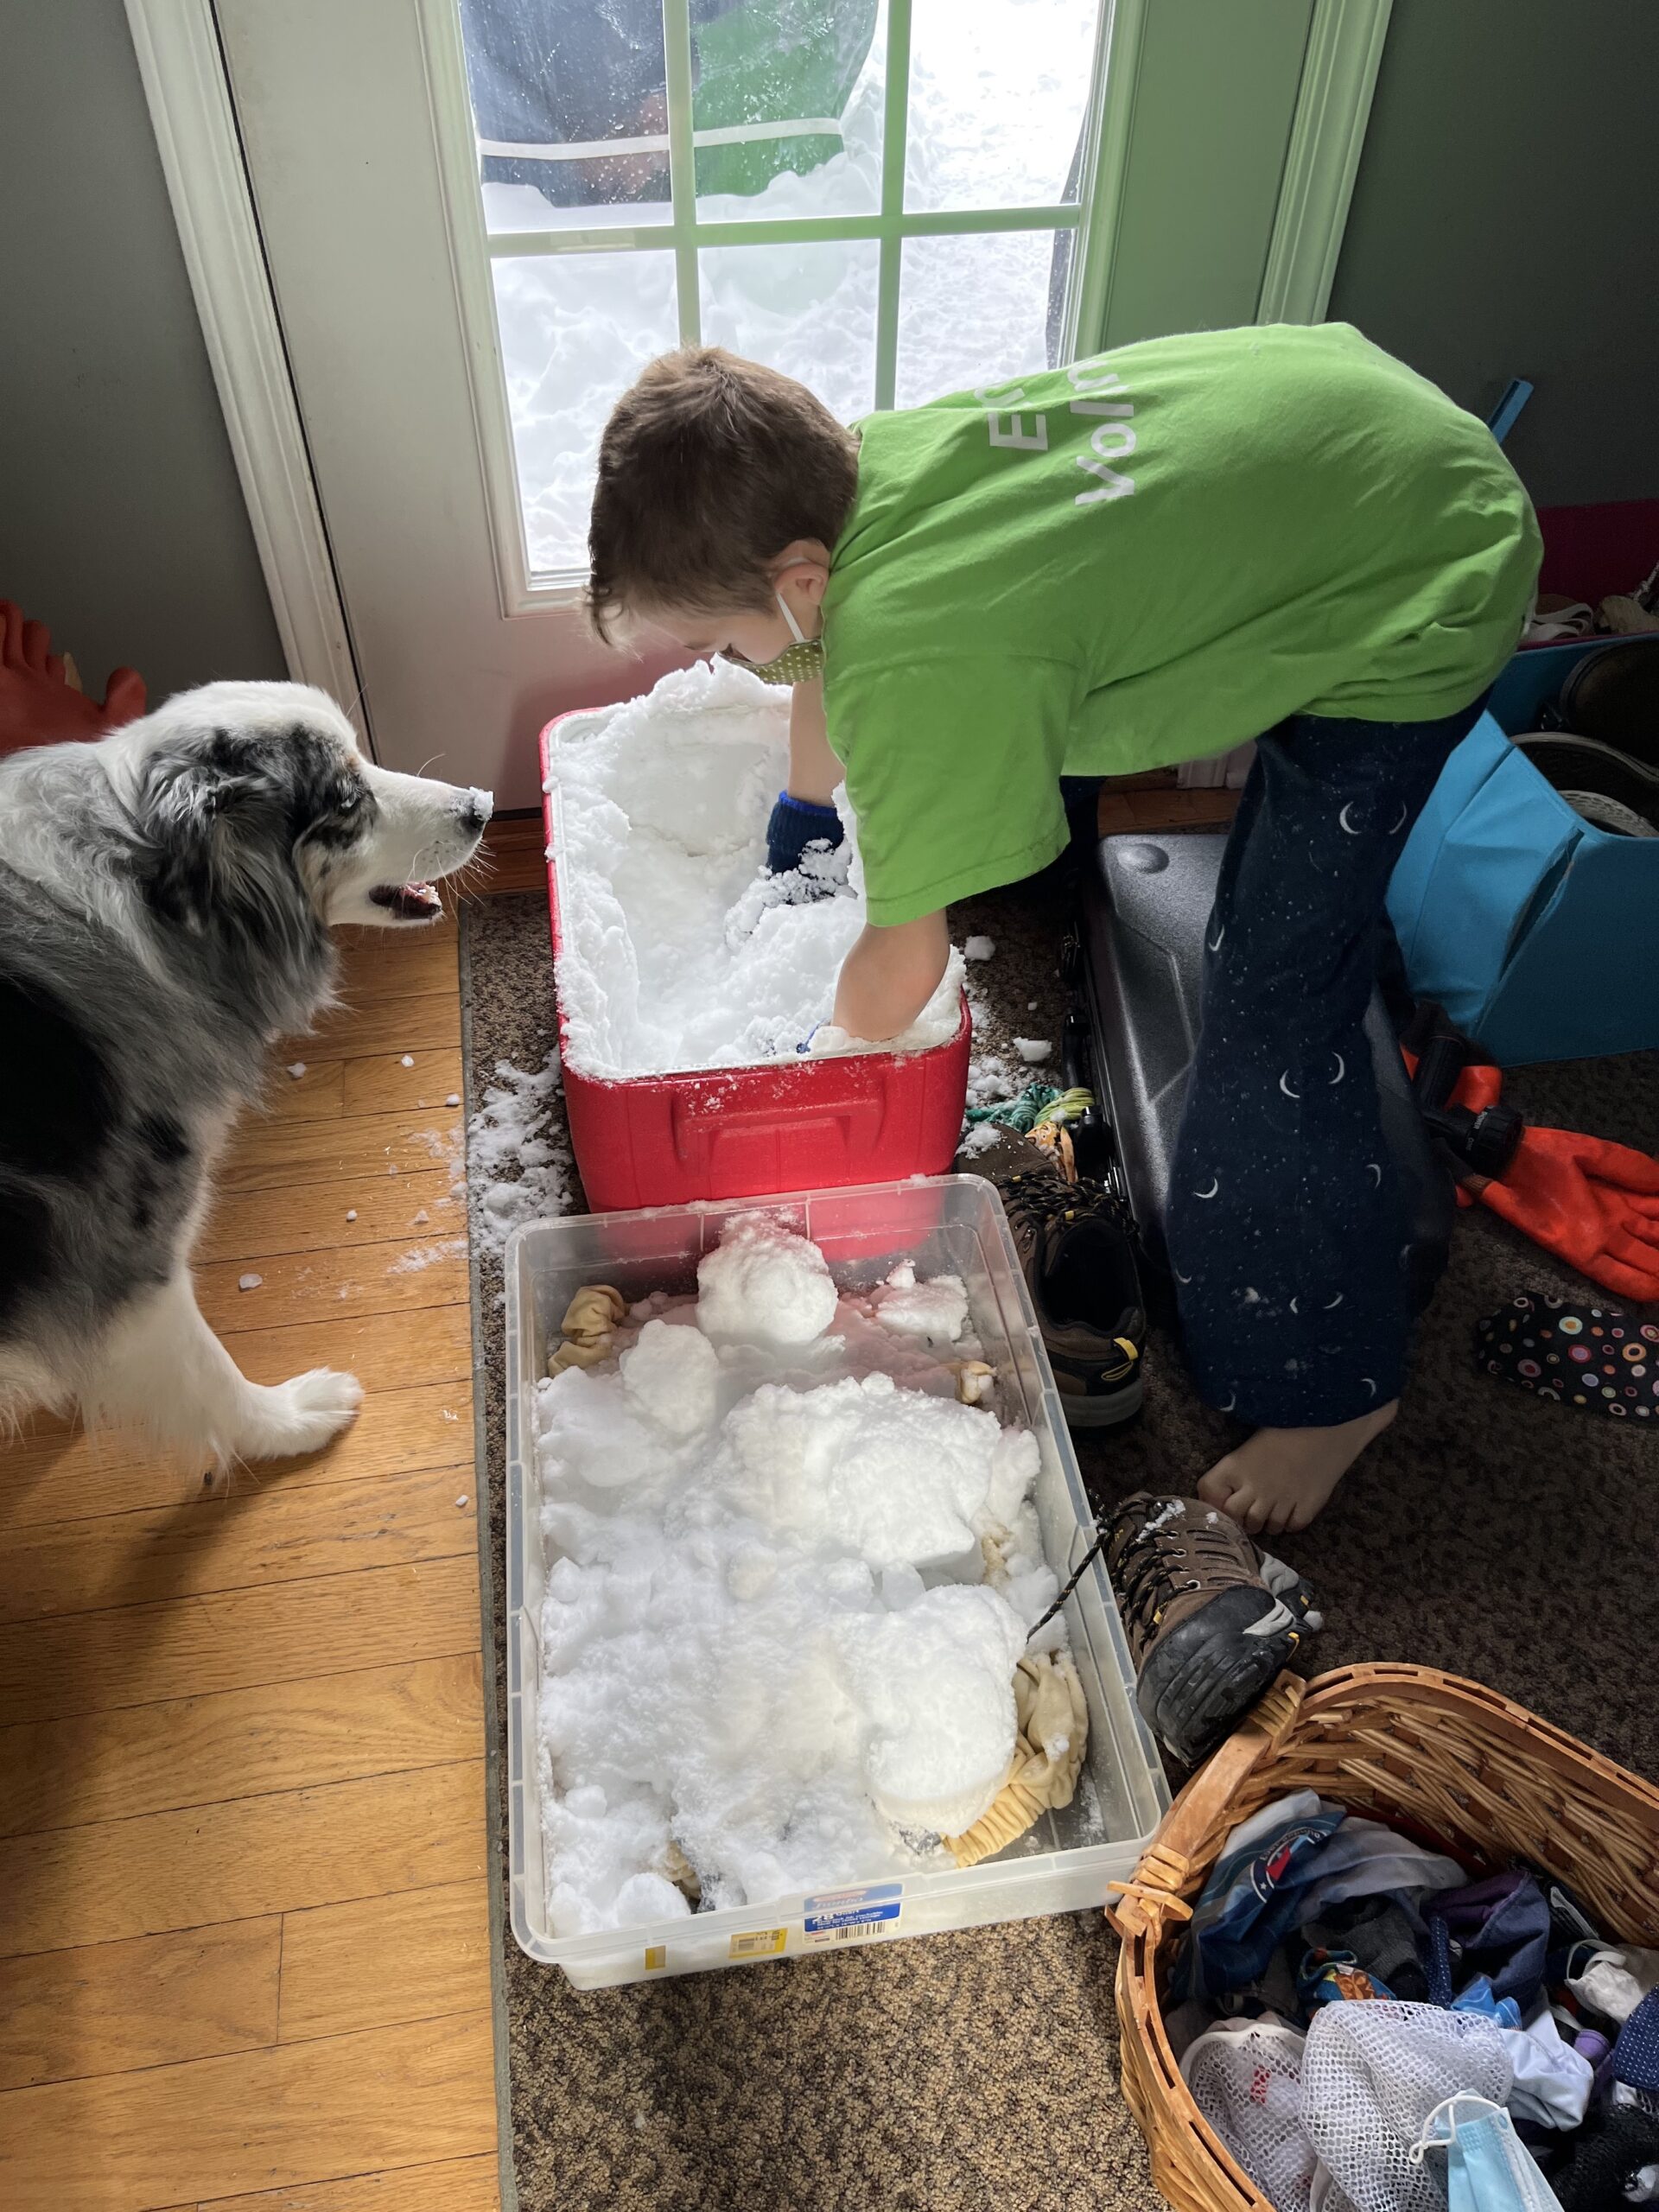
My son (who is 11) helped me with all of this. He dipped the fabric, using the wood stick, so as to not get any soda ash fixer on his hands.


Once our fabric has soaked for 30 minutes, take it out, wring it out but do not rinse. I used gloves for this.
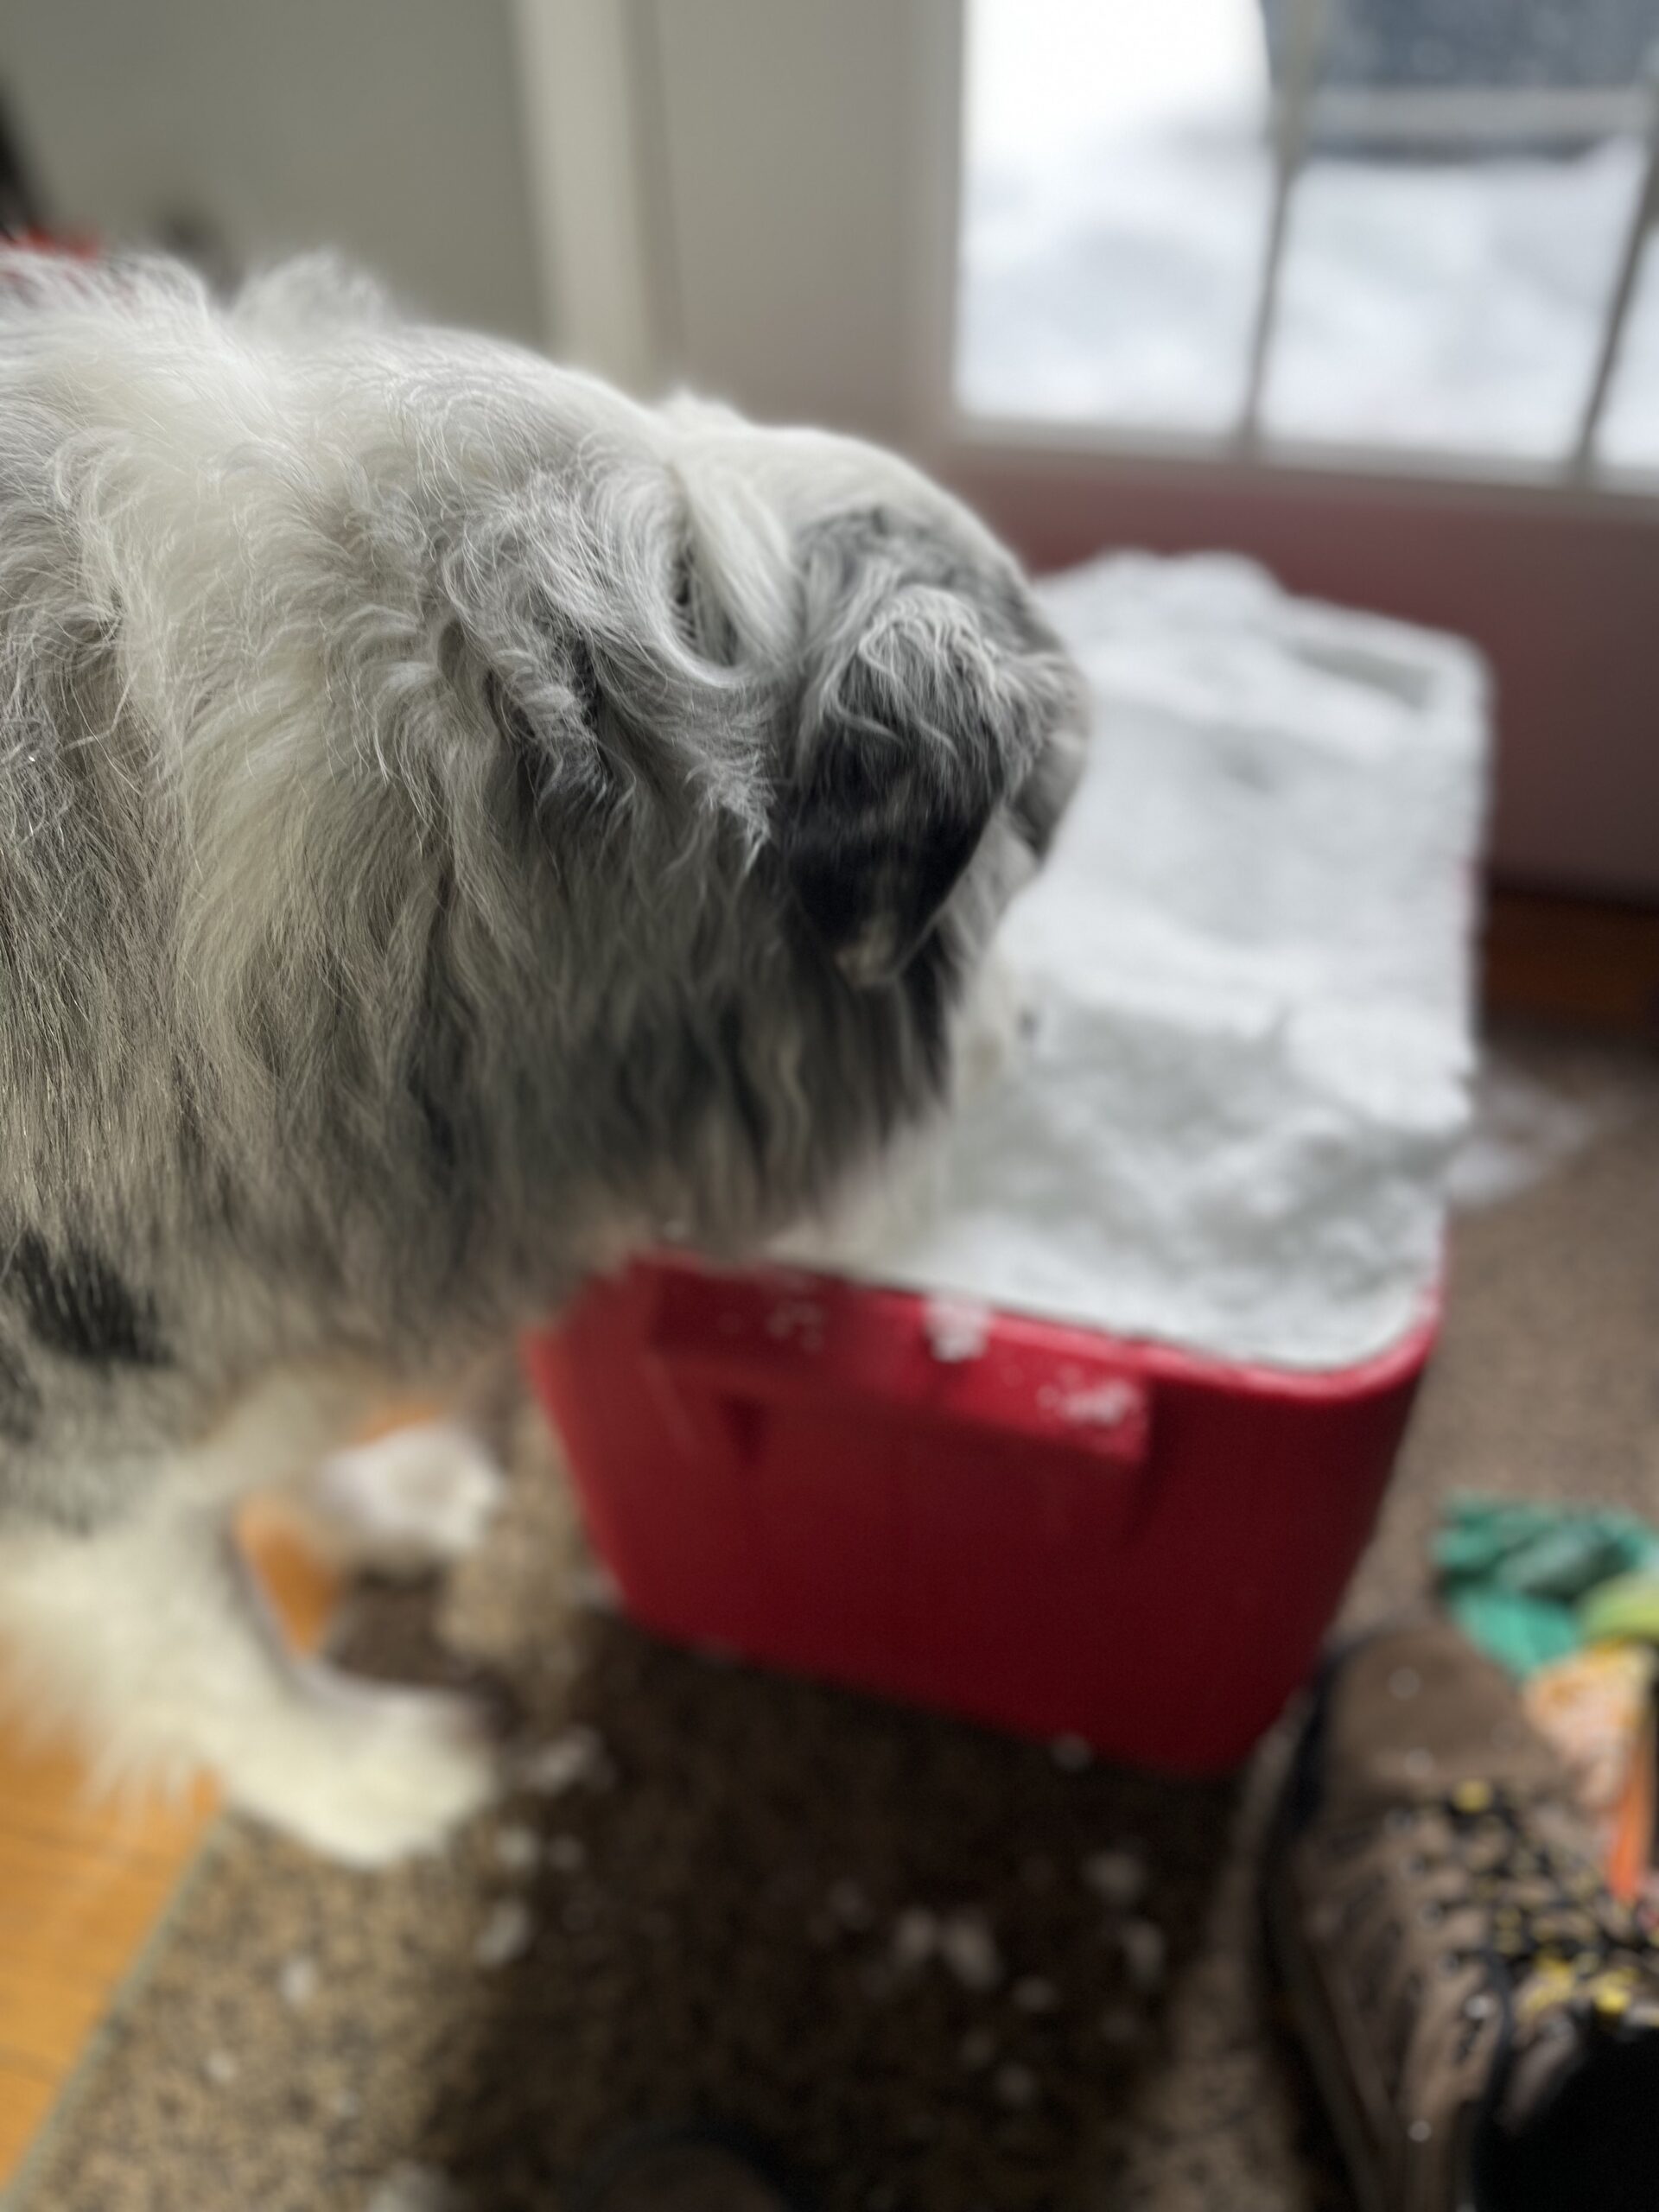
- Scoop snow! We scooped it into a big cooler
- Our dog loves snow, and he thought we brought him in a buffet of snow to eat!
- Lay your fabric in your plastic containers. Scrunch and smoosh it around a bit. You can do tie dye style here with rubber bands or twine, but we did not. The more twists and turns of your fabric, the better the dye, so don’t flatten it out.
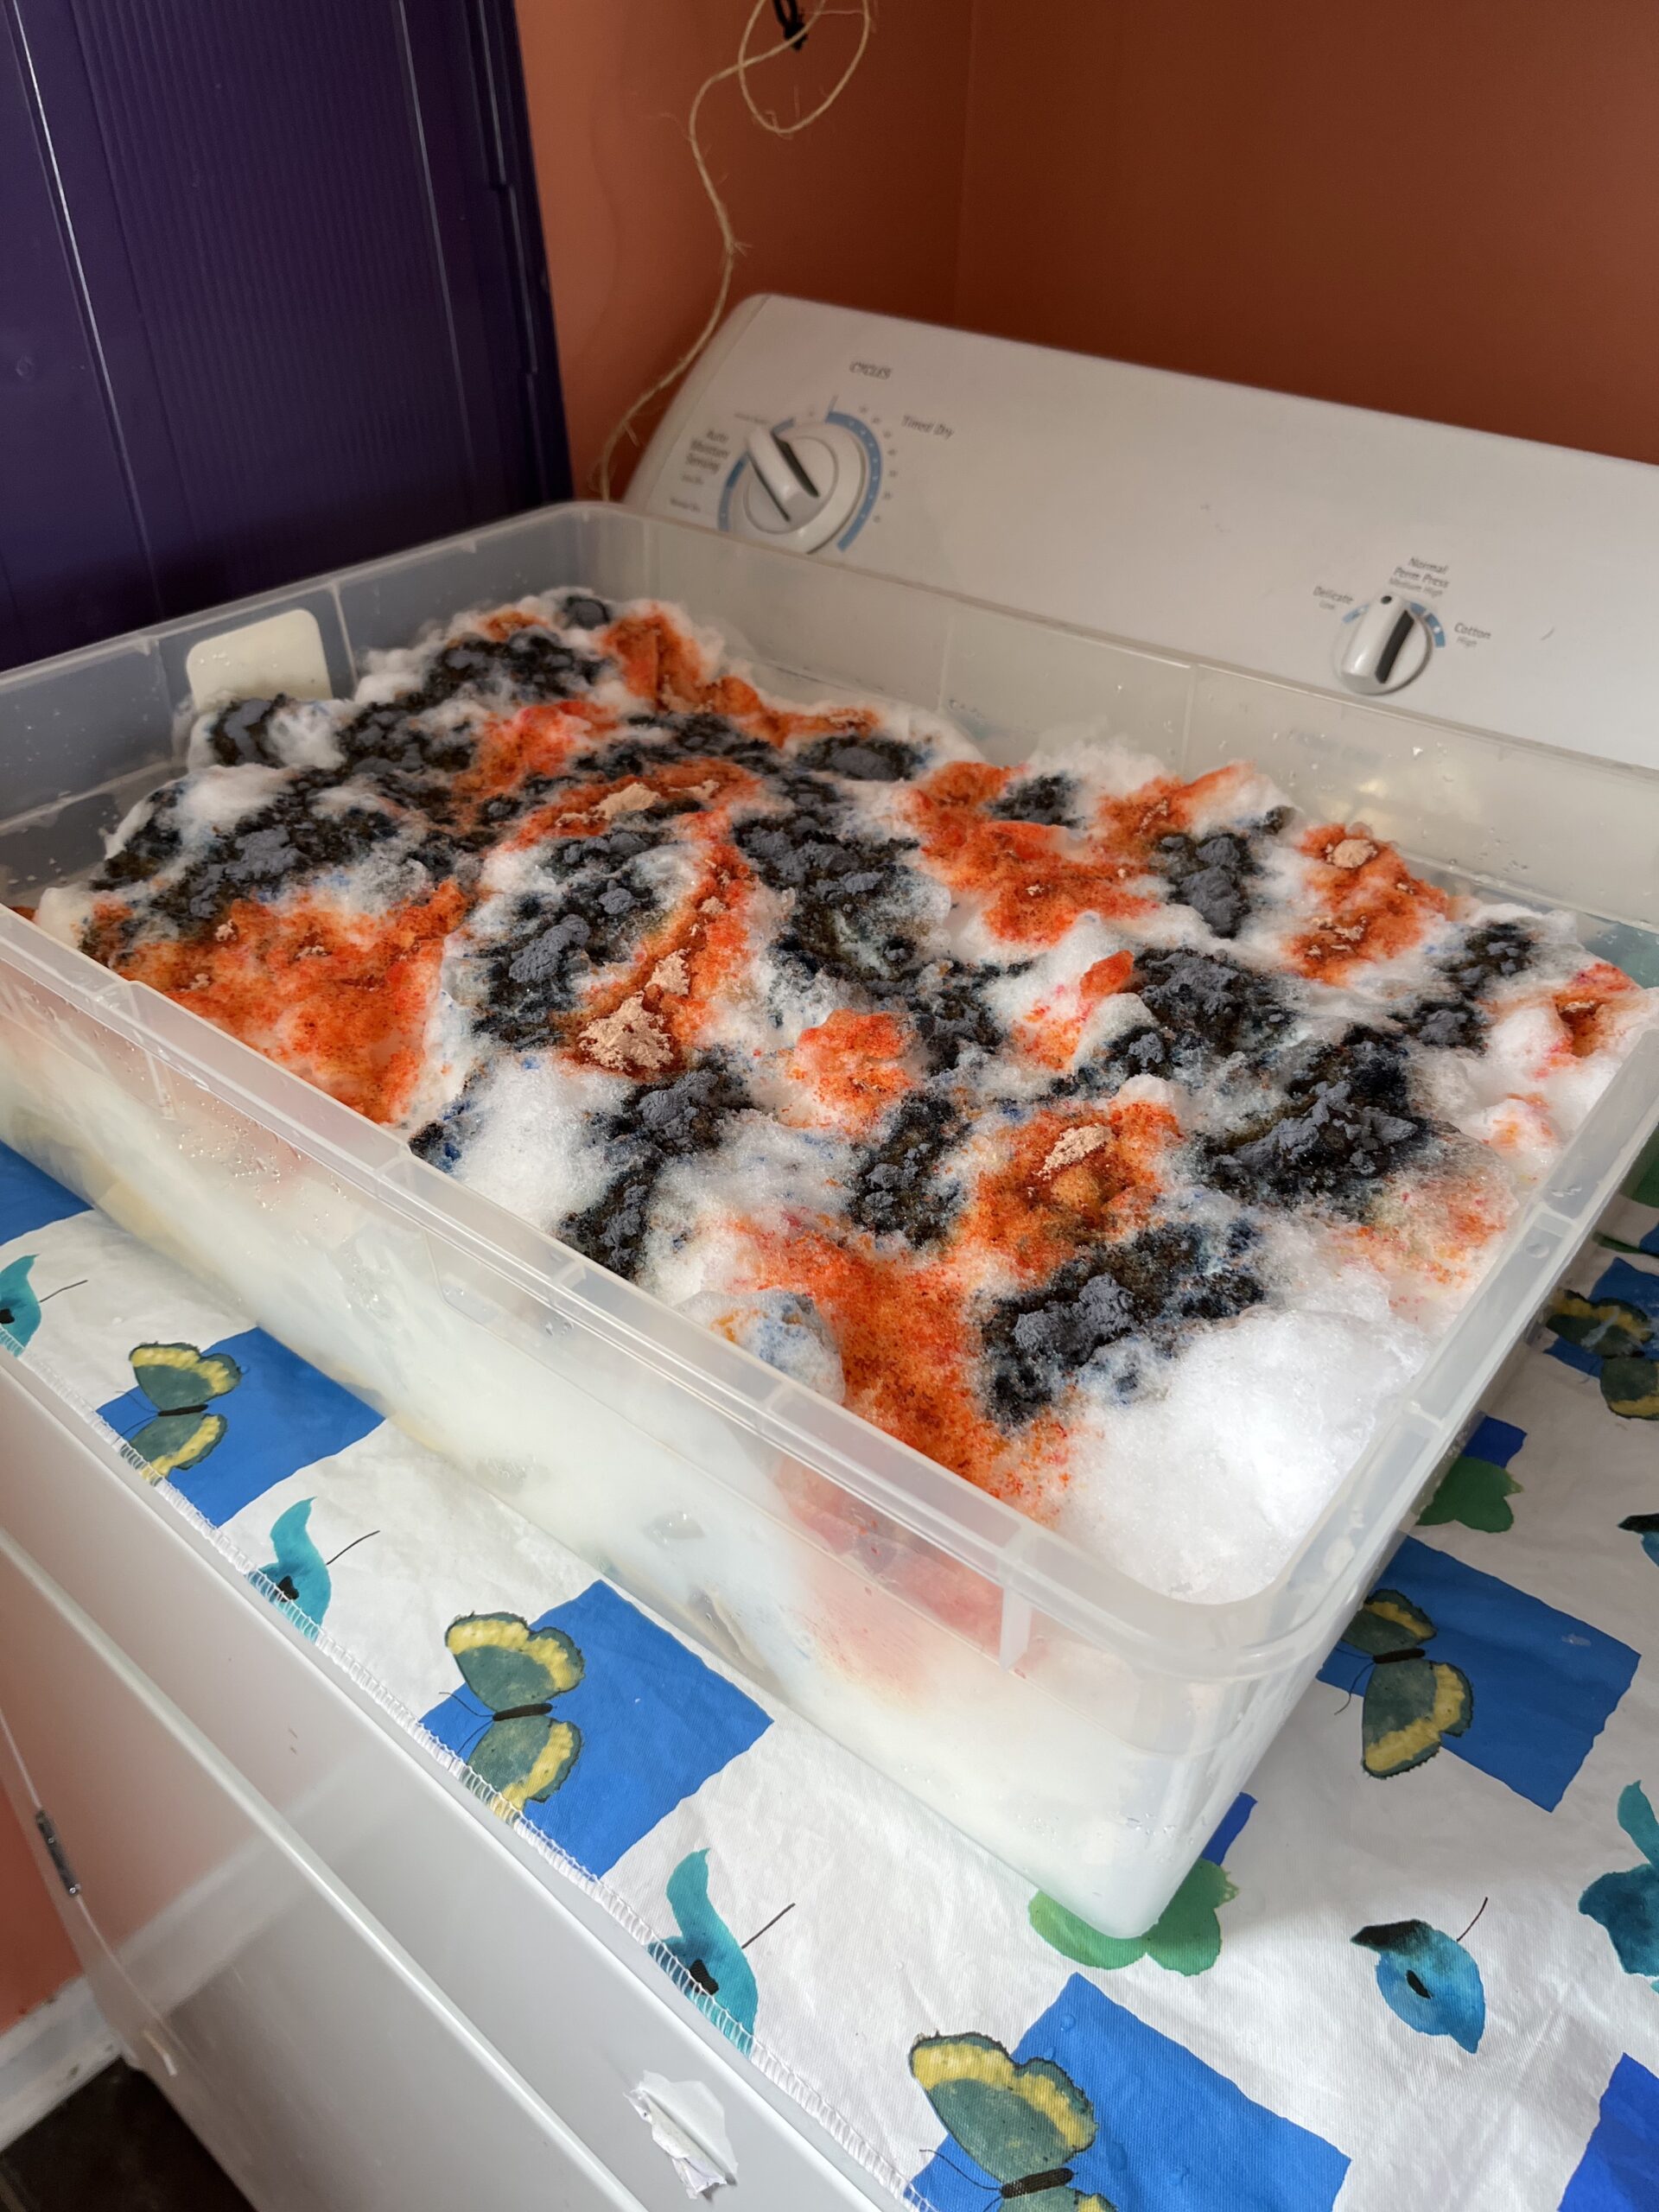
- Pack snow on the top. I used 2″ of snow at least (maybe even 3″)
- Sprinkle dye over the snow, using several colors that you like and randomly sprinkle
- Cover the containers with their lids and leave for 24 hours. A friend of mine says that if you leave it for 48, it works better, with darker colors, but I found the 12 hours fine. We used a LOT of dye, probably 5-8 teaspoons of dye per garment. You can use less if you want more suble, softer colors. 2-3 heaping teaspoons per garment would be very light colors.
Rinse and prepare your garments for washing:
- After 24 hours, take the first item out and rinse it in hot water, tapering to cold water as the dye comes out. There will be a LOT of dye coming out
- Repeat for the others, do not rinse them together unless they are the same colors
- Place them in a washing machine (again, like colors together), and use Synthrapol textile soap – this is important because synthrapol will suspend the dye in the water (it’s got some oily consistency) and it won’t back-stain your garment. I use a warm water wash with lots of water, and a second rinse. You can get synthropol from Dharma Trading, even if you use RIT dye.
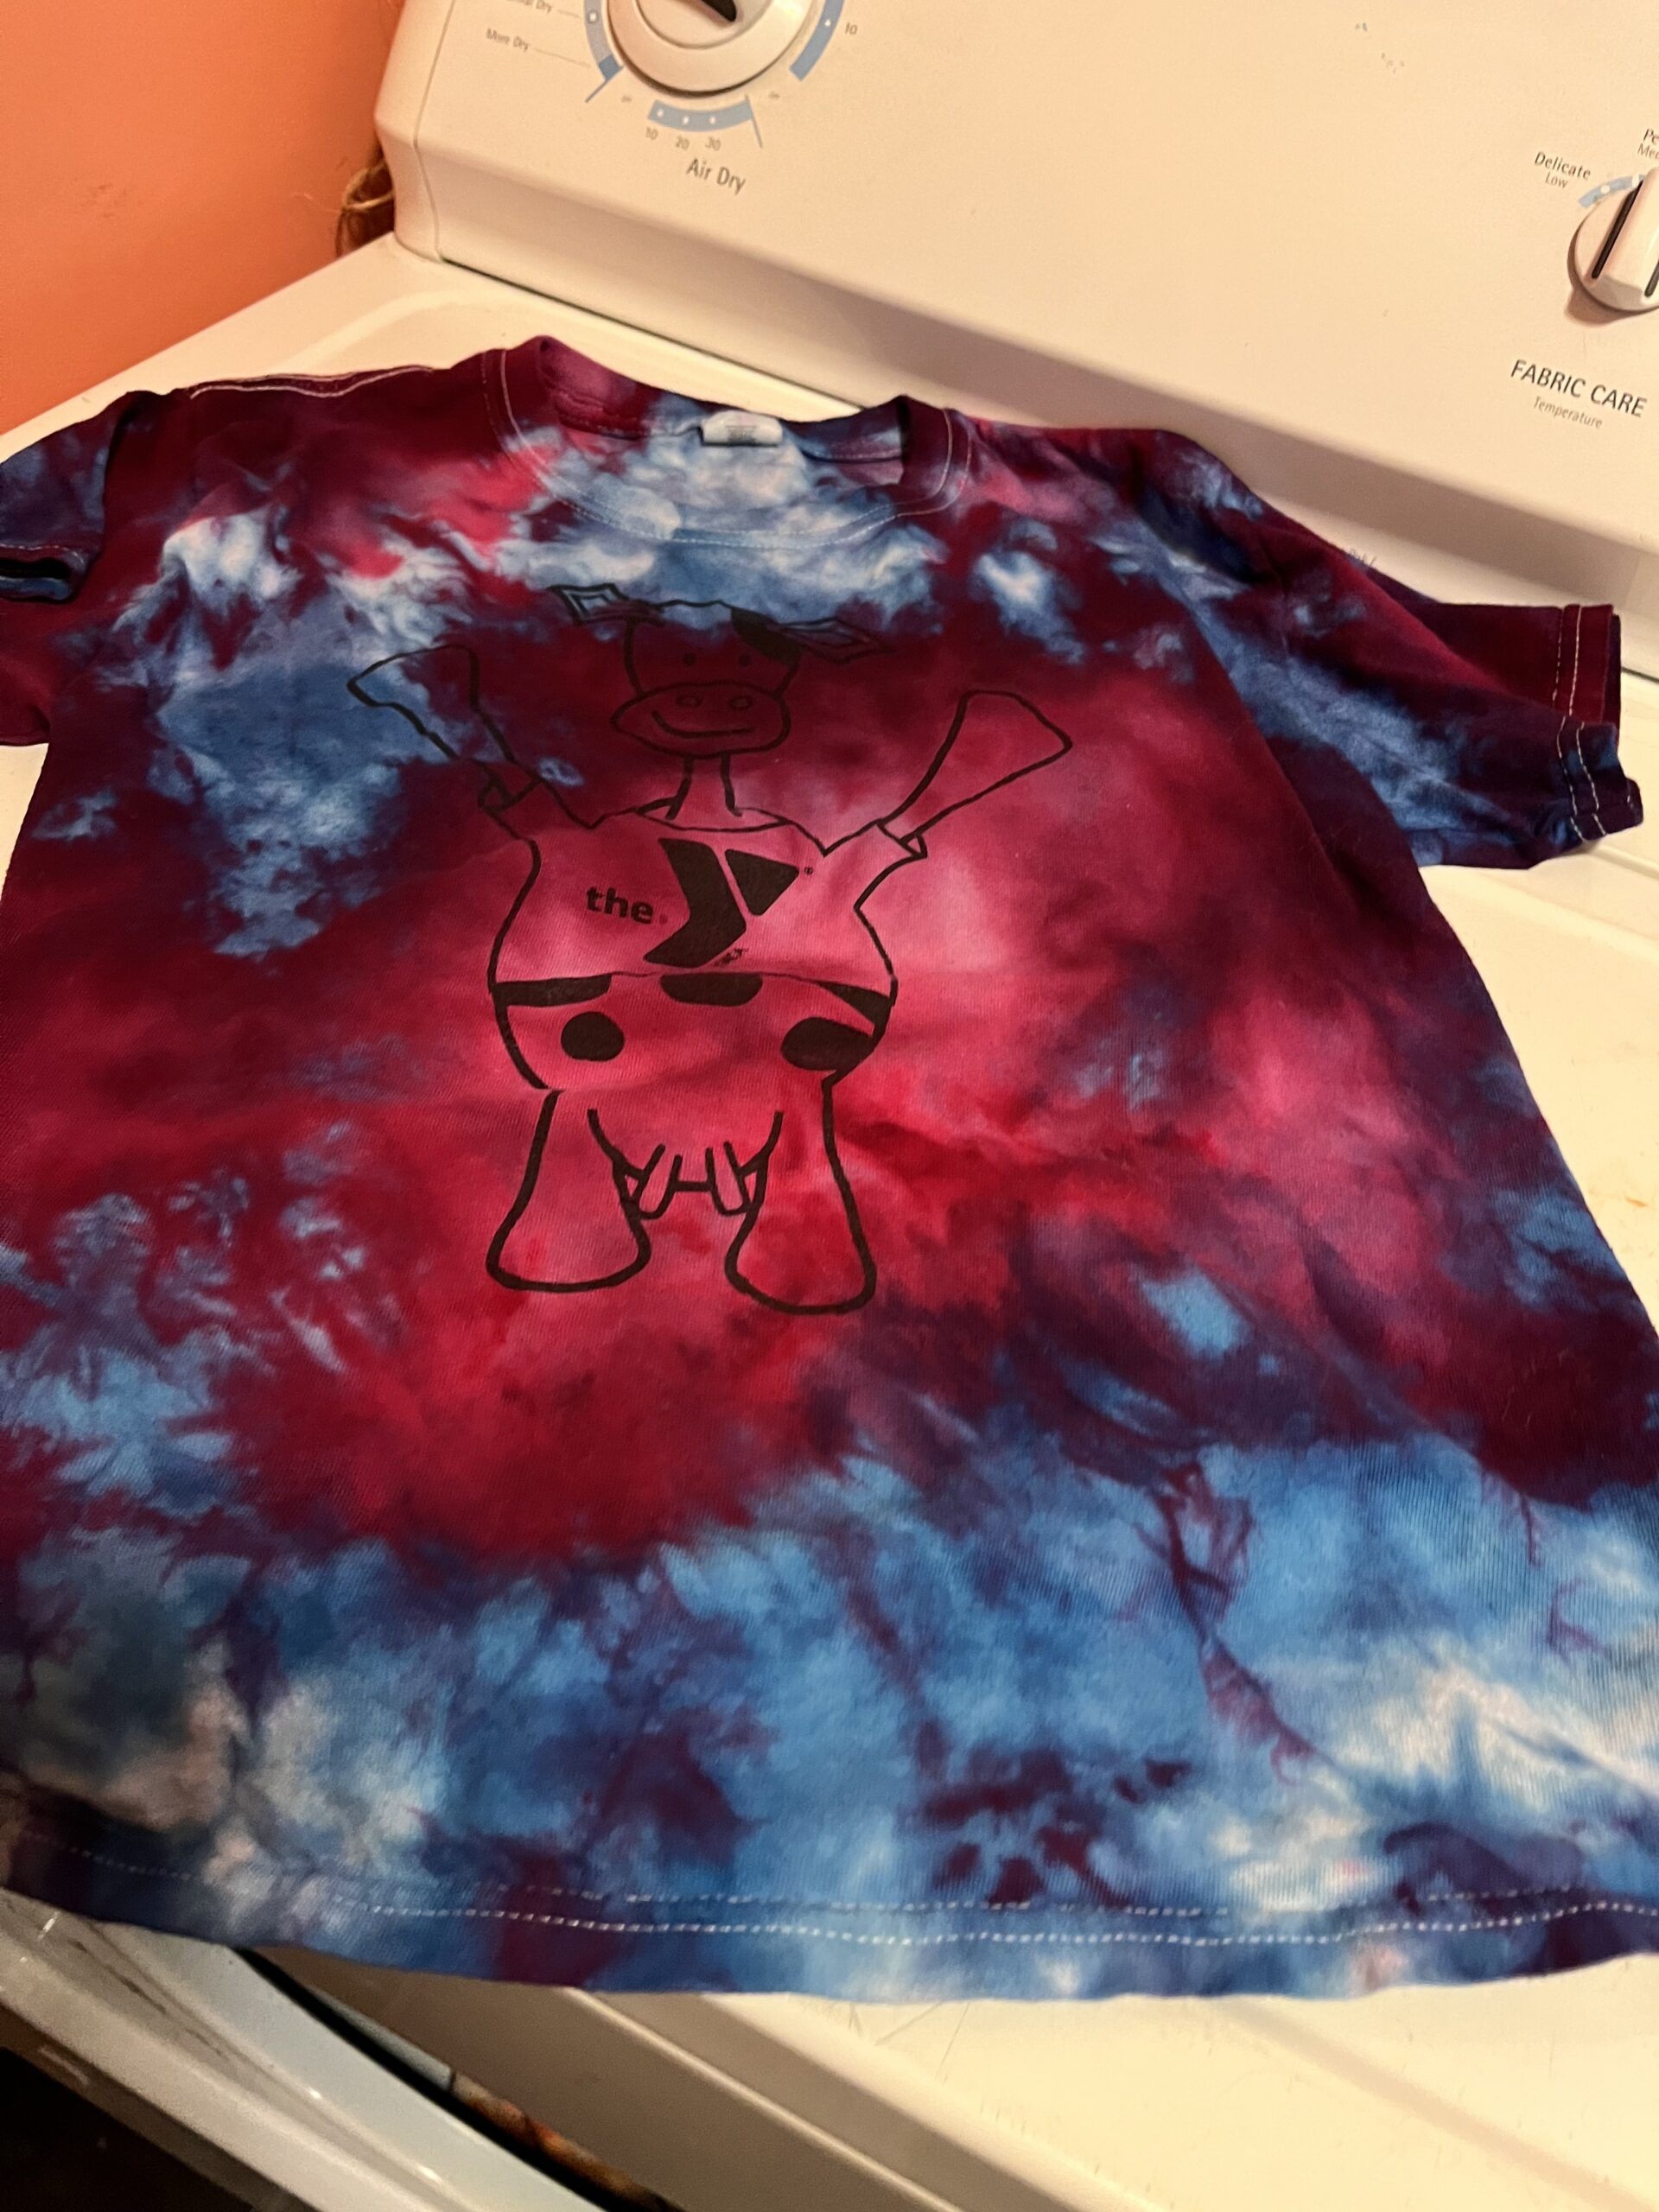
- Dry as usual!
- A LOT of dye will rinse out so don’t freak out if it’s super dark when you take them out, this is OK.

Sources:
Procion Dye, soda ash fixer, Synthrapol soap: Dharmatrading.com
You can also use RIT powdered dye (will not need soda ash as it has it in there), but highly recommend synthrapol soap.
Tee shirts: the YMCA my kids attend does Camper of the Week on cotton tees since they always do a tie dye craft, but you can get 100% cotton tees from craft stores. Dharma Trading also has tons of clothing and accessories ready to dye. My local fabric shop has Kona cotton, triple gauze and even twill PFD (prepared for dyeing) and I’ve dyed and then made clothes later including this awesome Unfolding Jacket and a batik dress. Consider heading to your local thrift store for tee shirts, sweaters, sweatshirts, etc. any 100% natural fabric (except wool, which requires a different process, not cold water dyeing.)
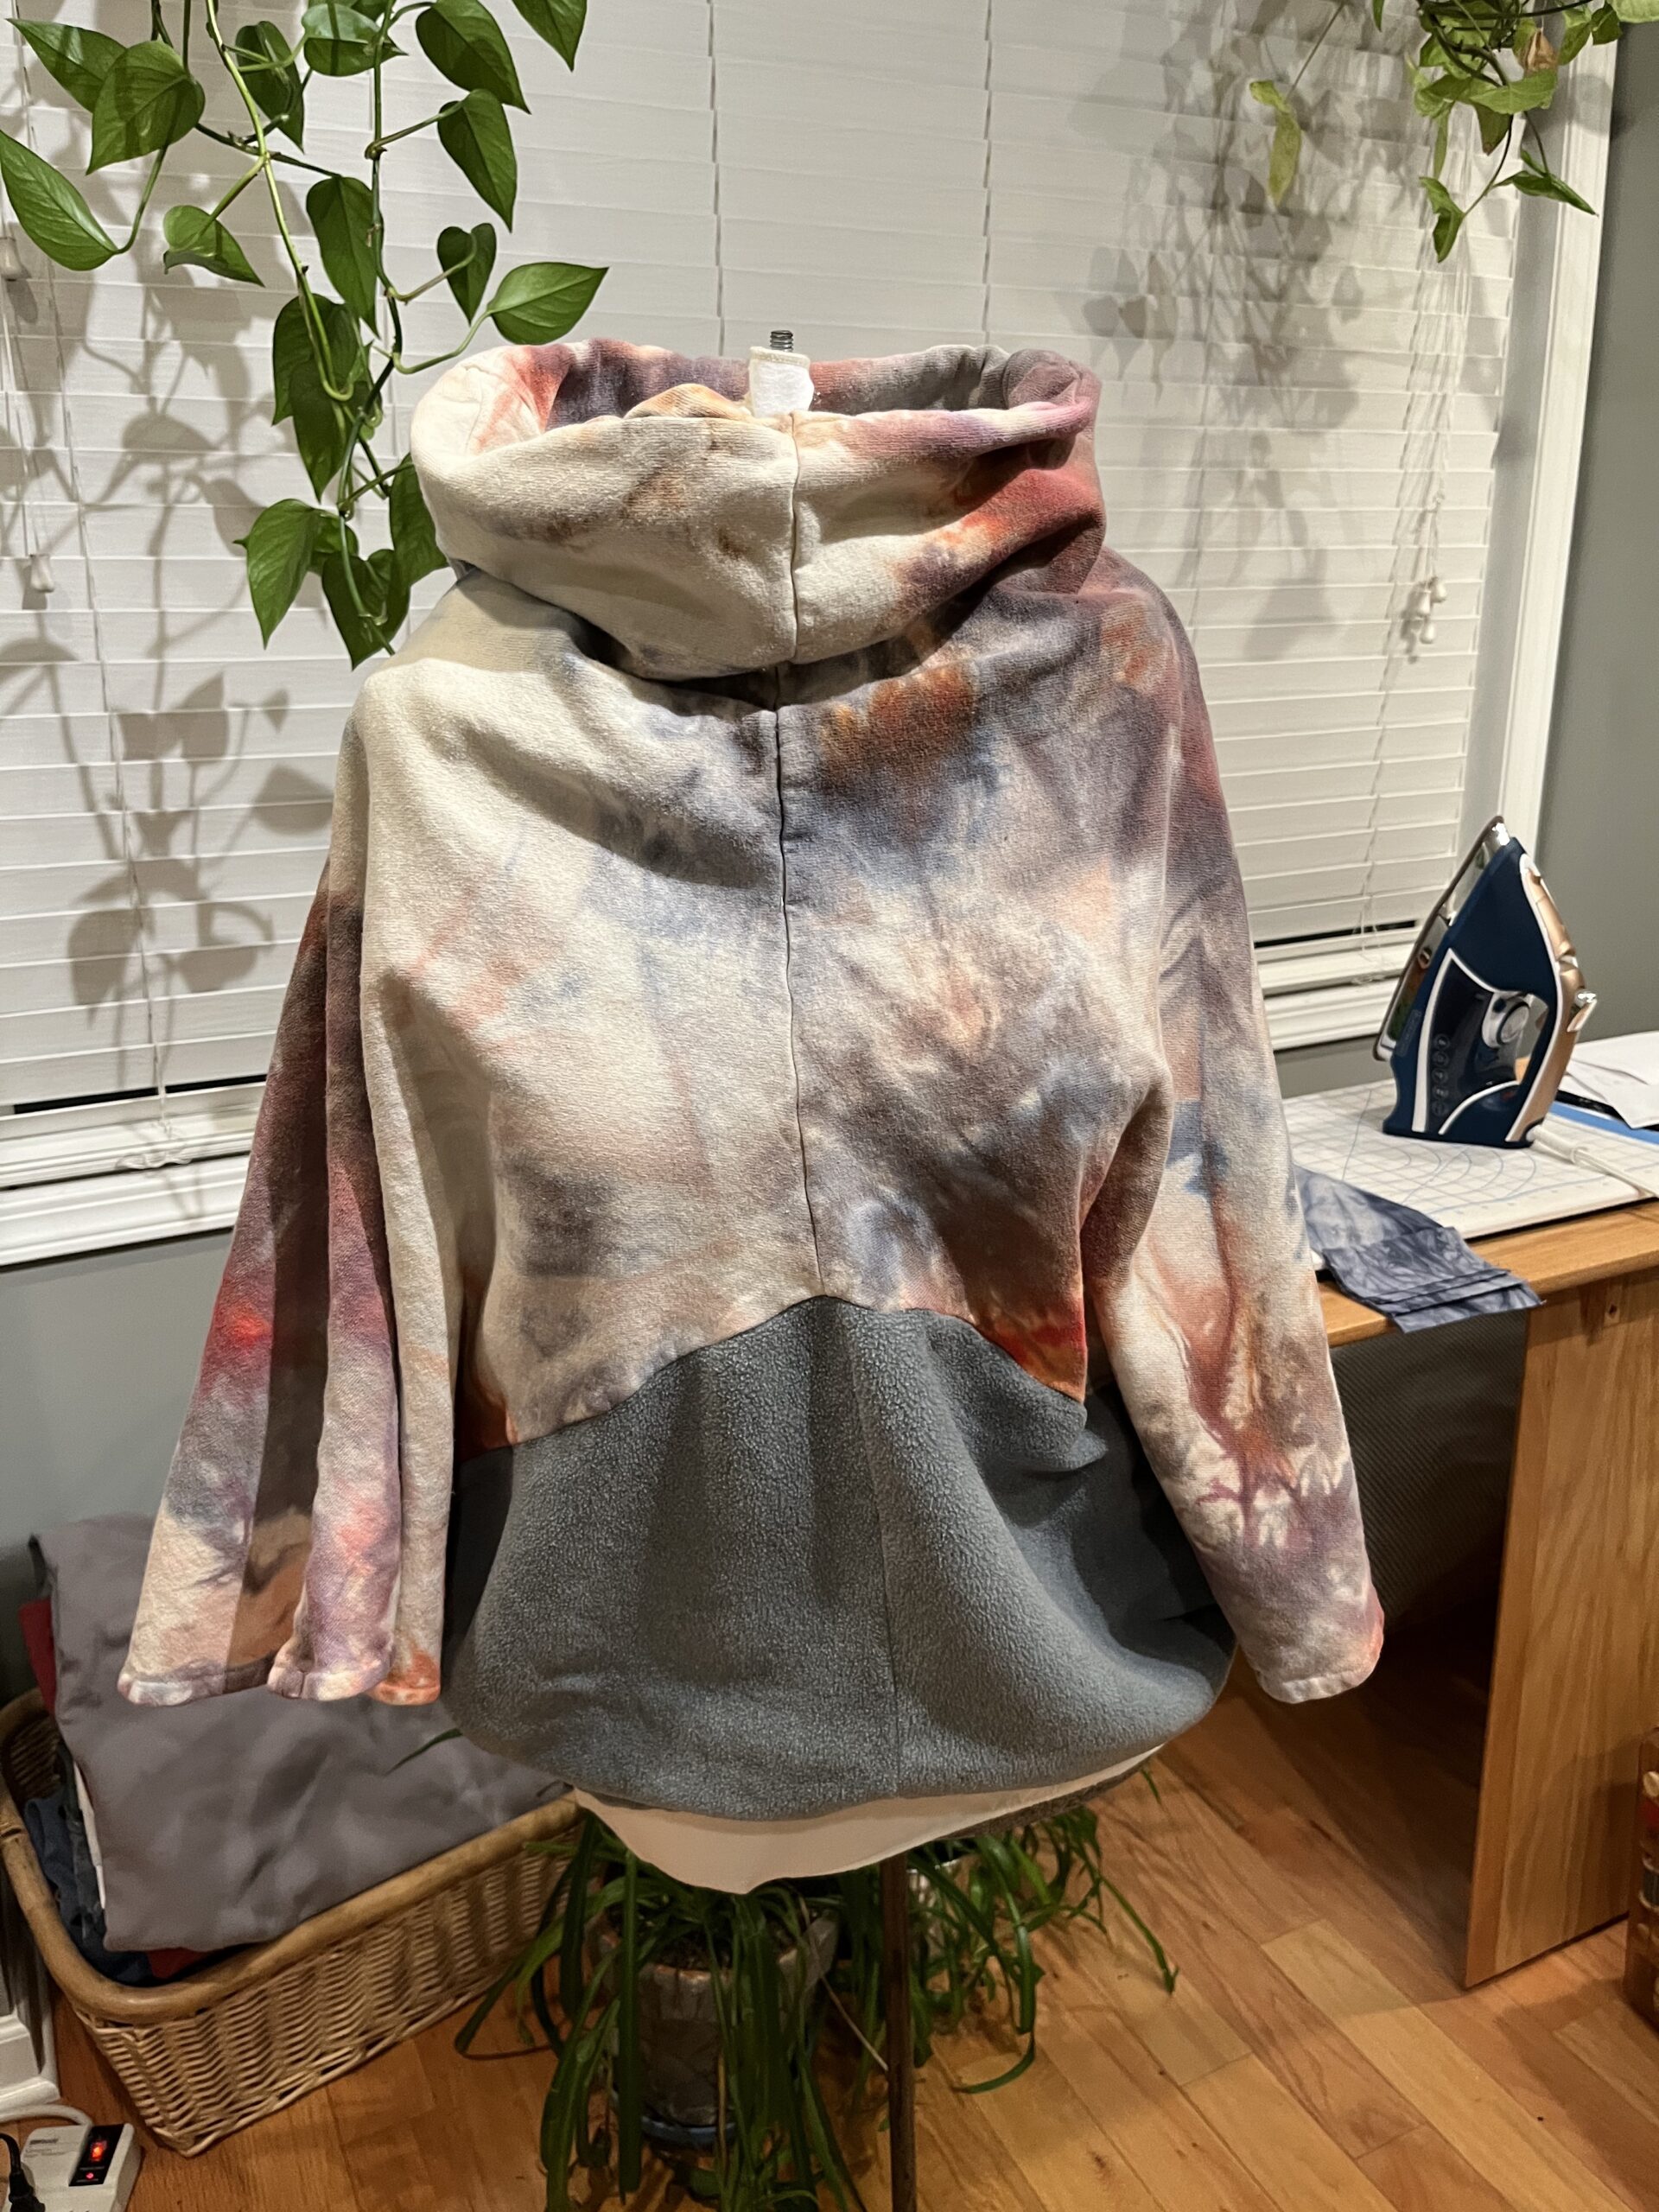
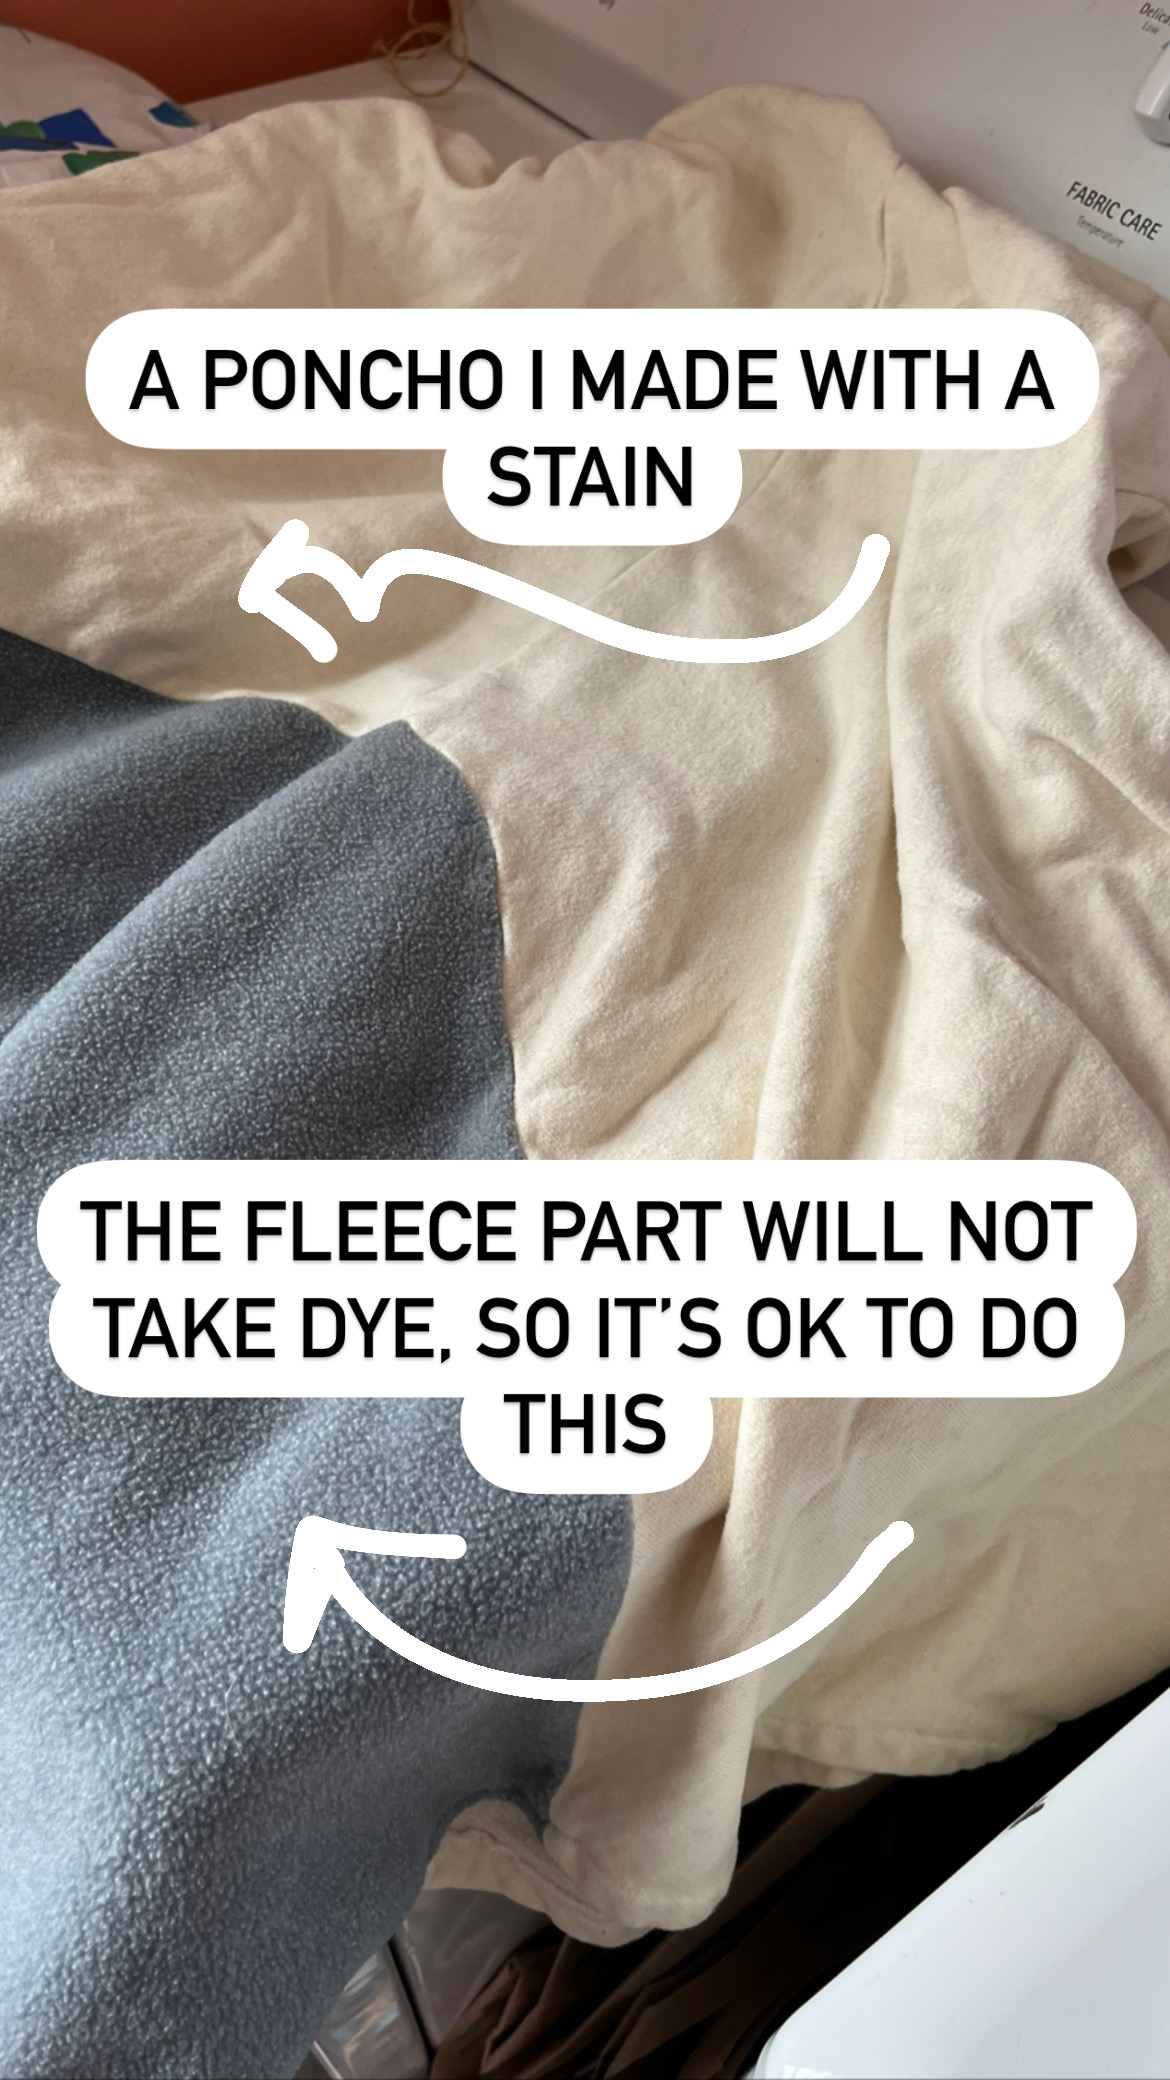
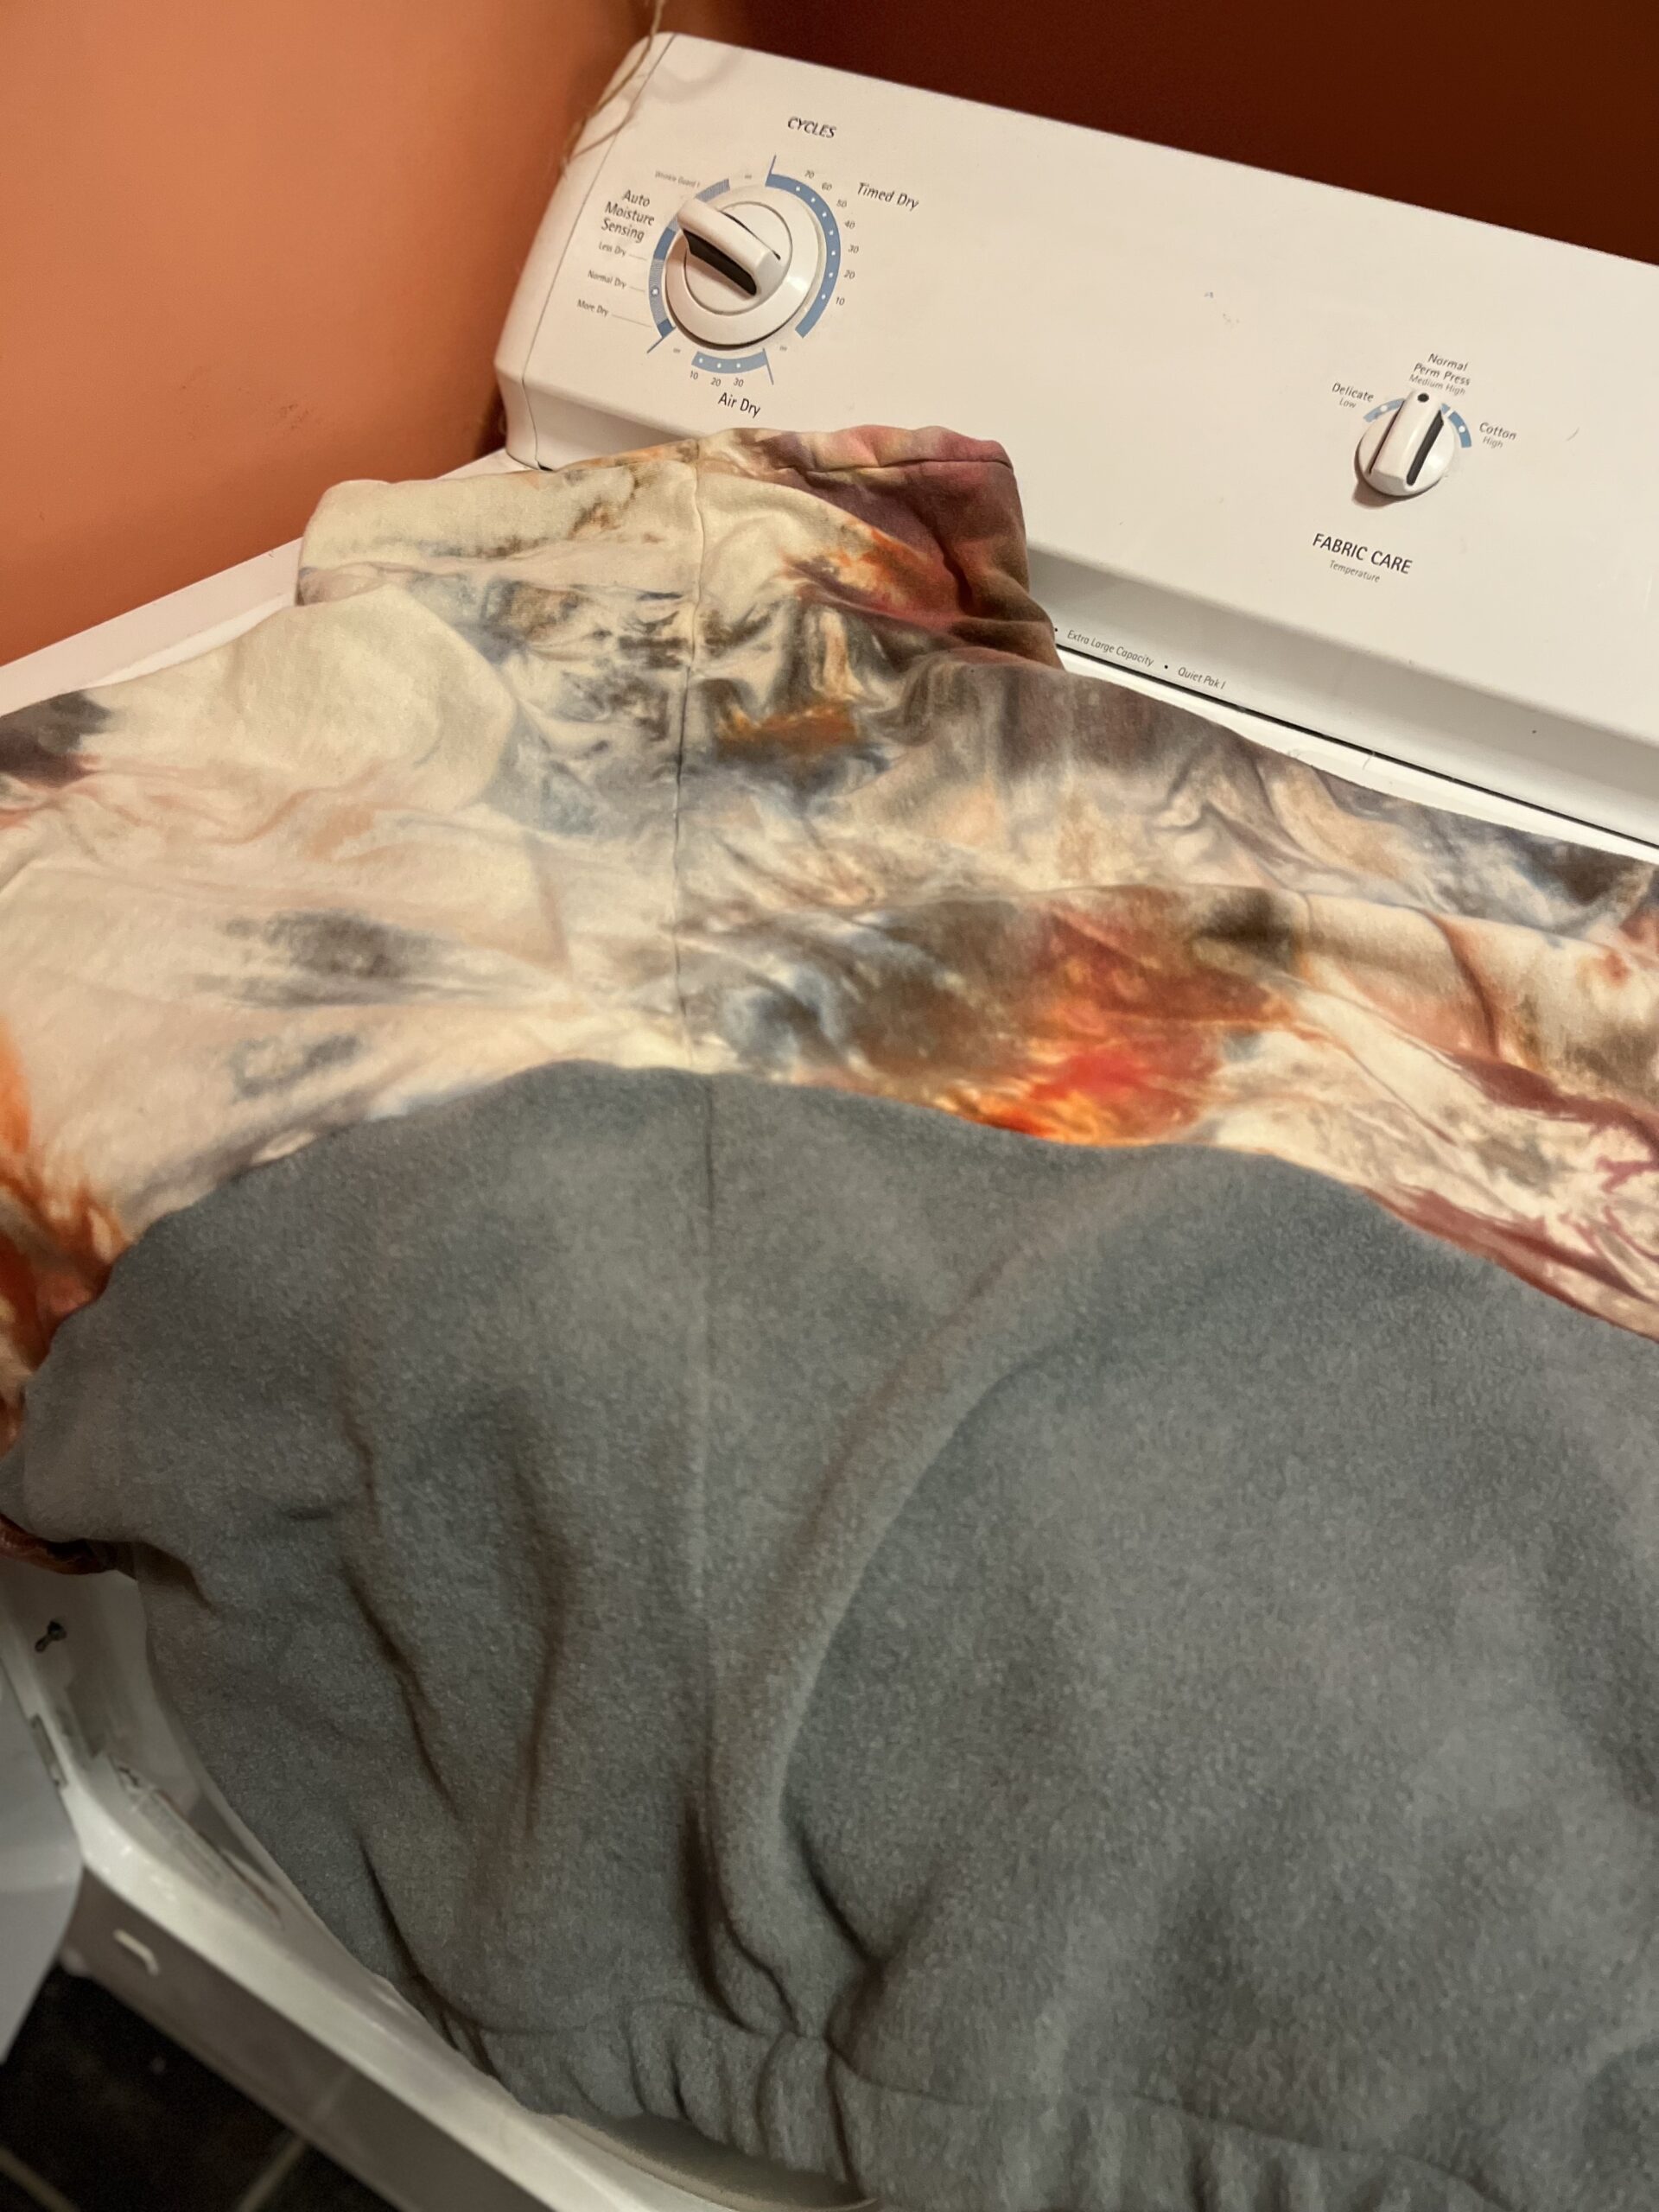
The poncho I made is a BurdaStyle from about 6 or 7 years ago (December 2016), and the inset panel in fleece was not having enough of the organic cotton sweatshirting, and cutting one pattern piece out of gray polarfleece.