Learn to use your bias binder foot for your sewing machine with me! I’ve set a goal this year to learn my specialty feet. Two years ago (or so), I bought a walking foot for my Viking Sew Easy 350 (it’s an old basic computerized machine, but it was one of the ones still made in Sweden with a lot of internal metal parts, and it sews so beautifully.) I also bought a bias binder with a bias maker attachment AND I’m getting an elastic foot for Christmas too.
If you’ve not used your adjustable bias binder foot, you can sew along with me! I’ll share the project and plans here, and videos as I do them, so you’ll hear all the trials, tribulations and successes.
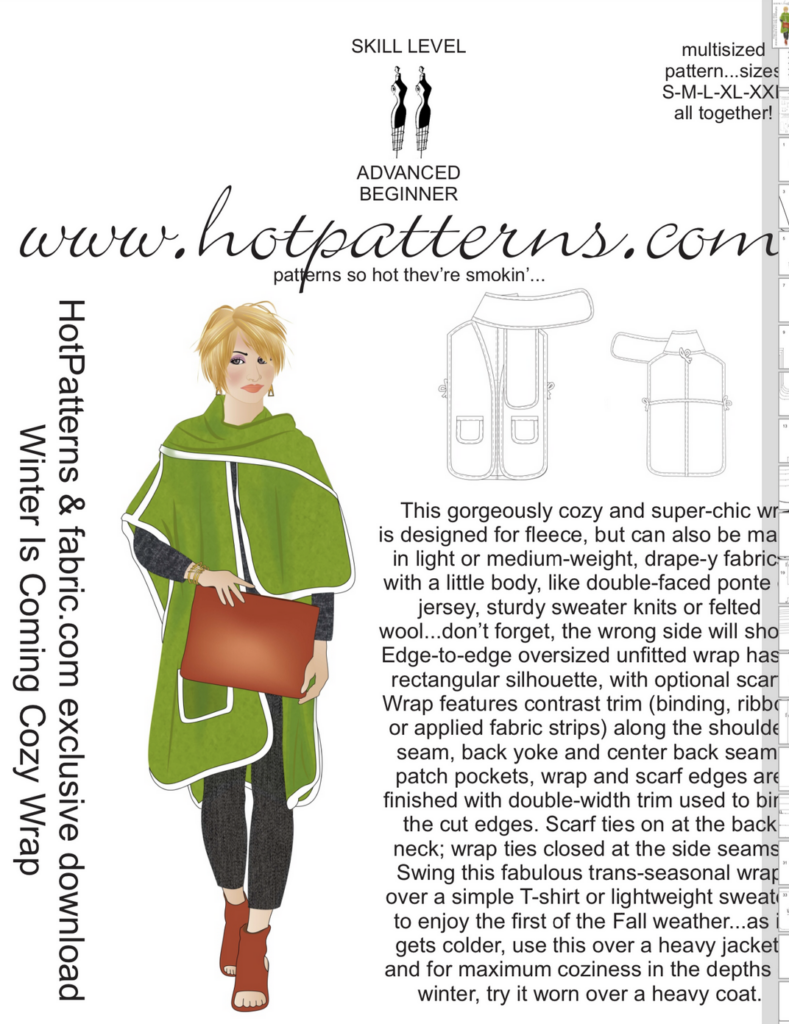
First off, I need a project with a LOT of bias binding. I chose the Hot Patterns Winter is Coming Wrap. This was a collab with Fabric.com. I don’t think that Fabric.com is around any more, but ANY ruana instructions or pattern will do – just add big pockets and a smaller rectangular scarf. If you want a big pocket pattern, I’ll include one here. The key with this one is you cut rounded corners in everything to bias bind it successfully.

The reason I chose this wrap is, well, just LOOK at all that bias binding! OMG! Honestly I avoided this (I have the pattern of course) because every time I looked at it, I thought, dang, that’s a lot of binding! This uses basic fleece, so that’s good – any inexpensive fleece you want to get on sale from a craft retailer, or, in my case, gifted from friends or in my stash, will do fine. My intention is to make my own bias binding as well, so that will do the whole entire process. Other sewing friends tell me that the binding you make eases around corners better than the purchased binding. Plus, then you can use fun prints on the binding!
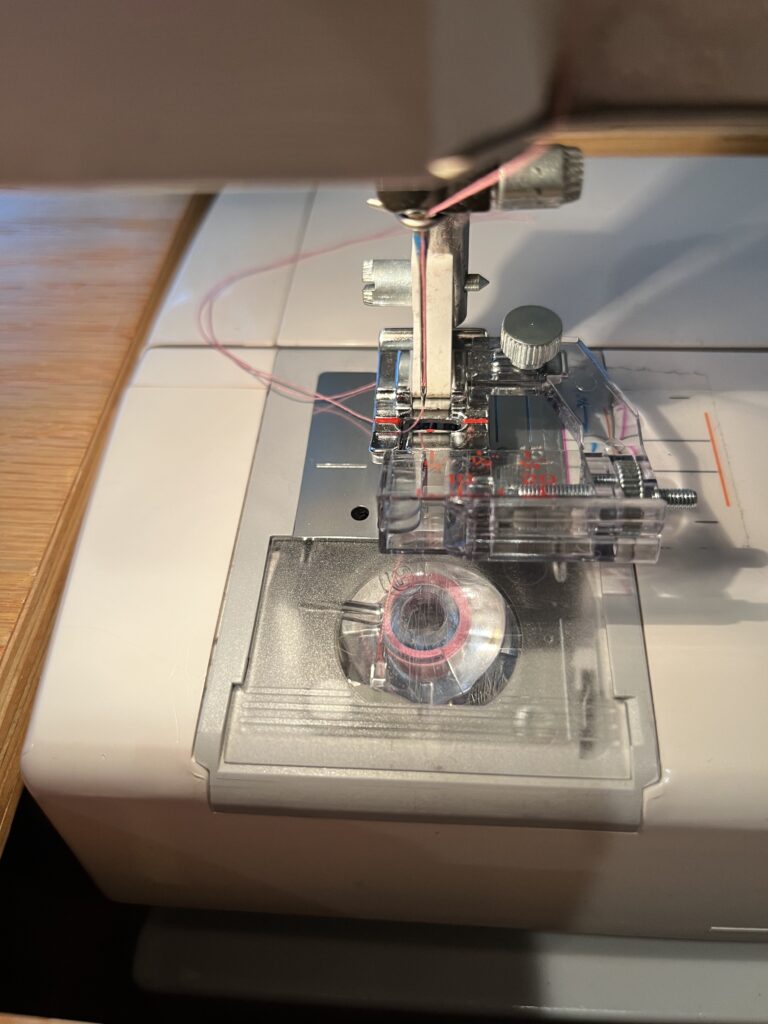
The foot I am using is this one:

Pattern setup: Cut out your ruana, pocket and scarf. To round the edges you can trace using a sliver of soap (soap works really well!) around a French curve end for the smaller items like scarf and pockets, a salad plate for the larger ones like the ruana edges. This ruana is sewn at the shoulders – if you want to do that, you can, or you can simply cut a wide keyhole using a saucer from a coffee cup set for the back neckline into the shaped front.
The pattern calls for two sizes of bias binding, narrower binding for the shoulder seams, back trim, ties and pocket, and wider for the ruana. The pattern calls for 1″ and 2″ bias binding. The max width of my bias attachment is 1″ so I’m going with 1″ on all pieces. Bias binding doesn’t ravel, so though the edges will be raw, it will be fine for this project. I plan to use some printed fabric if I can find something suitable in stash. Might as well make it fun!

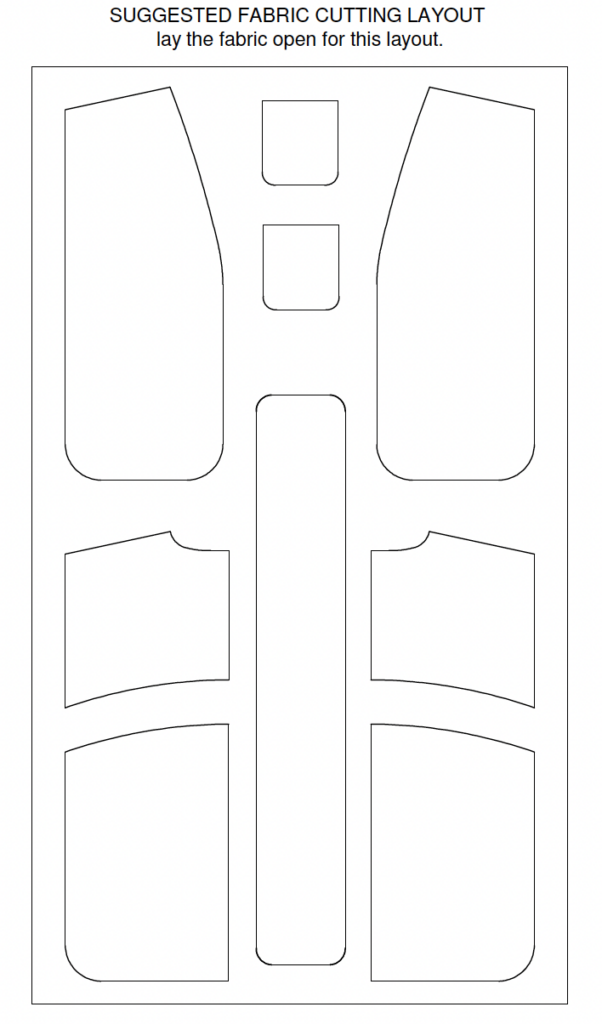
The illustration shows the shapes of this pattern. It’s not available any longer and neither is Fabric.com, so I think you would be just fine to modify your ruana using this mockup.
The fabric is single layer (hence, fleece, sweatshirting or ponte knit.)
I’ll be posting on my YouTube channel: Subscribe there to get updates!
